venerdì 24 novembre 2023
Feliz Navidad - Alex Syberia Designs Instagram hop and new release
lunedì 20 novembre 2023
Alex Syberia Designs November Collection Blog Hop & Giveaway
mercoledì 15 novembre 2023
Carnival Party
Hi crafty friends!
I'm back today to share with you a new colorful and very clean and simple card!
It's perfect when you need one at the last minute.

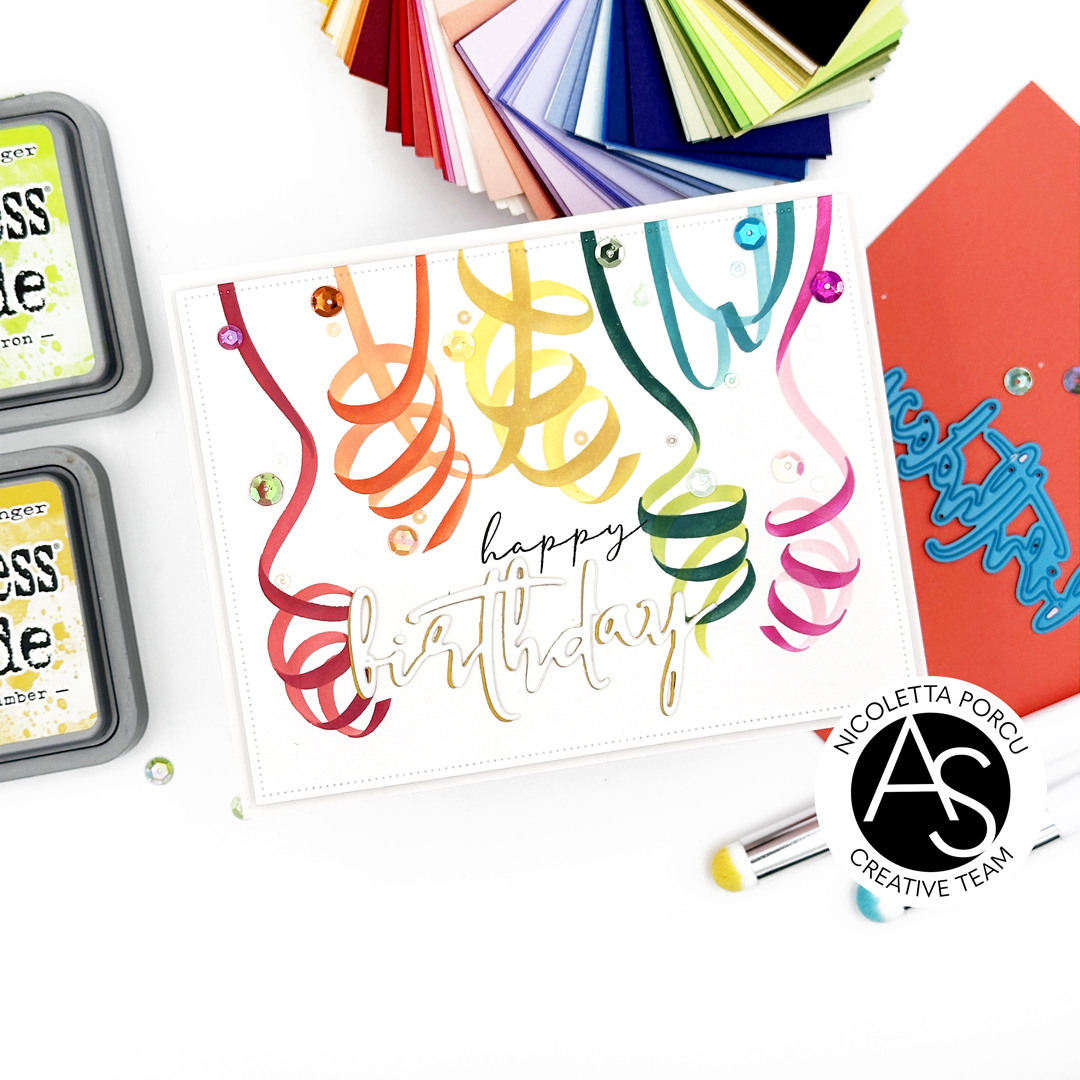
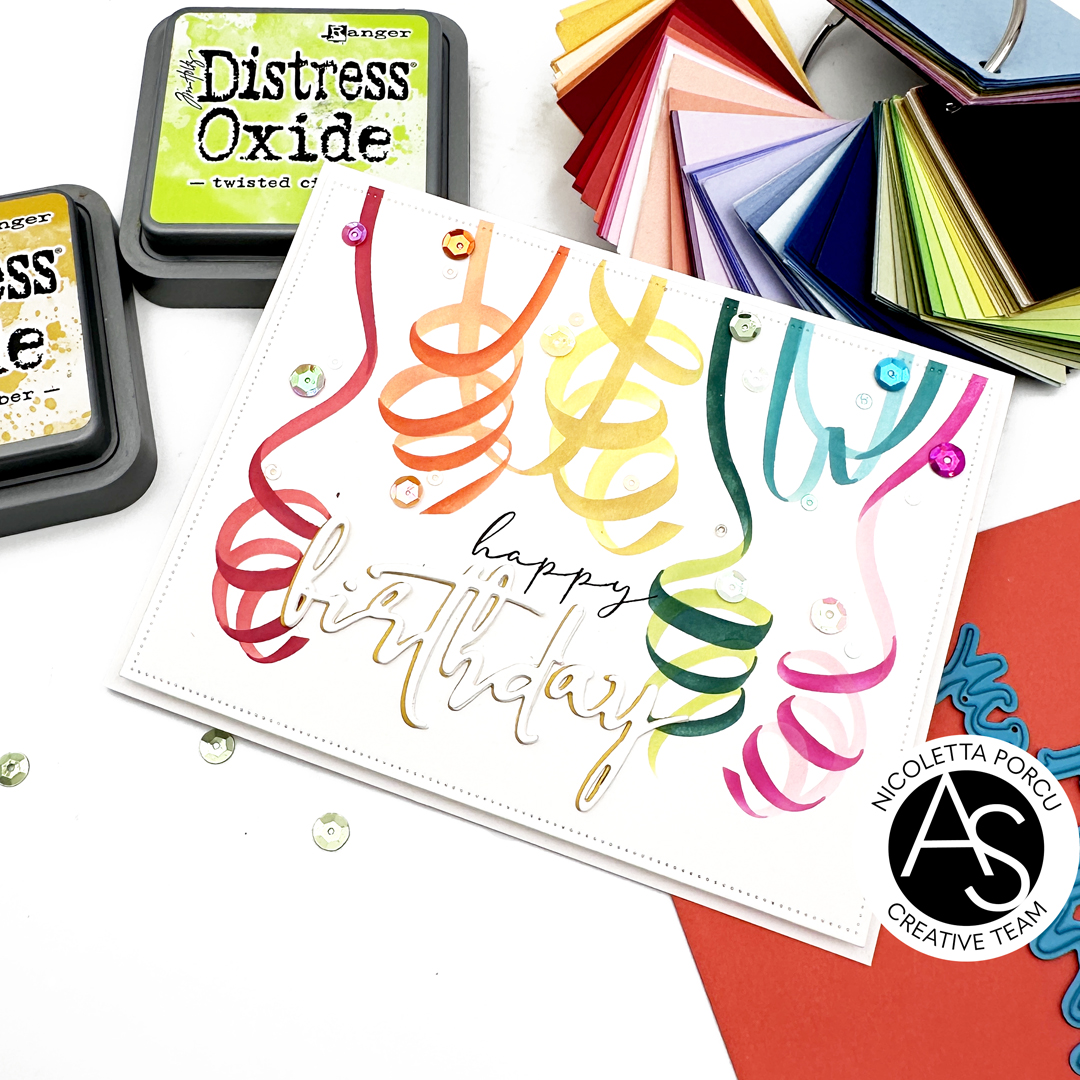
To make it I used the Carnival Party Stencil and die set, using rainbow colors to create the streamers. I used two shades of the same colorr for every streamer, the light one for the inside and and the darker for the outer part.

Once I completed the streamers I die cut the stencilled paper using a rectangle die from the Nested Scalloped Frames die set and over it I stamped the black sentiment happy from. the beautiful Birthday Wishes stamp set, Then I adhered the rectangle over a white card base using adhesive foam.
Then I completed the sentiment card adding the Birthday from the Birthday and Wish die set, die cutting it yellow and in white in many layer. I glued all the die cuts together putting the yellow one at the base and the white ones on the top slightly offset to show the yellow part.
I completed the card adding some sequins.

And that' that.
Easier done that said!
Hope you like it
Have a nice day!
Ciao ciao
mercoledì 8 novembre 2023
Flowing color drops
Hi crafty friends!
Today I’m here with a new card!
If you follow me and ASD you already know that 2 weeks ago we had a fun collaboration with Lindy's Gang and for the occasion I used their Magical Shakers.
I had so much fun playing with those watercolour powders so use them for one card it hasn't been enough so I made one more card.

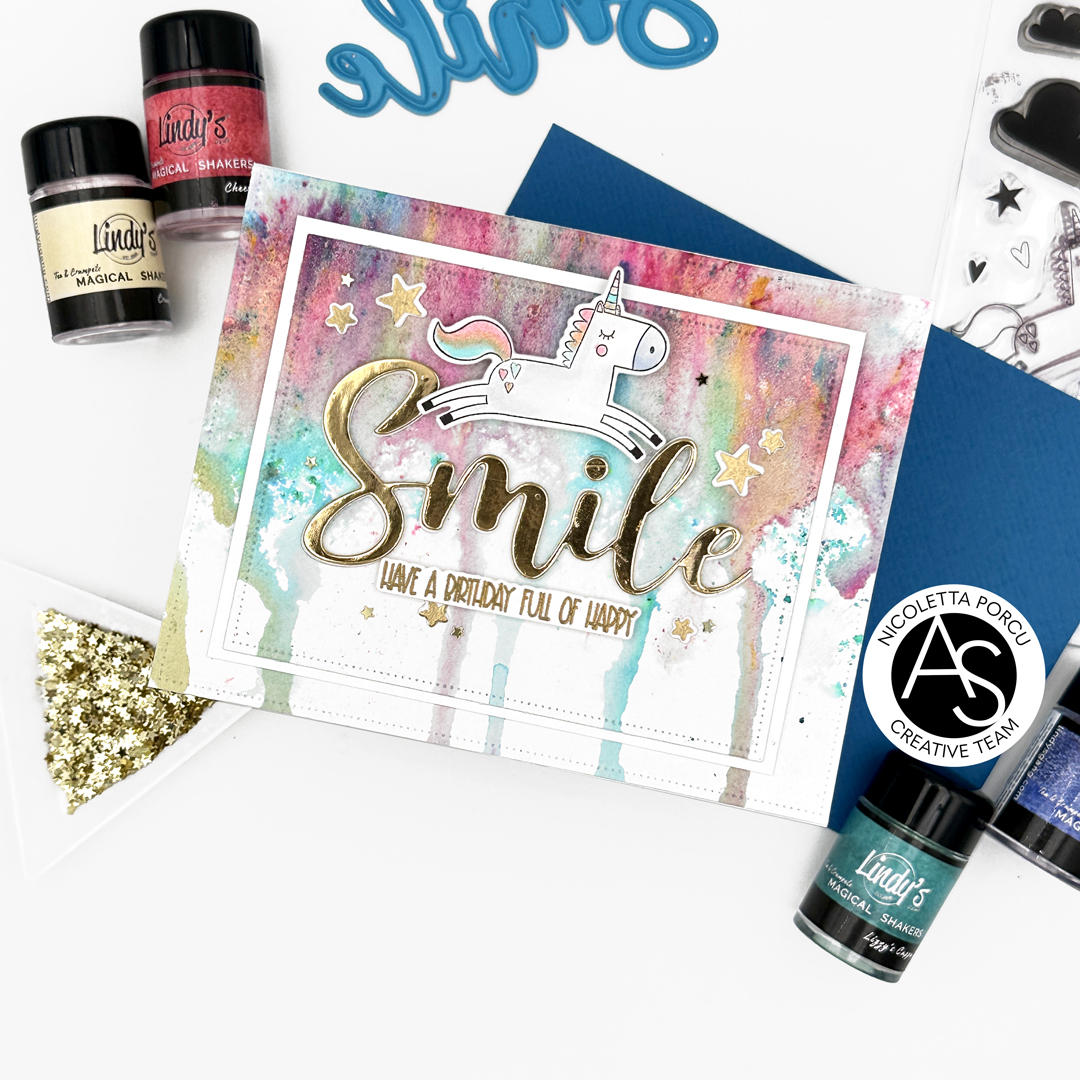
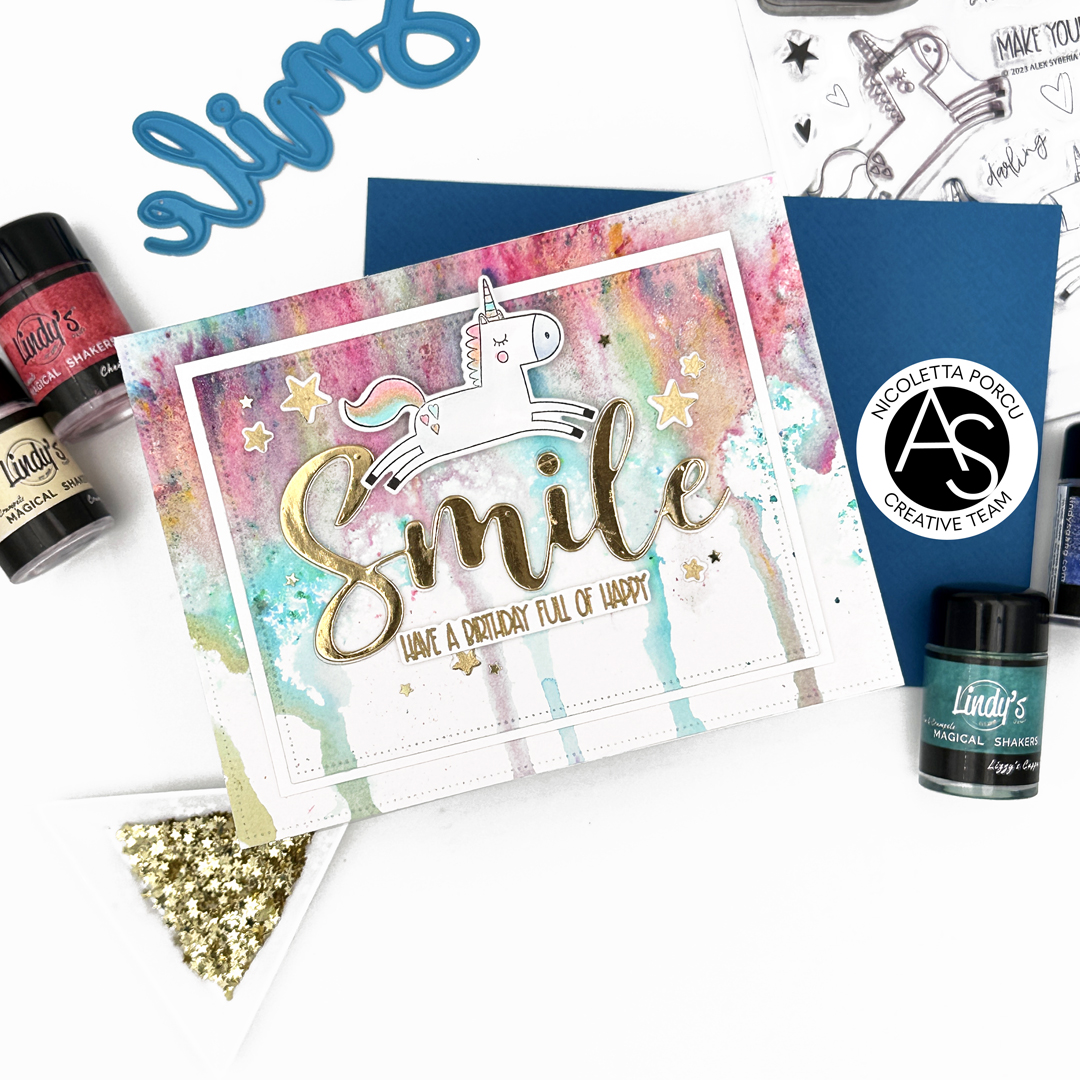
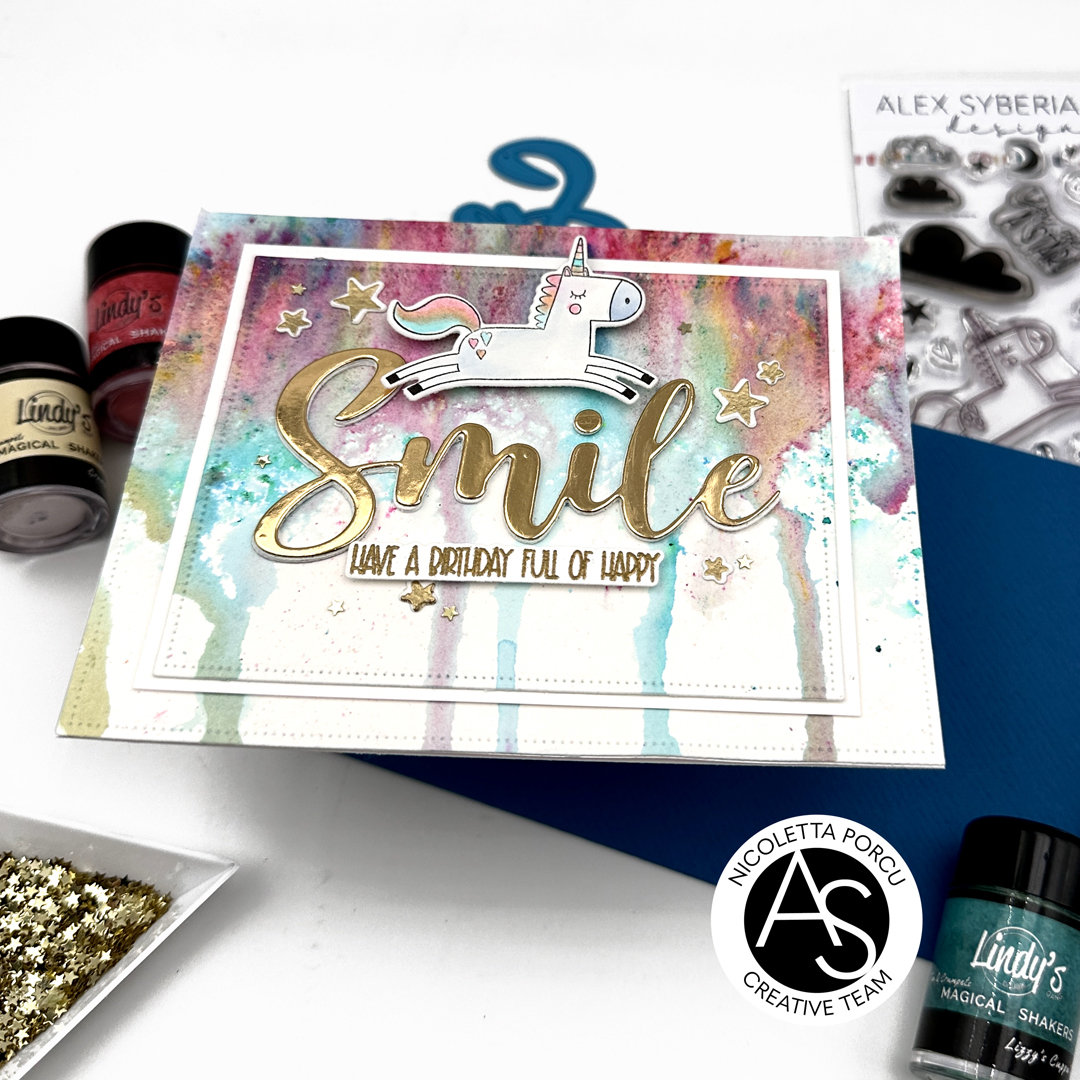
I started by spreading some the Lindy's Magical powders on a piece of watercolour paper ( I used the Cheerio Cherry, the Lizzy's Cuppa' Tea Teal, the Crumpet Crumbs, the Butter The Toast Blue ) and after sprayed on some water I tilted the paper to obtain paint drips. I dabbed the excess of it with a kitchen towel and I dried the paper with the heat gun.
Once it was dried I obtained from it two rectangles using the Nested Scalloped Frames die set. I adhered them on a white card base framing in white the smallest one,

Next up I stamped on X-Press blending paper the lovely unicorn and the little stars from the Always Be Yourself stamps set. I colored with Copic markers the unicorn and I heat embossed in gold the start and then I die cute all of them whit che coordinate dies.
I put them aside and I continued by thinking about the sentiment.
I obteined the smile word by using the Large Smile dies , and the string sentiment by stamping and heat embossing in gold a stamp from the Rainbow Sentiments stamp set and die cutting it with the coordinate dies.
Once all the elements was ready I placed and adhered them on my watercolored background and that's it!

Hope you like my card!
Thank you for stopping by
Ciao Ciao
giovedì 2 novembre 2023
Happy holidays - Alex Syberia Designs challenge
Hi crafty friends!
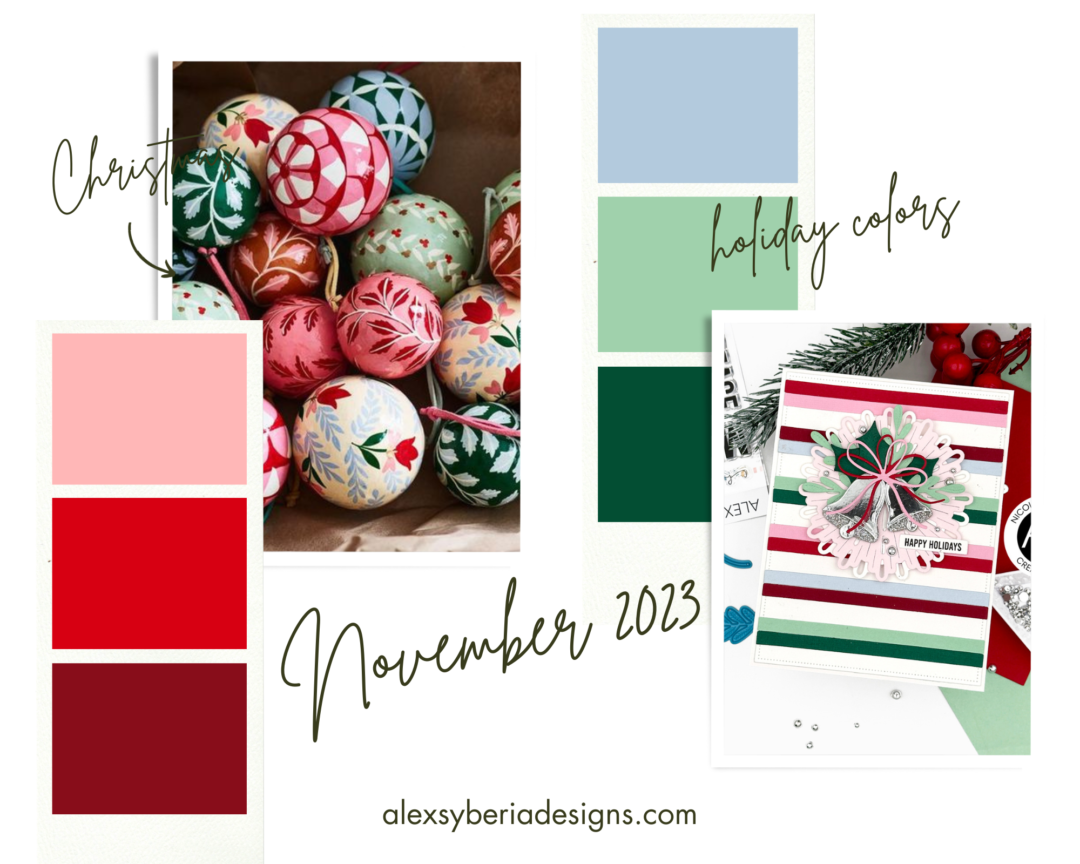
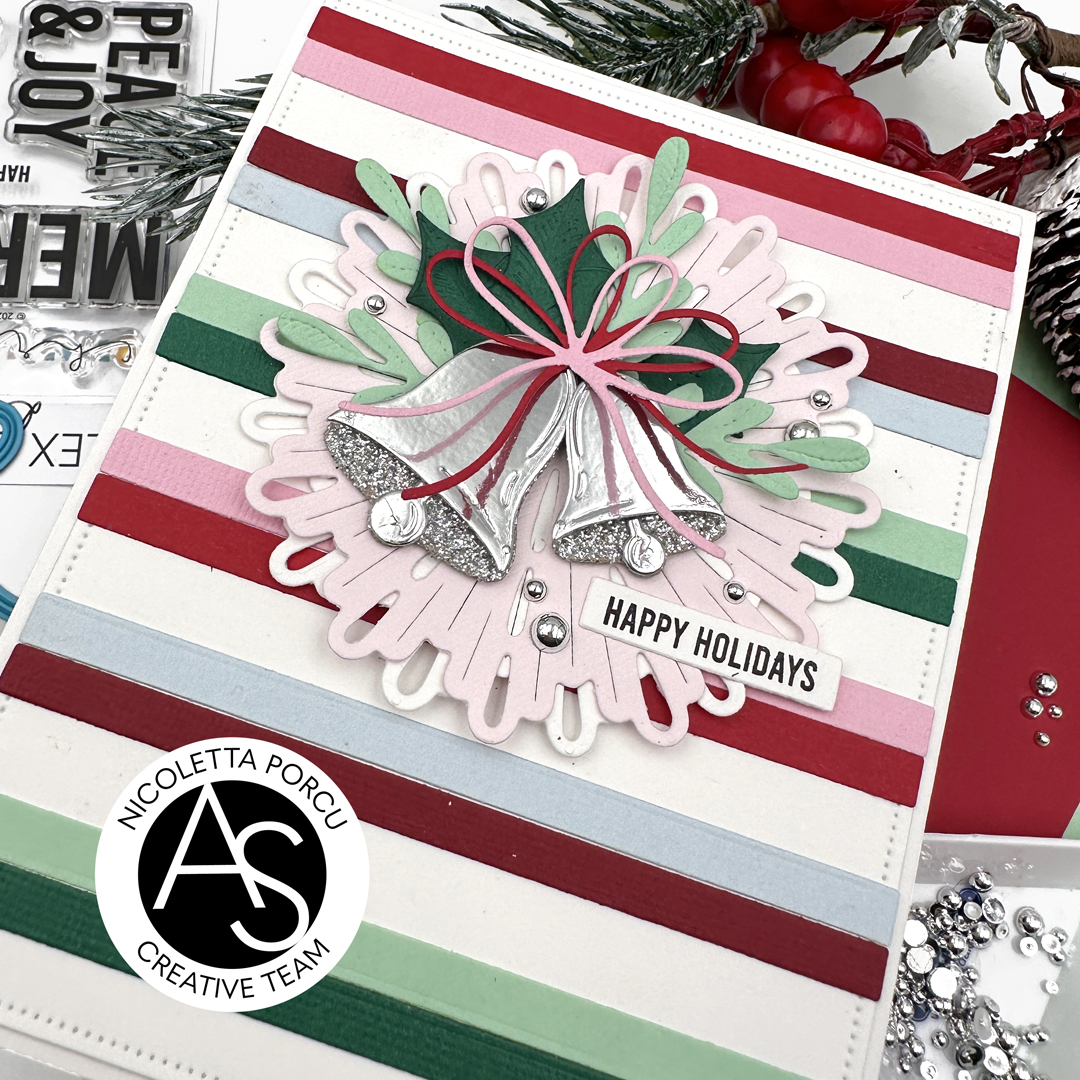
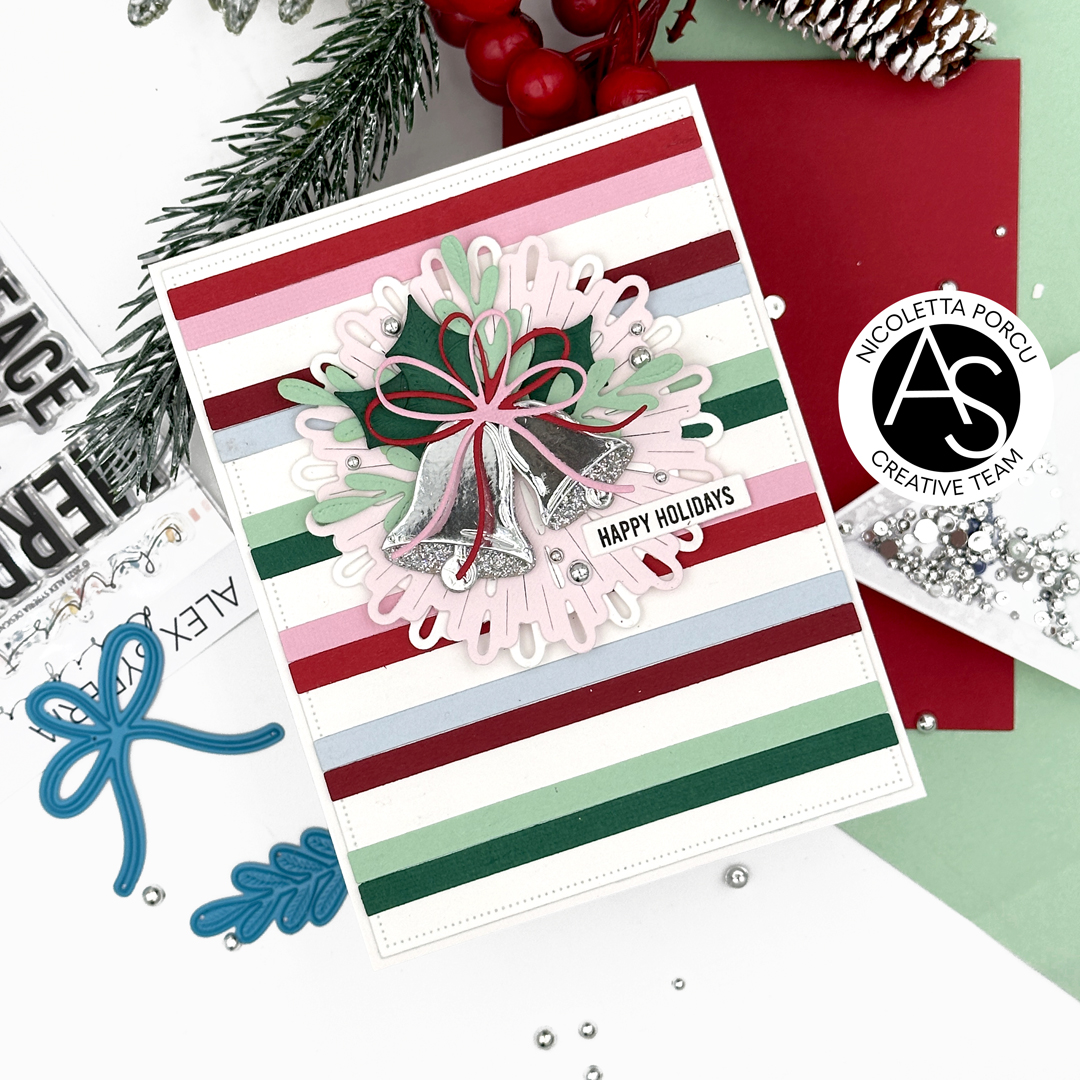
I'm back today to share with you the card I made for the ASD November Challenge that requires to create a project following a holiday color palette or the Christmas theme! As I usually do I used both! Hope you like my inspiration!
I can't wait to see yours!!
To join us each month and to see all the beautiful inspirations, for the details and rules to follow please take a look at our Inspiration Challenge Post.
Here the theme and the palette to follow:

But now let me talk about my card!
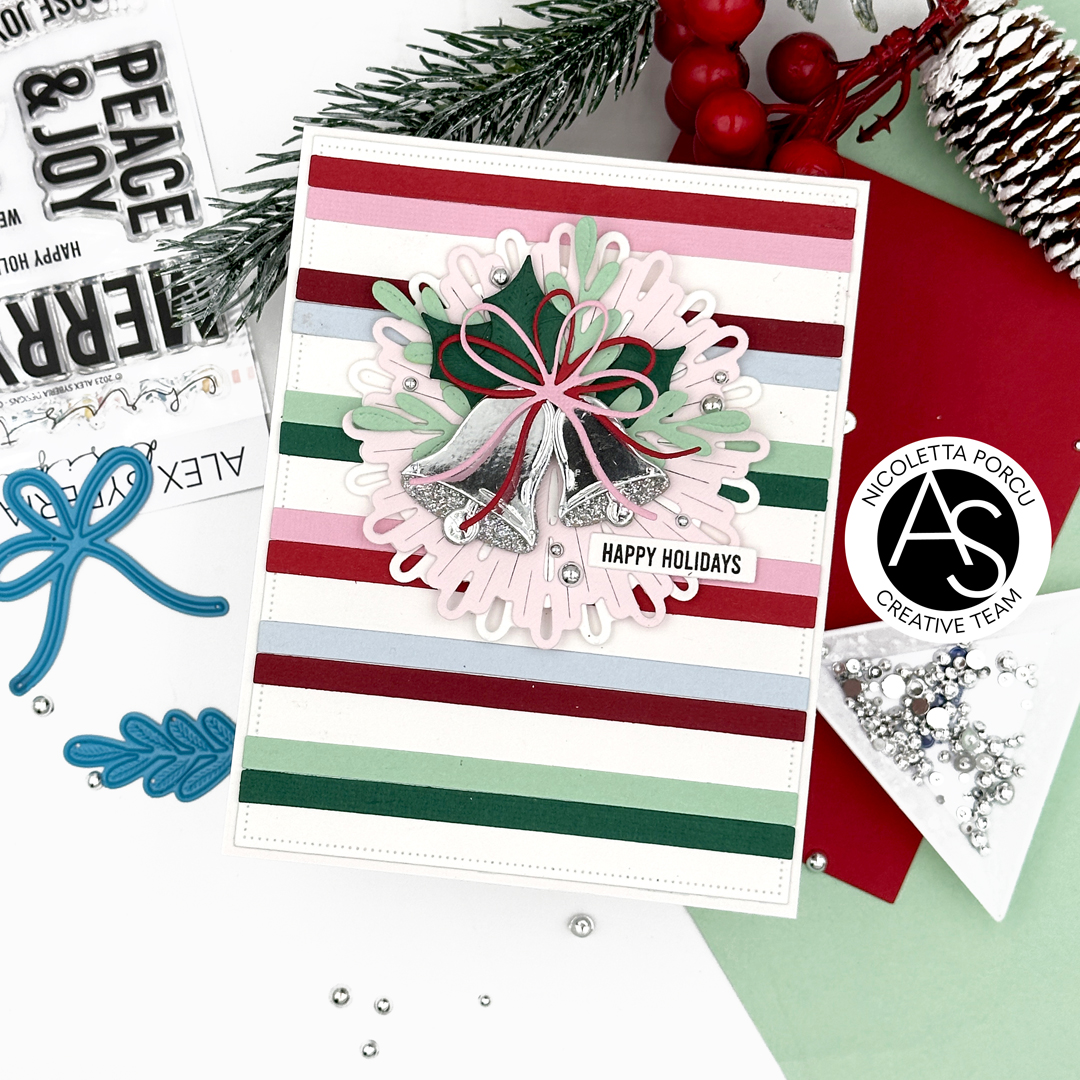
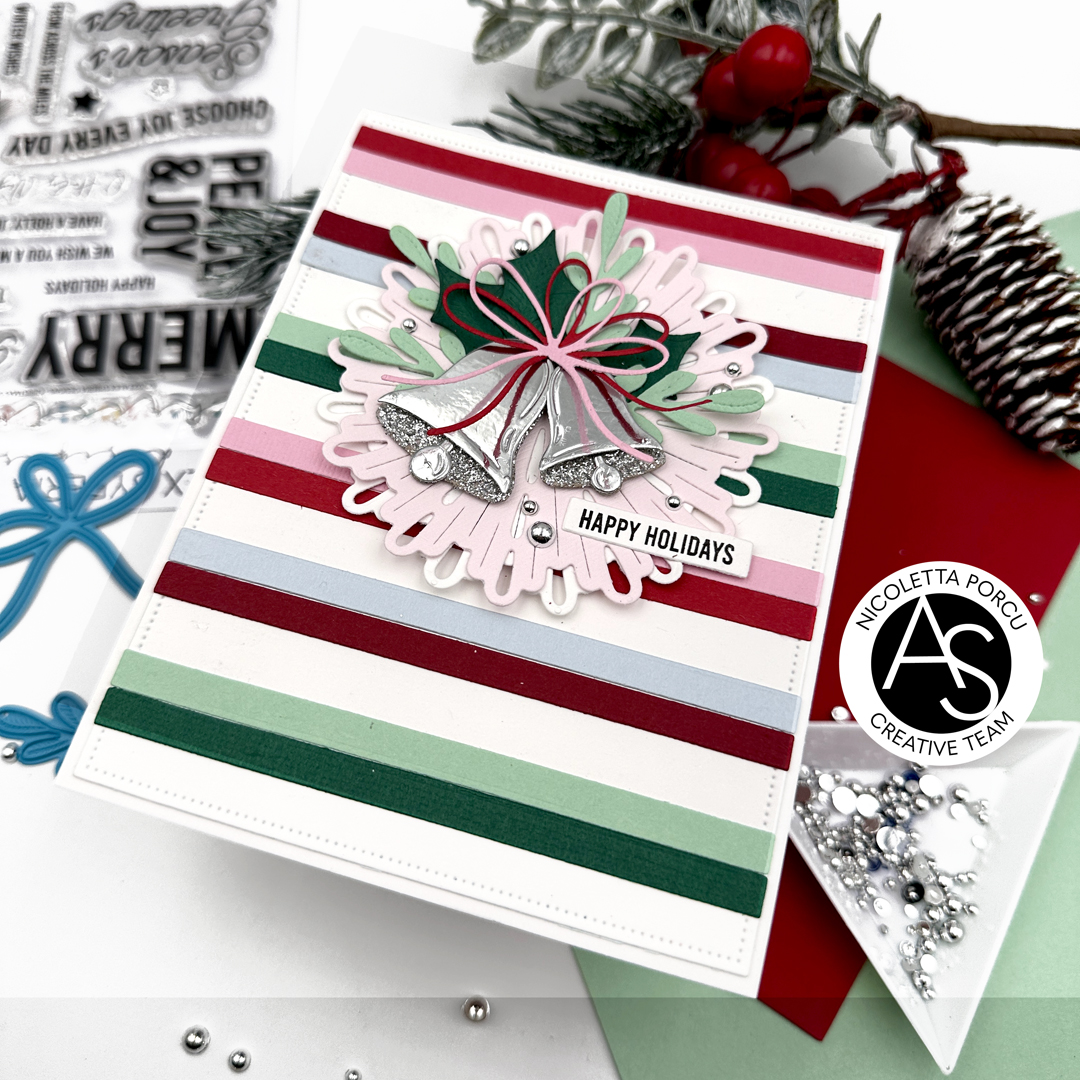
I begun by die cutting a white rectangle rectangle using the Nested Scalloped Frames die set. I continued die cutting many stripes in the palette colours using the Thin Stripes Cover die and gluing them in pairs on the white rectangle leaving a larger white space between them.
As I finished I adhered the striped background on a white card base and then I started to work on the top elements. .Using the Snowflake Layering dies I die cut two snowflakes... one in white and the other one in light pink and I glued them over the background.

Next up I die cut all the elements from the Jingle Bell Joy die set choosing the greens requested by the challenge palette for the leaves and the metallic and glitter silver for the bells. I glued them on the big snowflake using some thin foam adhesive pads give dimension , then I added the pink and the red bows I die cut using the Pretty Bows die set. 
At that point I added the little sentiment I stamped using the Christmas Sentiments stamp set and I die cut using the coordinate dies.

As a last touch I added some silver beads.

Hope you like my card and the challenge idea!
I can't wait to see all of your projects!
Thank you again for stopping by!
Ciao, Ciao
mercoledì 25 ottobre 2023
Happy Birthday - Lindy's Gang Instagram Hop
Hi crafty friends!
I'm here today with a new card inspiration!
As many of you already know we are having an Instagram Hop, to celebrate the Alex Syberia Designs and Lindy's Gang ' collaboration. Don't miss out it because there are some gift cards to win :P
I started by spreading some the Lindy's Magical powders on a piece of watercolour paper ( I used the Cheerio Cherry, the Lizzy's Cuppa' Tea Teal, the Crumpet Crumbs, the Butter The Toast Blue ) and I sprayed on some water and I dabbed the excess of it with a kitchen towel. Then I dried the paper with the heat gun.
I continued by hot foiling in gold the Floral Medley Hot Foil plate on the watercolored paper and die cutting it with the coordinate dies.
Next up I began to prepare my background by adhering the die cut obtained using the Trend Pattern Cover die on a white rectangle . Over I adhered the watercolored, foiled flowers using foam tape to give dimension. I cut out the excess parts and I used them to complete the flower composition.
At this point I added the hot foiled sentiment in the center and as a last touch I glued some gold sequins.
That's that!
Hope you like my card :-)
I remember you to join us on our Ig hop !
Ciao Ciao
mercoledì 18 ottobre 2023
A flower to say you are loved
Hi crafty friends!
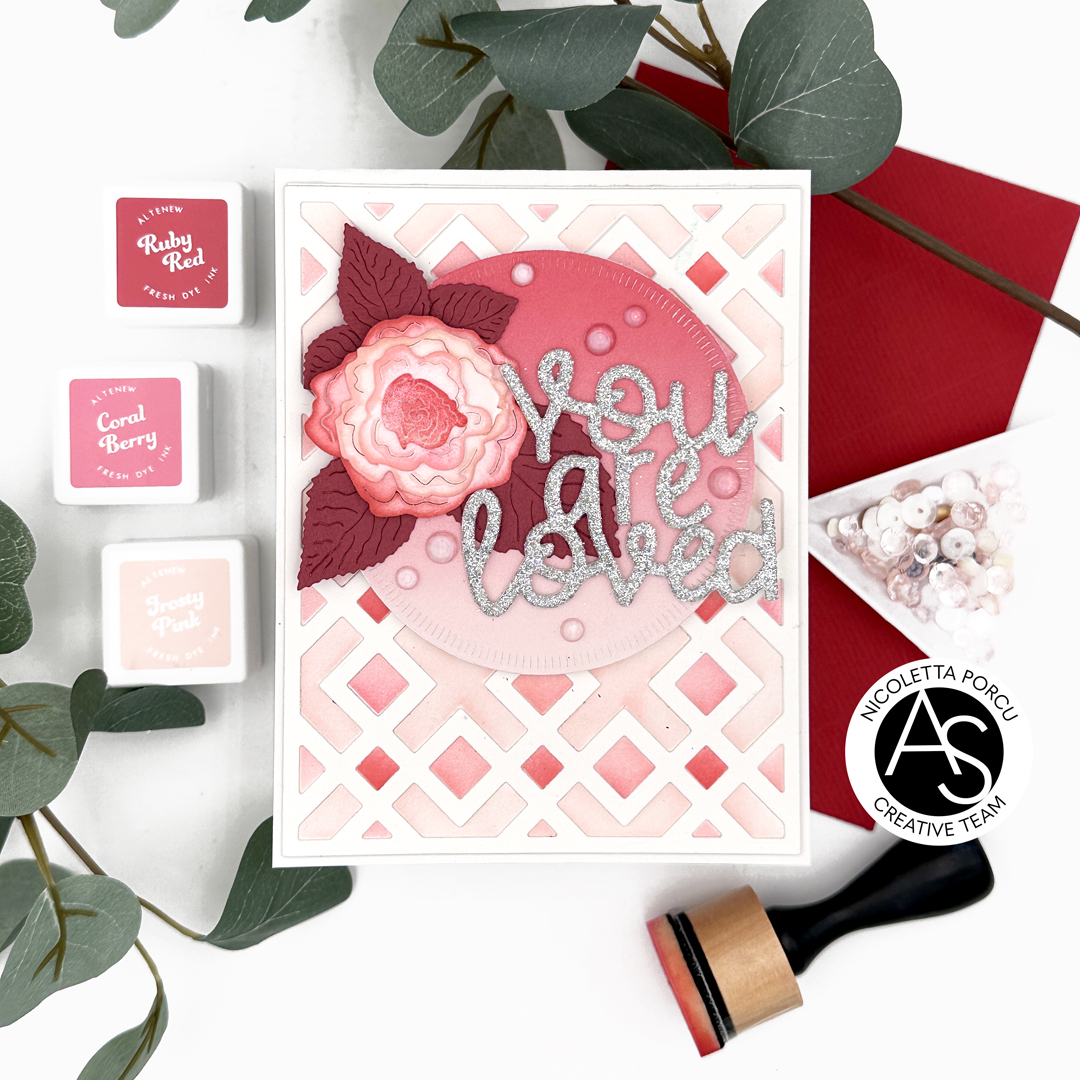
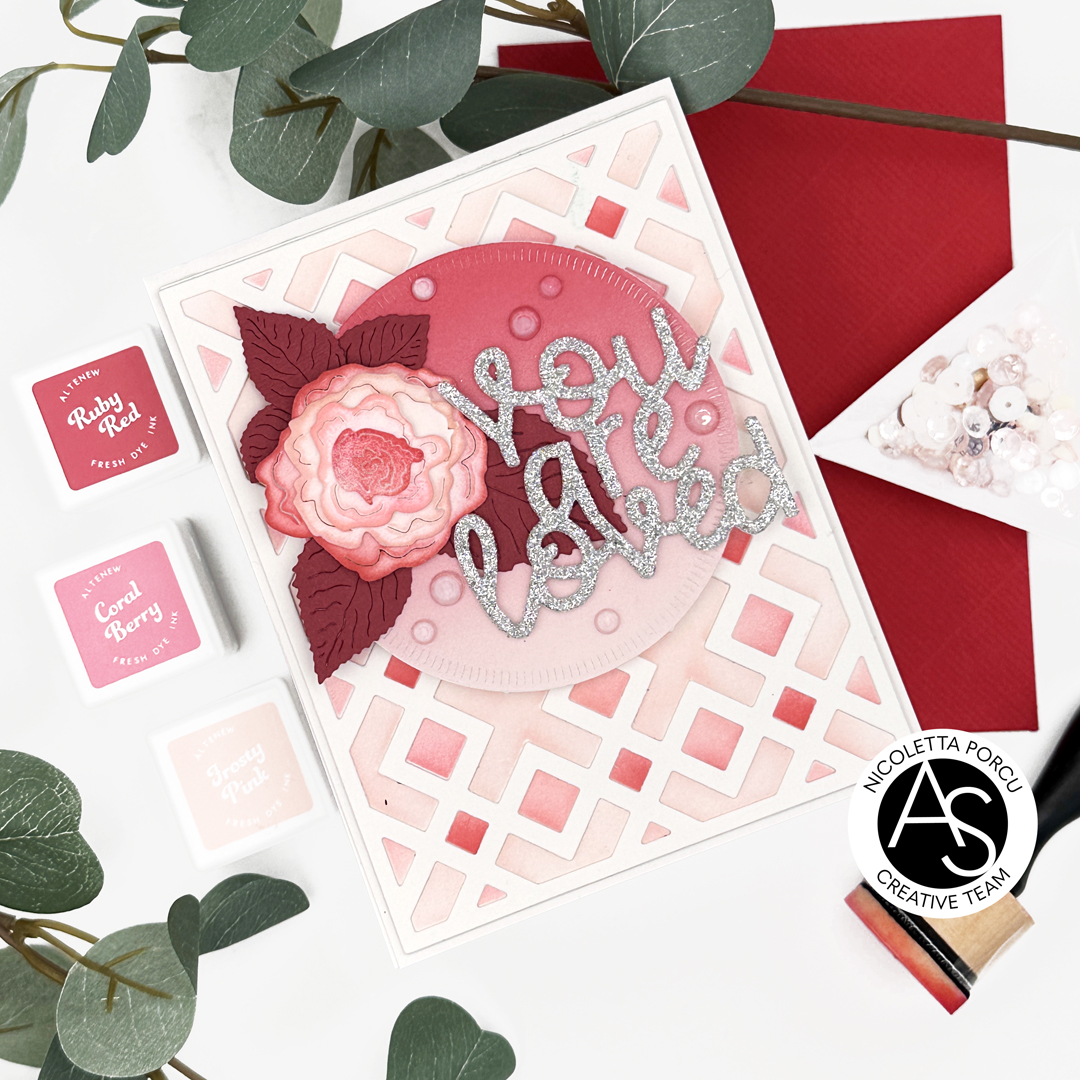
Today I'm sharing a new card featuring some products of the new October release "You Are Loved" designed all about self-care.
For my card I chose a monochromatic effect playing with stencils and dies!

I started by stencilling the Trendy Pattern Stencil set onto a Solar White Neenah paper using 3 different Altenew inks to obtain a monochromatic look.
Next up I die cut the stencilled design using the Nested Scalloped Frames die set and I adhere it on a white cardstock base.
I continued by die cutting 2 layer of the Trendy Pattern Cover die and gluing them over the stencilled background.

Then I die cut 2 circles, one from a white paper and the other one from a nuanced red light paper, using the Nested Circle die set, and once glued them together I adhered them in the center of the card using foam tape.
I continued by die cutting the Chic Roses Layering Die set , from a white paper for the flower and from a red one for the leaves. I blended in red the white parts and after assembling all the elements I glued them on the top left of the circle.
To complete my card I die cut the "You Are Loved" sentiment die from a a silver glittered adhesive foam and I put it on the card.
As a last thing I added some pink rain drops.

and that's that for today too!
Hope you like my card and if you haven't yet check the shop and the ASD blog to see all the new amazing product and the gorgeous DT inspiration.
Have a good day!
Ciao Ciao
lunedì 16 ottobre 2023
Alex Syberia " You Are Loved" new release and Instagram hop
giovedì 12 ottobre 2023
Alex Syberia Designs You Are Loved Release Blog Hop & Giveaway
mercoledì 4 ottobre 2023
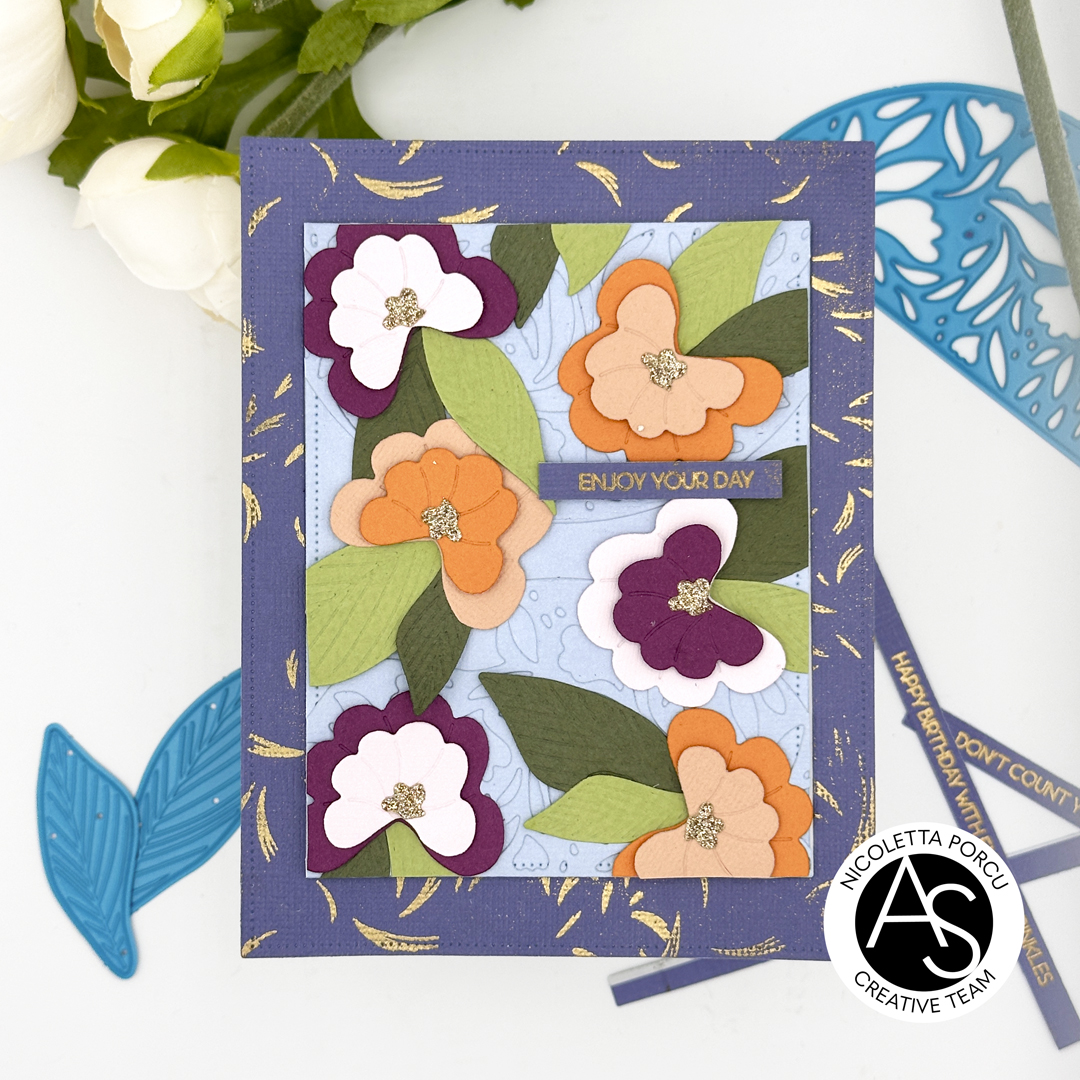
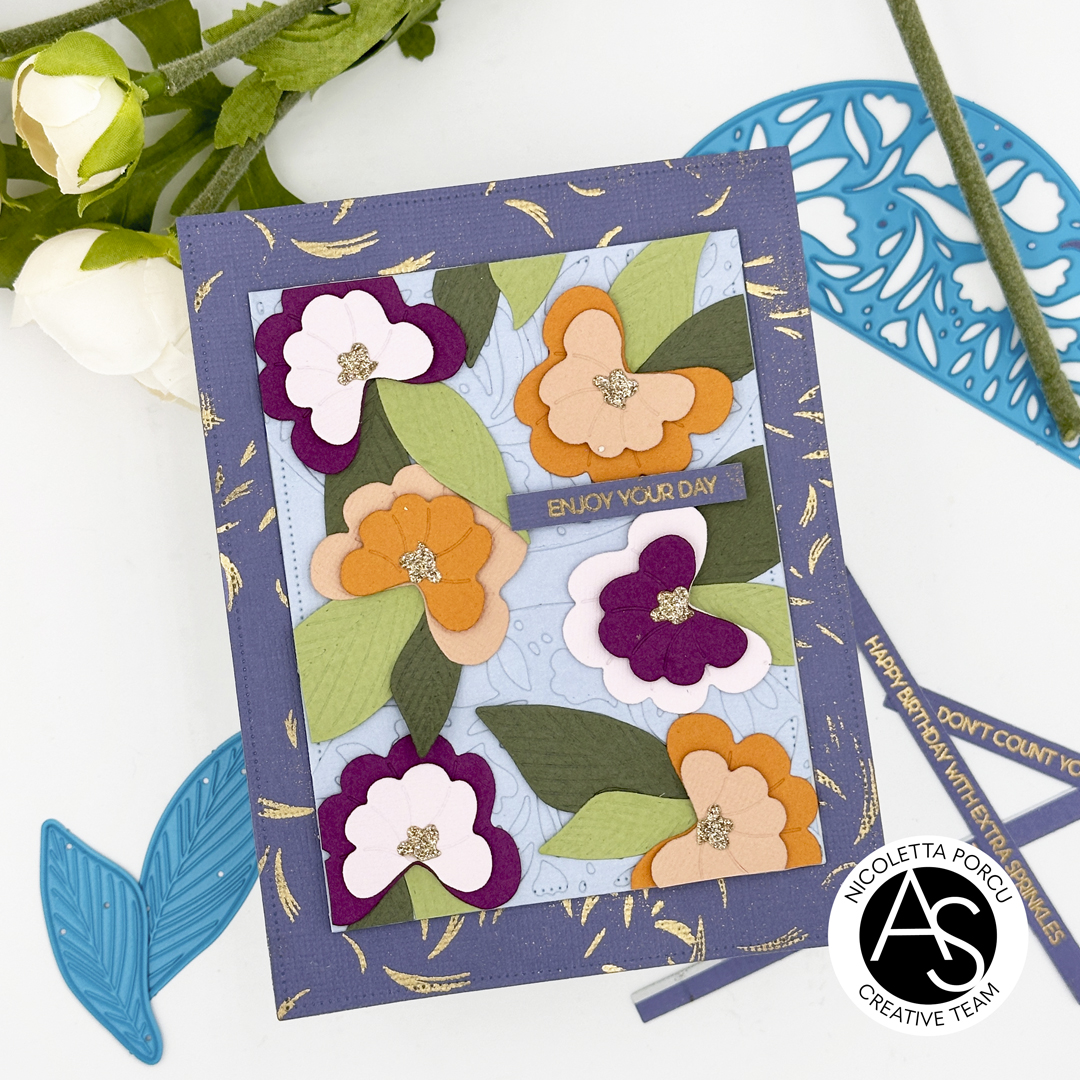
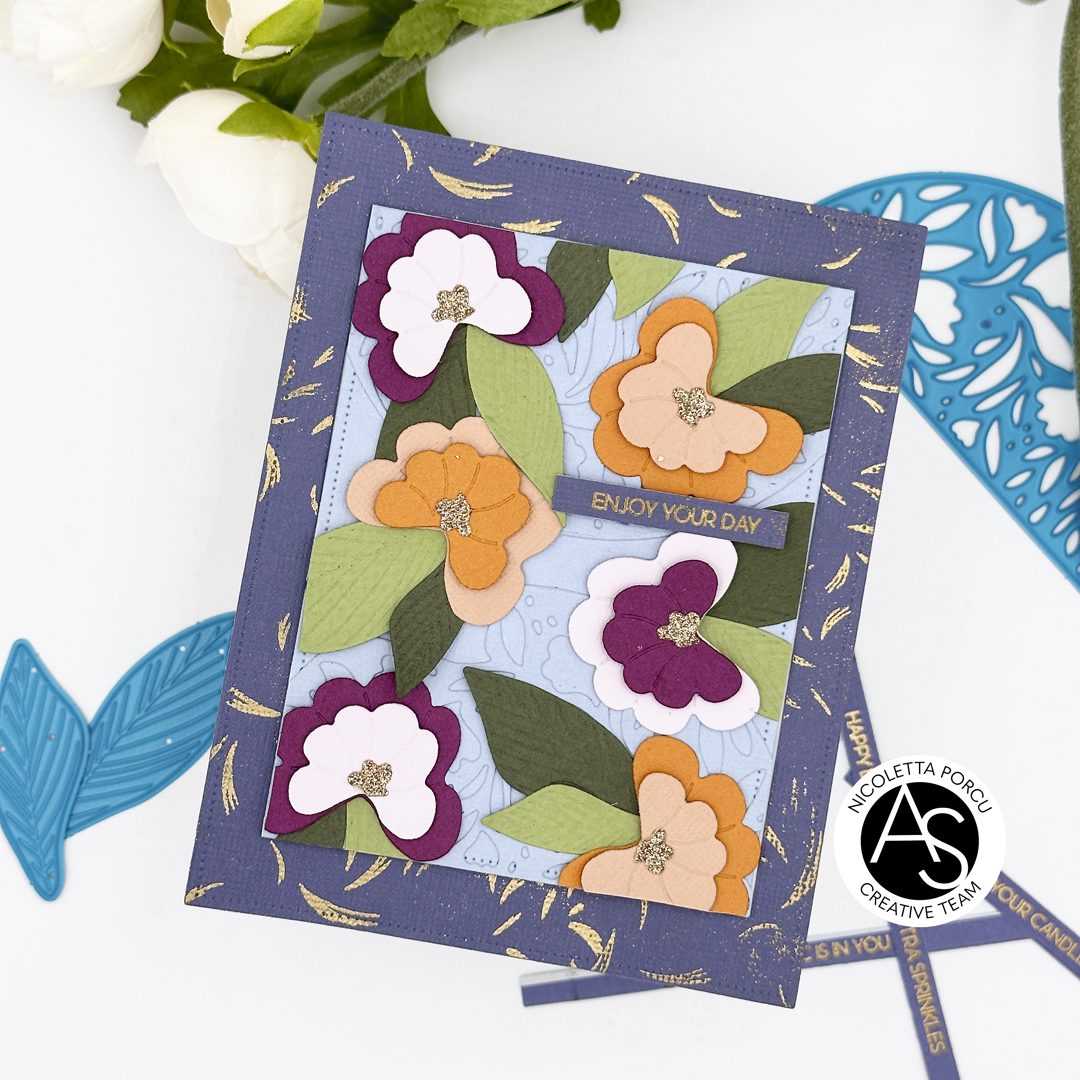
Enjoy your day
Hi crafty friends!
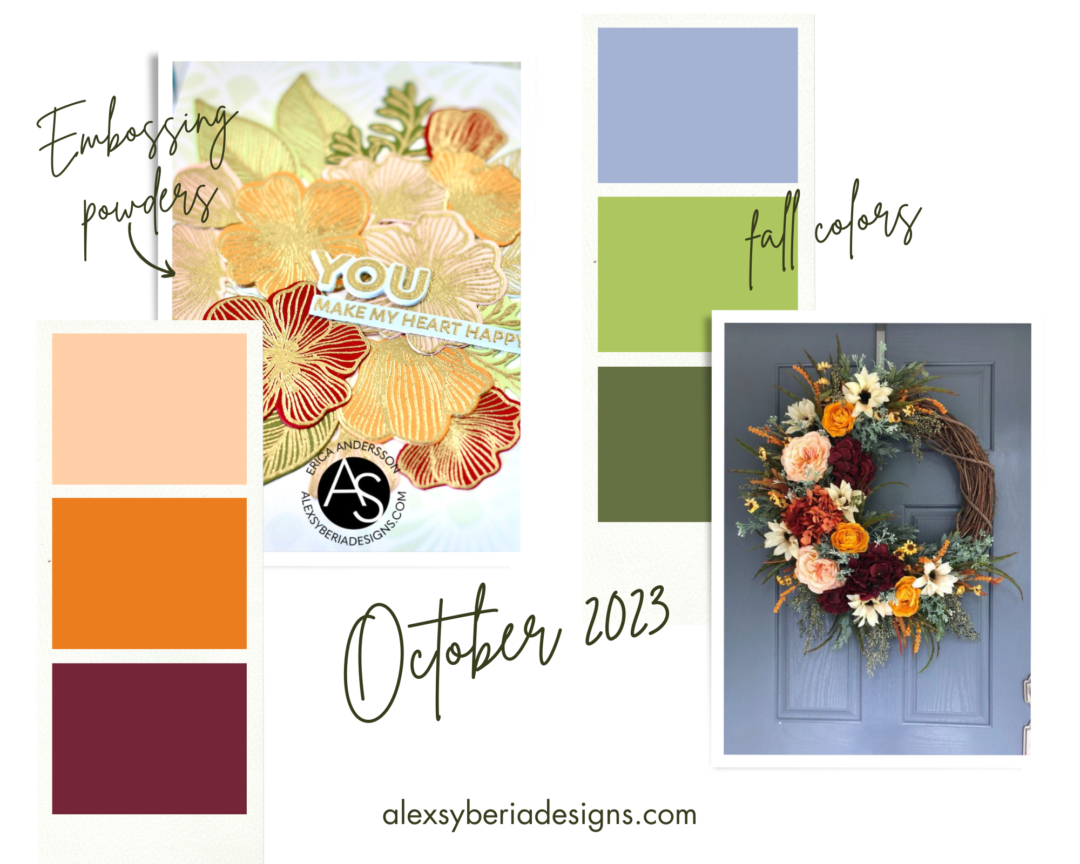
I'm back today to share with you the card I made for the ASD October Challenge that requires to create a project following a Fall color palette or the theme "Embossing Powders! I used both using some products from the last release!
To join us each month and to see all the beautiful inspirations, for the details and rules to follow please take a look at our Inspiration Challenge Post.
But now let me talk about my inspiration card!

Here the theme and the palette to follow:

To make the card I begun by die cutting 2 rectangle using the Nested Scalloped Frames die set. I stamped embossed in gold the larger one using a foliage layer from the Timeless Blooms stamps set.
I continued by adhering it on a white card base and then I started to work on the smaller light blue rectangle . I die cut two light blue floral semicircle using the Timeless Blooms Celebrations die set and I glued them onto it to create a sort of lace background.
Next up I die cut all the flowers and leaves I needed (following the challenge color palette) using the Delicate blooms die set and I glued them all over the light blue top panel using a thin foam adhesive pads; Once I cut out the protruding flower parts I glued this top panel on the blue violet rectangle using the adhesive foam pads.

For the gold embossed string sentiment I the Celebration Sentiments die set and the coordinate dies.
And that's it!

Hope you like my card and the challenge idea!
I can't wait to see all of your projects!
Thank you again for stopping by!
Ciao, Ciao