Visualizzazione post con etichetta AlexSyberiaChallenge. Mostra tutti i post

giovedì 2 novembre 2023

Happy holidays - Alex Syberia Designs challenge

Hi crafty friends!

I'm back today to share with you the card I made for the ASD November Challenge that requires to create a project following a  holiday  color palette or the Christmas  theme! As I usually do I  used  both! Hope you like my inspiration!

I can't wait to see yours!!

To join us each month and to see all the beautiful inspirations, for the details and rules to follow please take a look at our Inspiration Challenge Post.

Here the theme and the palette to follow:
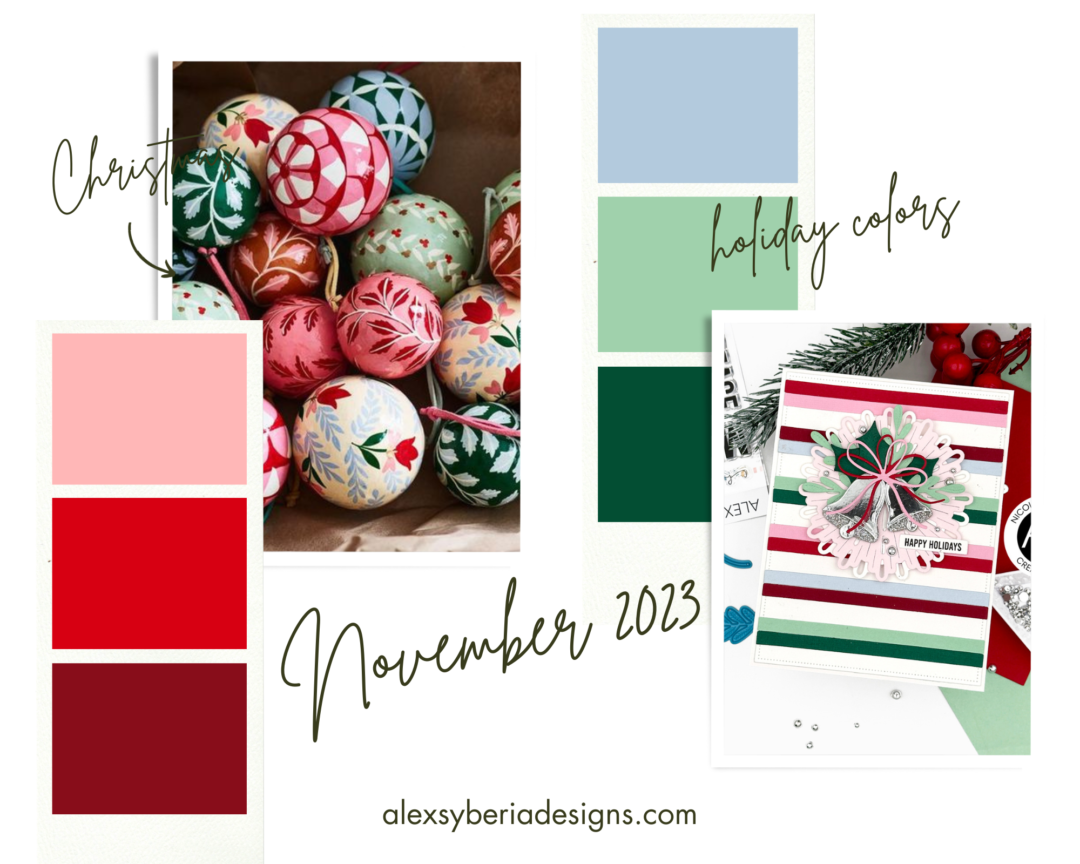
But now let me talk about my card!

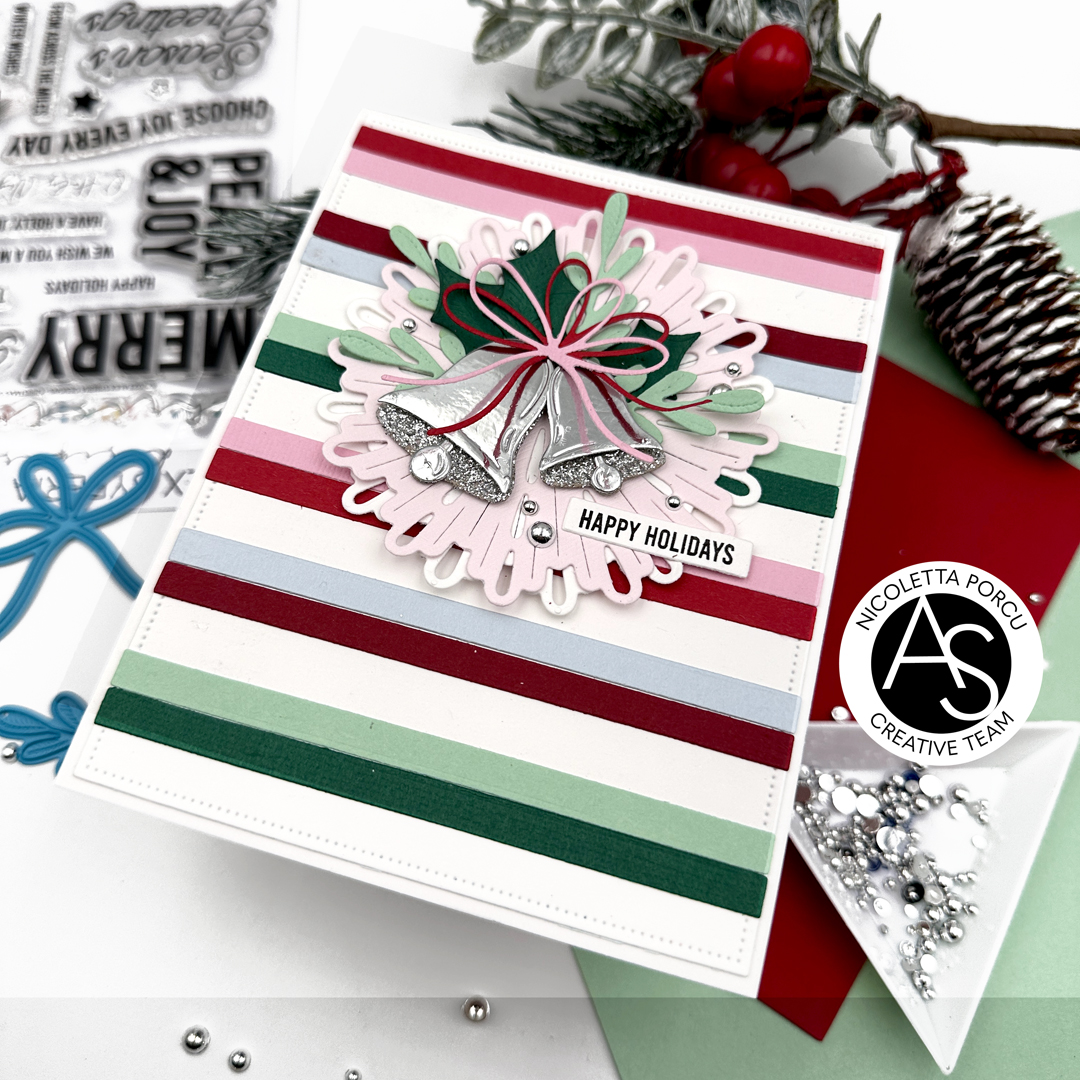
I begun by die cutting a white rectangle rectangle  using the Nested Scalloped Frames die set. I  continued die cutting many stripes in the palette colours using the Thin Stripes Cover die  and gluing them in pairs on the white rectangle  leaving a larger white space between them.

As I finished I adhered the striped background on a white card base and then I  started to work on the top elements. .Using the Snowflake Layering dies I die cut  two snowflakes... one in white and the other one in light pink and I glued them over the background.
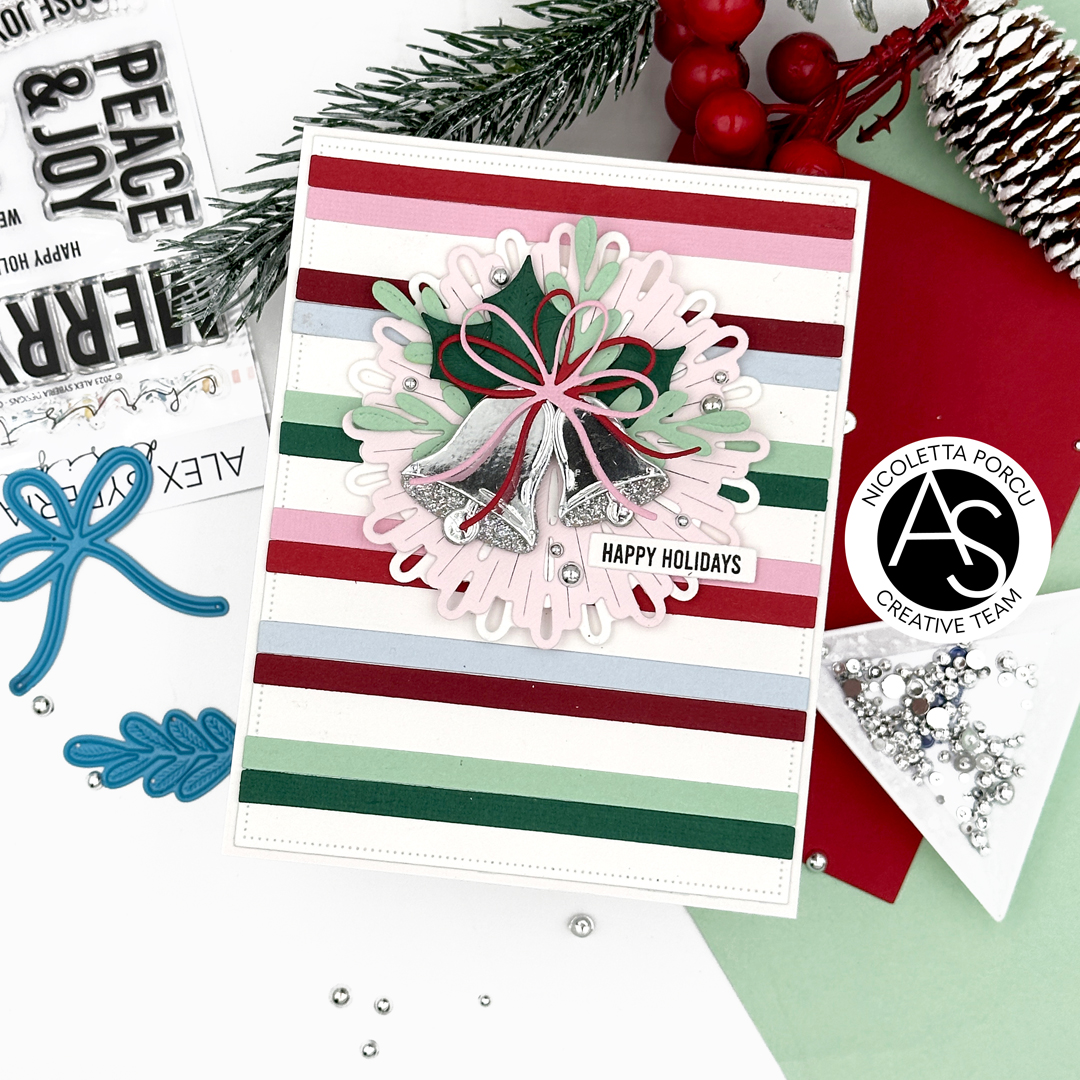
Next up I die cut all the elements from the Jingle Bell Joy die set choosing the greens requested by the challenge palette for the leaves and the metallic and glitter silver for the bells. I glued them on the big snowflake  using some thin foam adhesive pads give dimension , then I added the pink and the red bows I die cut using the Pretty Bows die set

At that point I added the little sentiment I stamped using the Christmas Sentiments stamp set and I die cut using the coordinate dies.
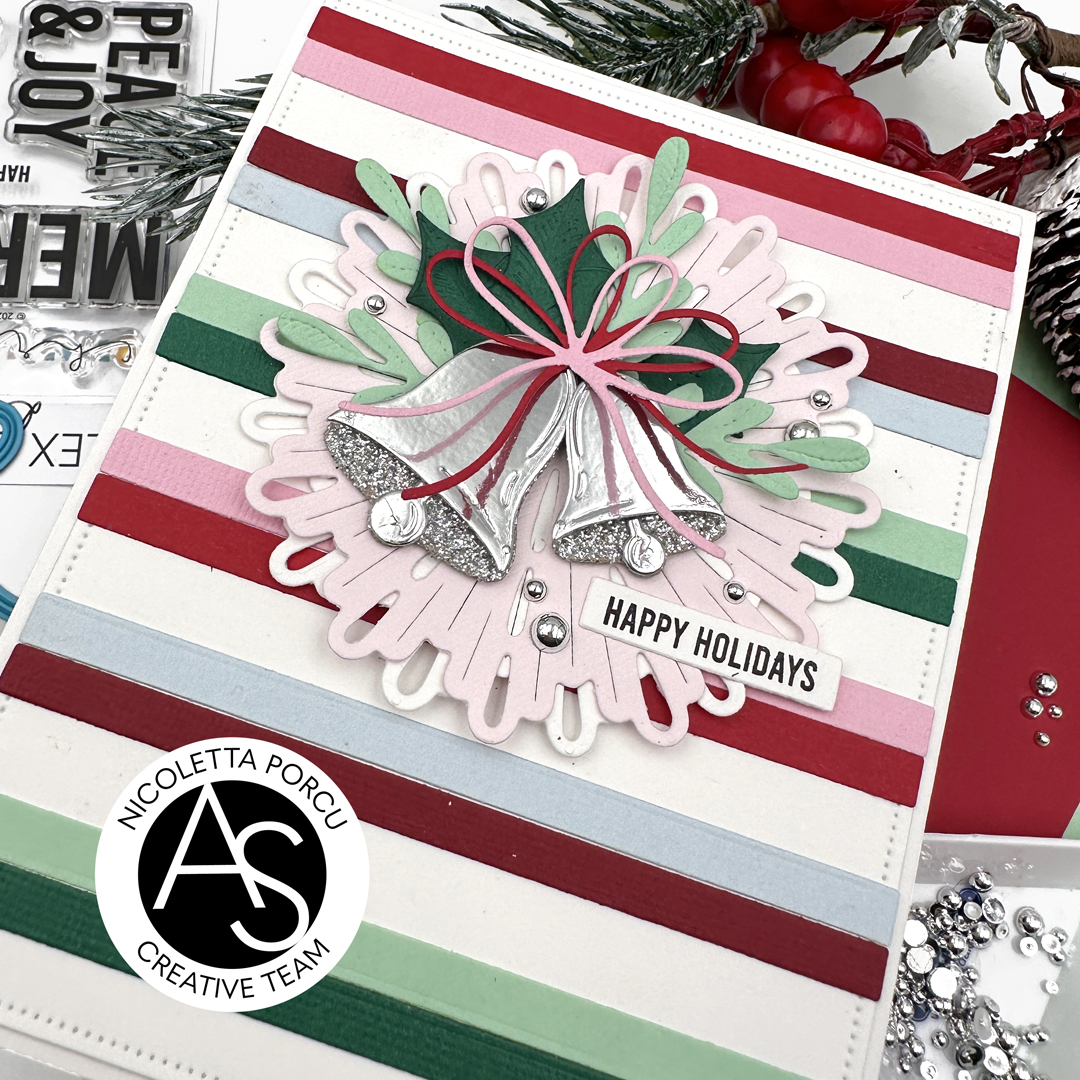
As a last touch I added some silver beads.
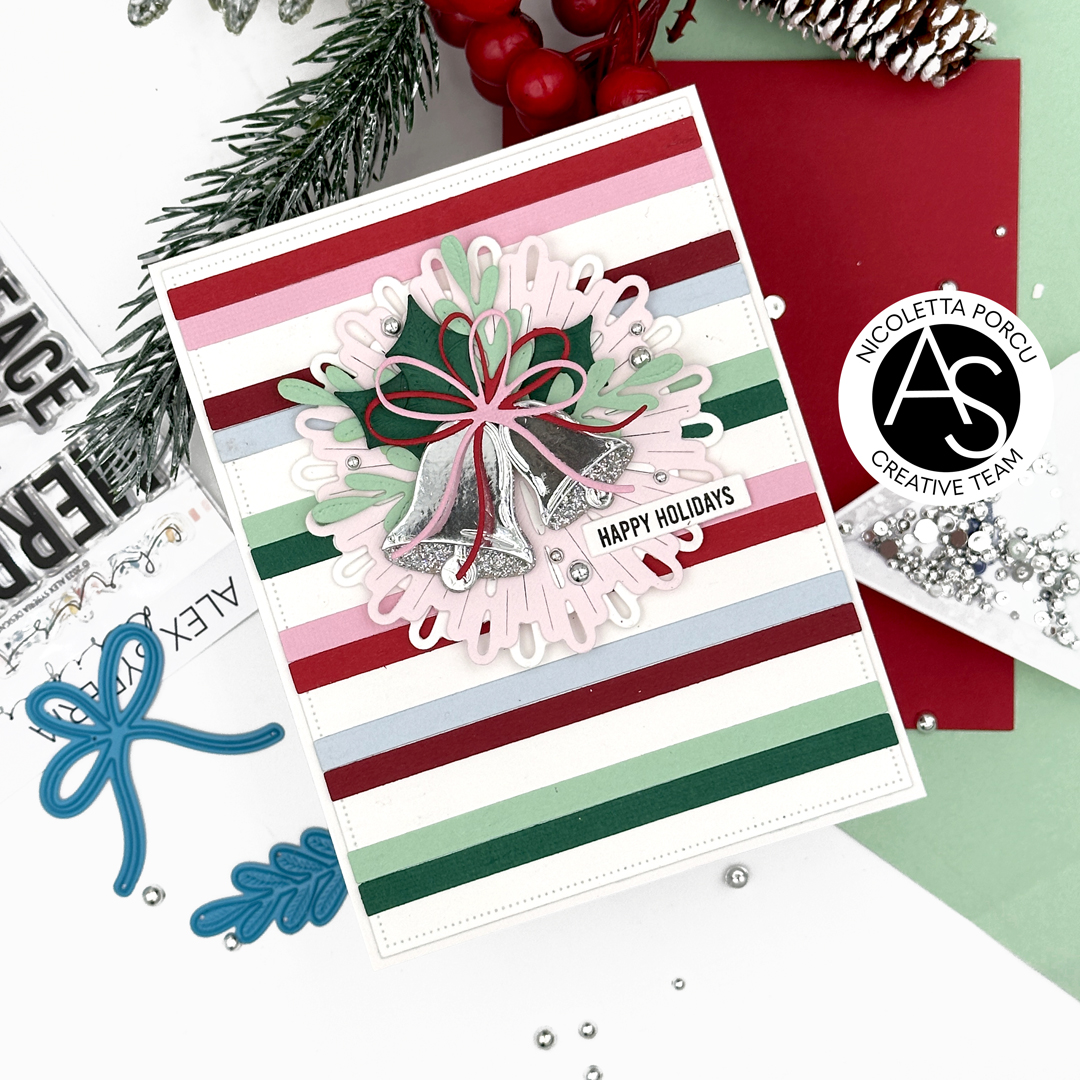
Hope you like my card and the challenge idea!

I can't wait to see all of your projects!

Thank you again for stopping by!

Ciao, Ciao
mercoledì 20 settembre 2023

It's Your Birthday -September challenge

Hi crafty friends!

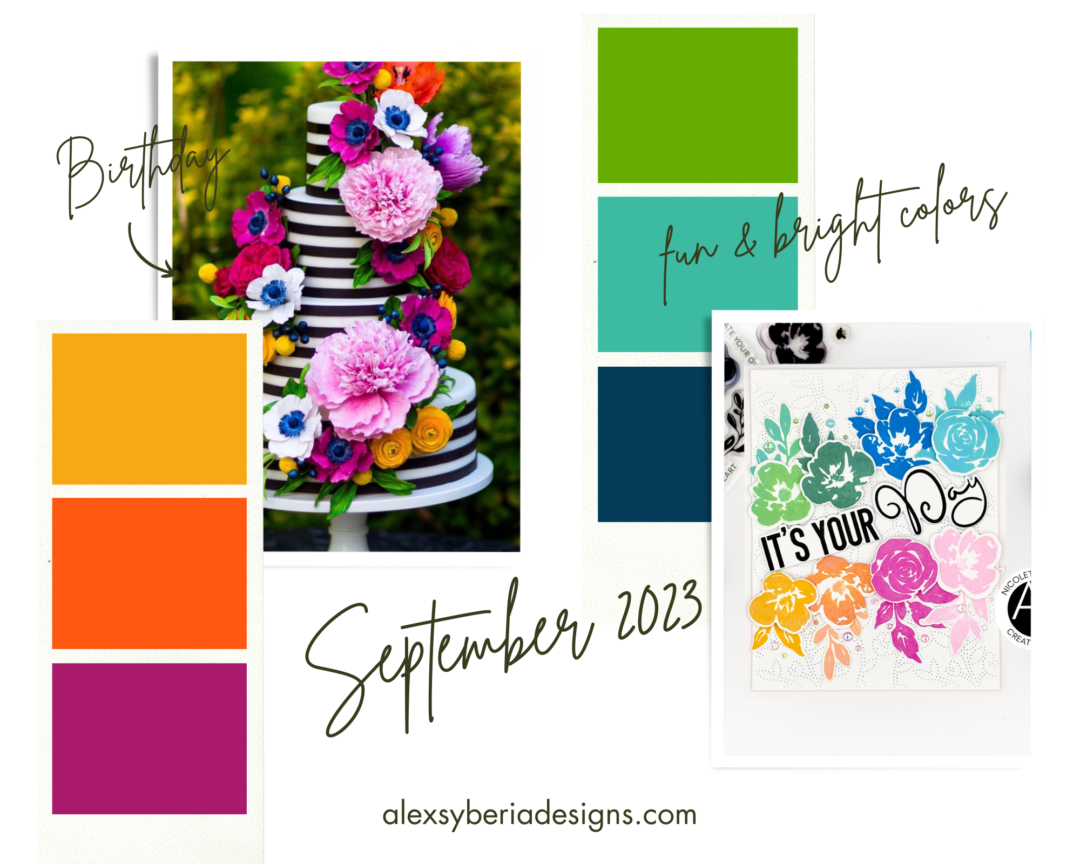
I'm back today to share with you the card I made for the ASD monthly Challenge that requires to create a project following a color palette or the theme "Birthday! I did both using some products from the old releases.

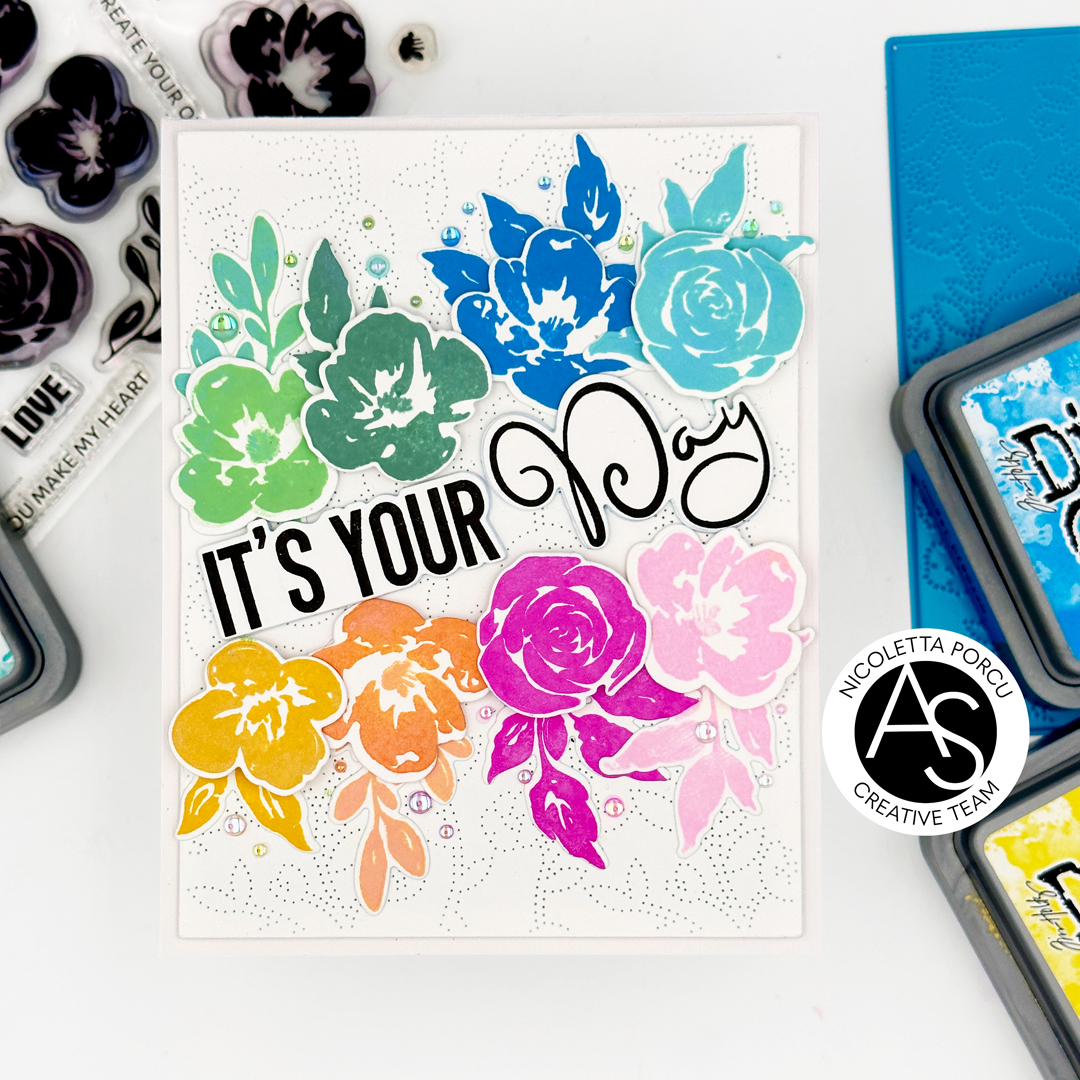
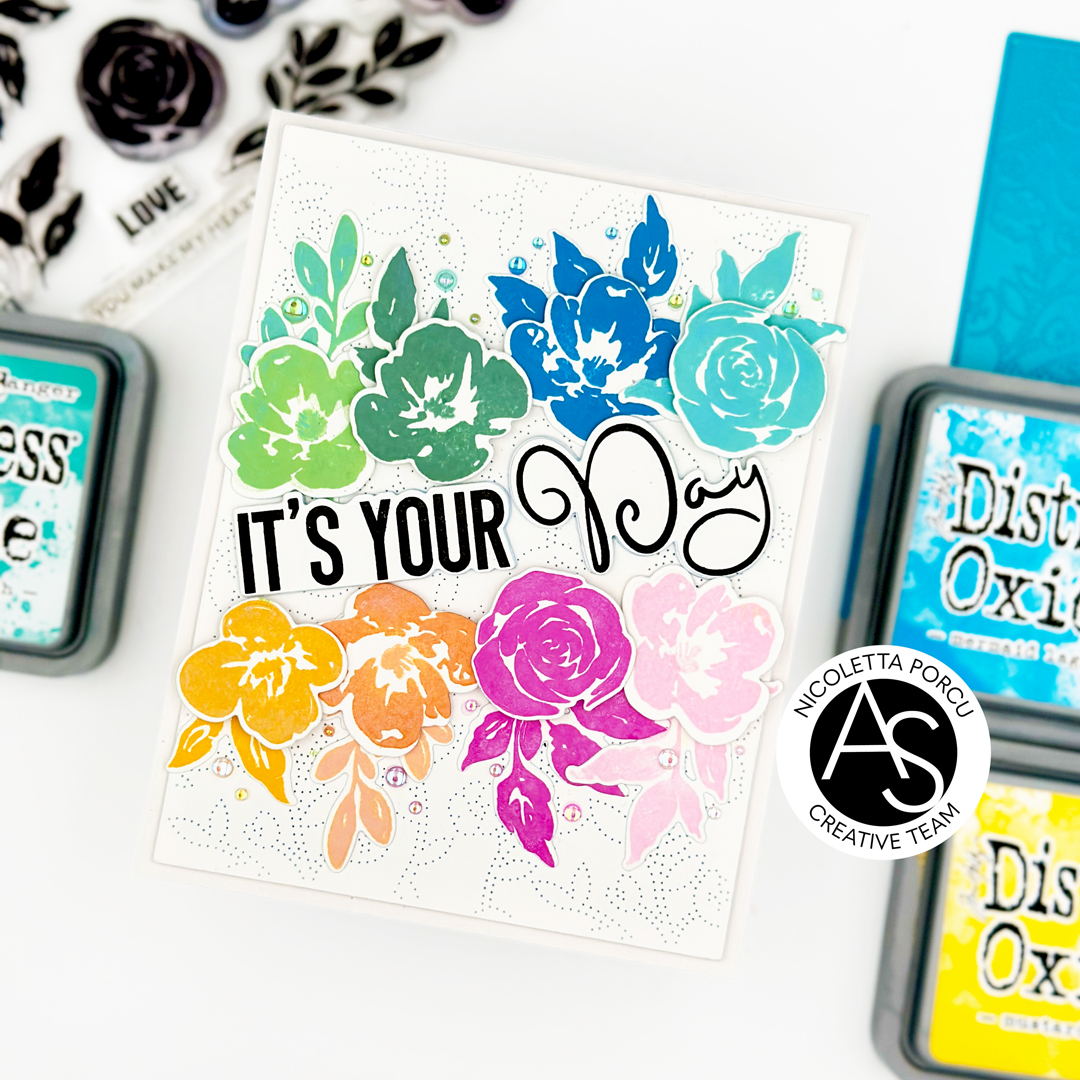
I begun by die cutting the Meadow Magic Cover die on a piece of white cardstock and by adhering it over a cardstock white card base using the adhesive foam to add dimension 

I continued by stamping and die cutting the big sentiment using the Birthday wishes stamp set and the Birthday Wishes die set and adhering it in diagonal on the card center.

Next up I stamped the flowers and the leaves  from the Create Your Own Happy stamp set  in the colors the color palette wants and then I  and die cut  them using the coordinate dies: the Create Your Own Happy die set.

I adhered them over and under the sentiment and as a last touch I added some rhinestones in the same flowers' and leaves 'colors.

That's that!

Hope you like my card !

If you want join our challenge you have 10 more days to create your project following the September theme or the color palette or both as I did.

Thanks for stopping by!!

Ciao Ciao

mercoledì 2 agosto 2023

Shaker card for the first Alex Syberia Designs Challenge

Hi crafty friends!

So excited today to share with you the card  I made for our first ever  monthly challenge at Alex Syberia Designs.

From  now on every month  we will have  a theme or technique prompt along with a colour palette to follow to create our cards or projects using the ASD products!

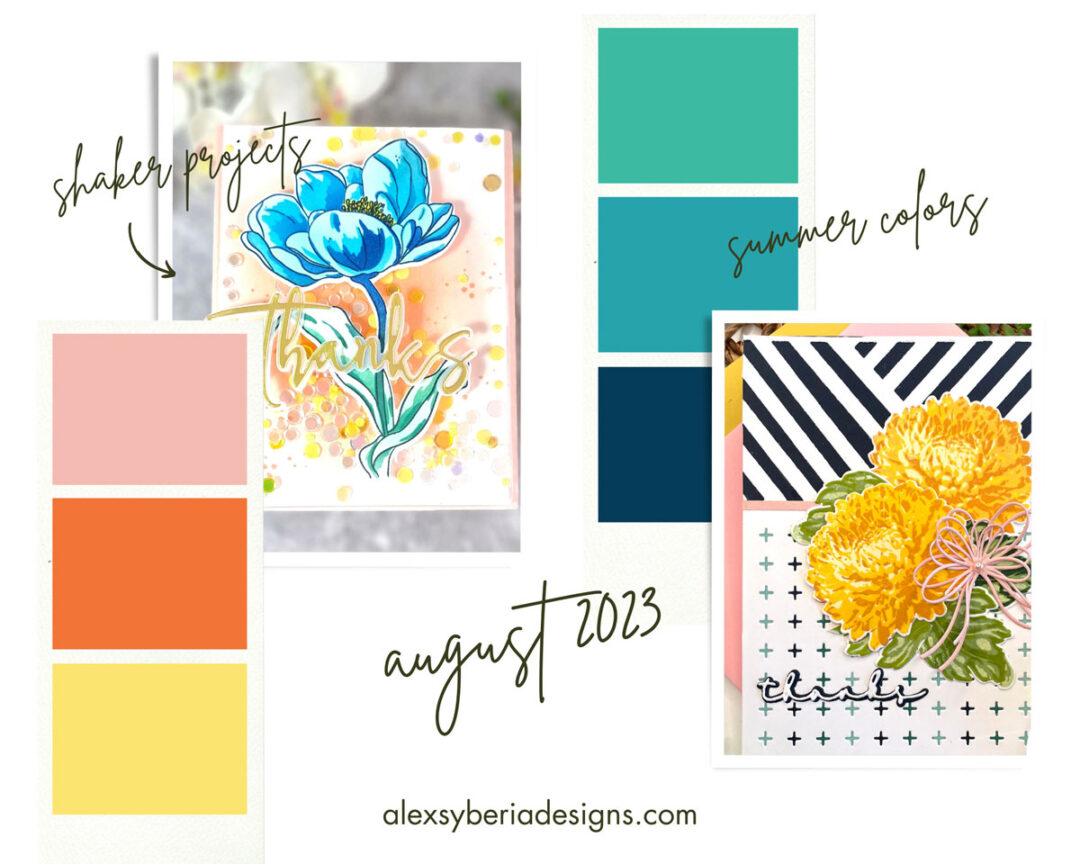
This is our month's prompt:

Inspiration-Challenge-August-Alex-Syberia-Designs

You could choose to make a shaker project or to follow the color palette or both as I do!!

To join us each month and to see all the beautiful inspirations, for the details and rules to follow please take a look at our Inspiration Challenge Post.

But now let me talk about my inspiration card!

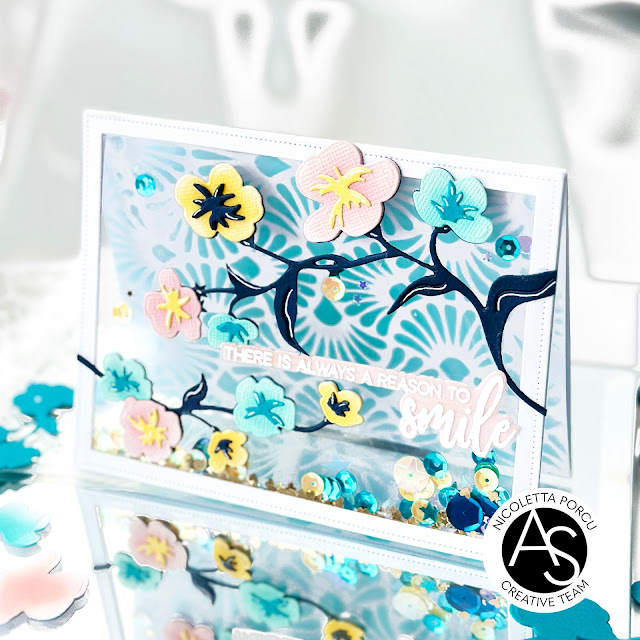
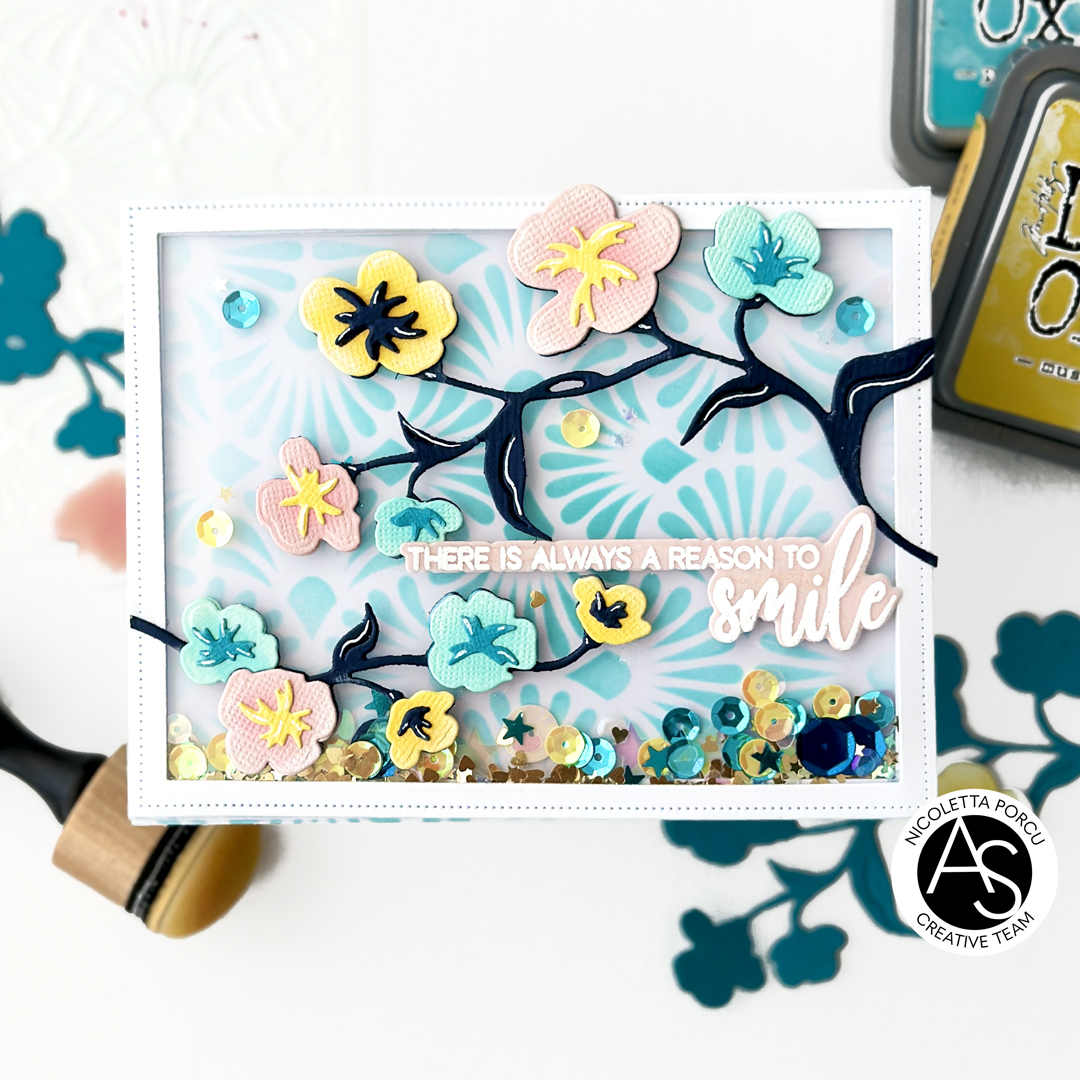
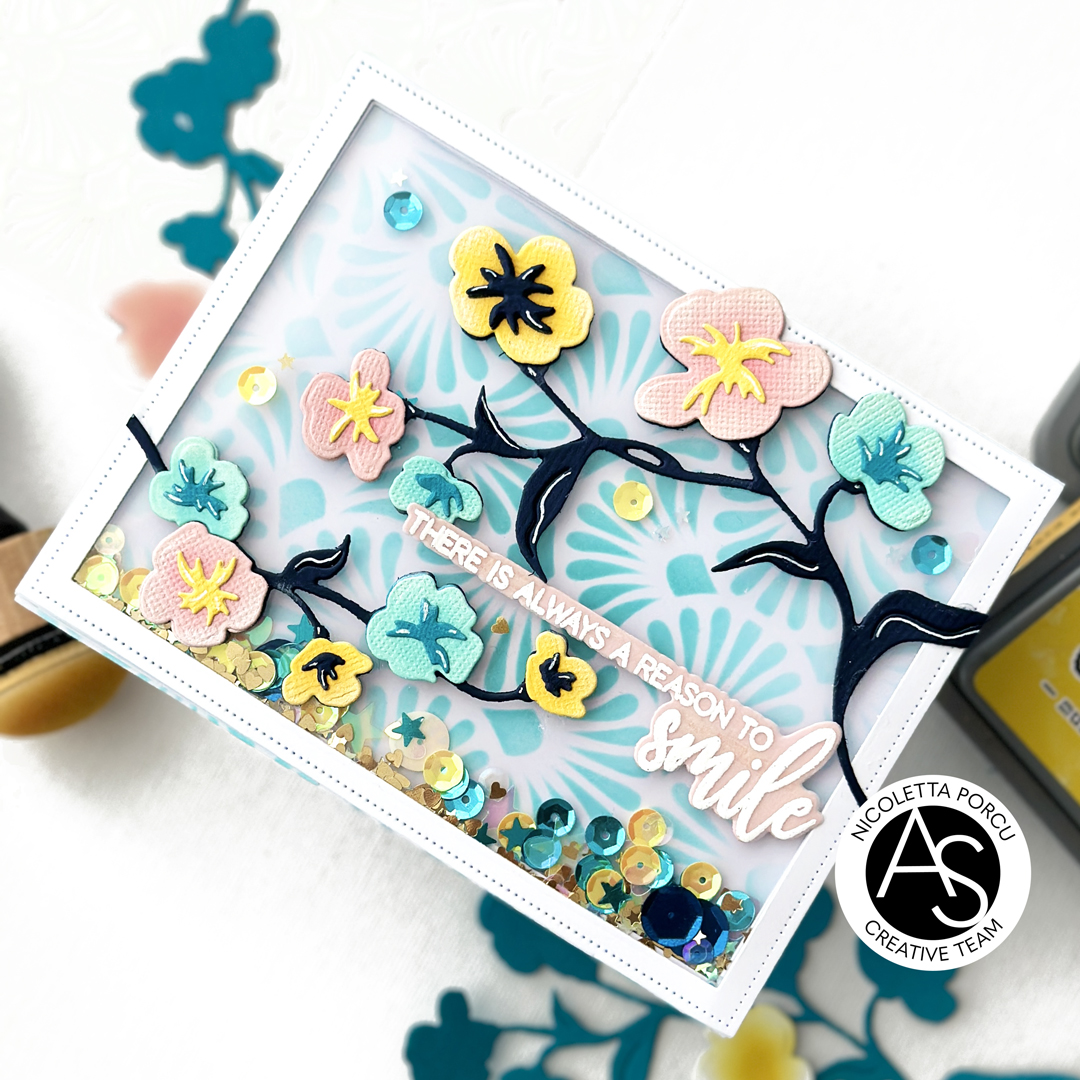
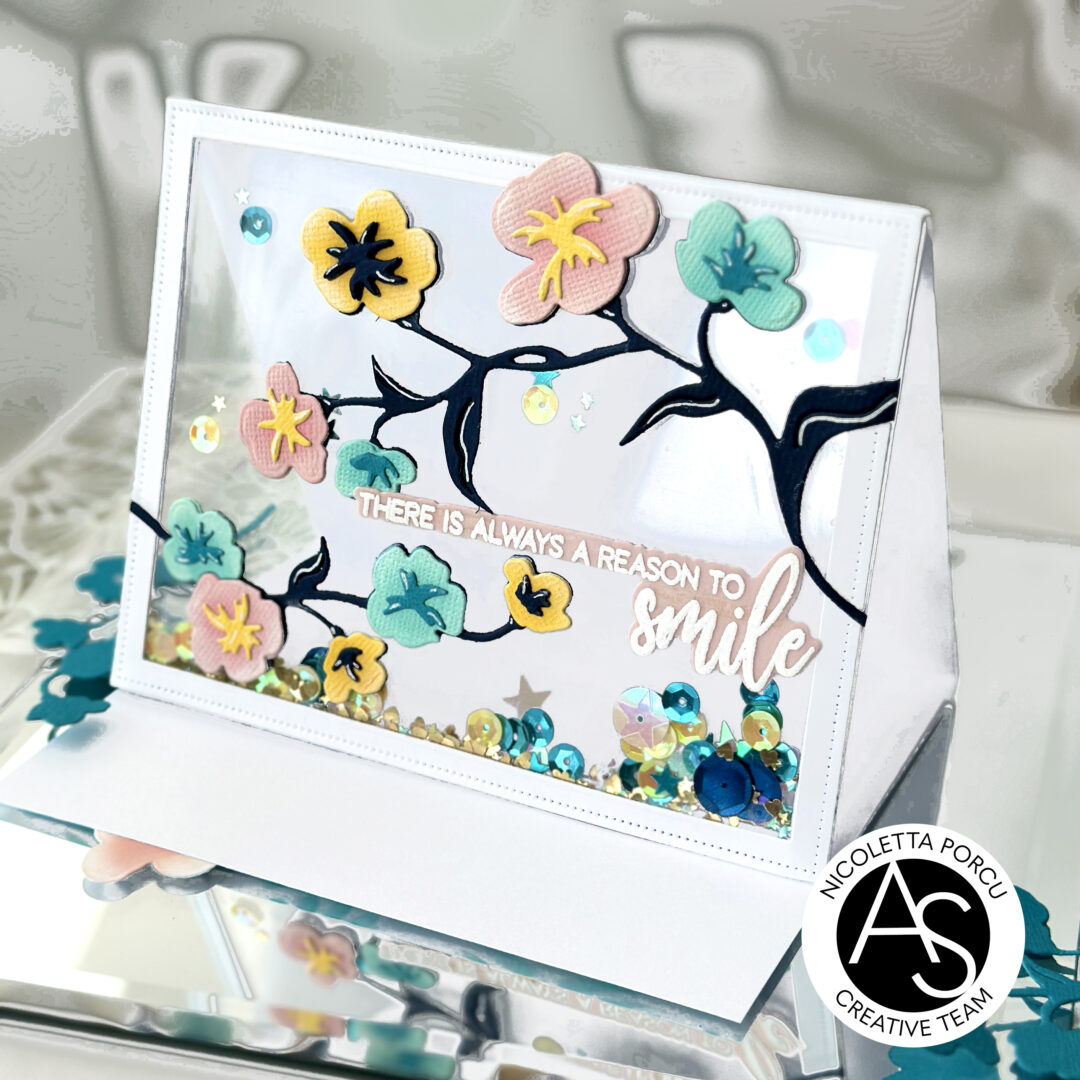
As I said before I chose to follow both the palette and the technique prompt and my project is a trifold see-throght  shaker card inspired by a Jennifer Mcguire's viedo tutorial!

Firstly to make the shaker card I prepared the trifold structure by adhering together two card bases. I die cut the front window in the top fold to create a frame by using the Nested Scalloped Frames die set and I  stencilled  the inside fold with the Fancy Background Stencil and the Peacock Feathers Distress Oxide. Then I  closed the top window by adhering an acetate rectangle and on top of it I adhered a tree layers frame I die cut and glued together previously.

Next up I put some gold, yellow and turquoise sequins inside the frame and  closed It with another frame covered with a piece of acetate.

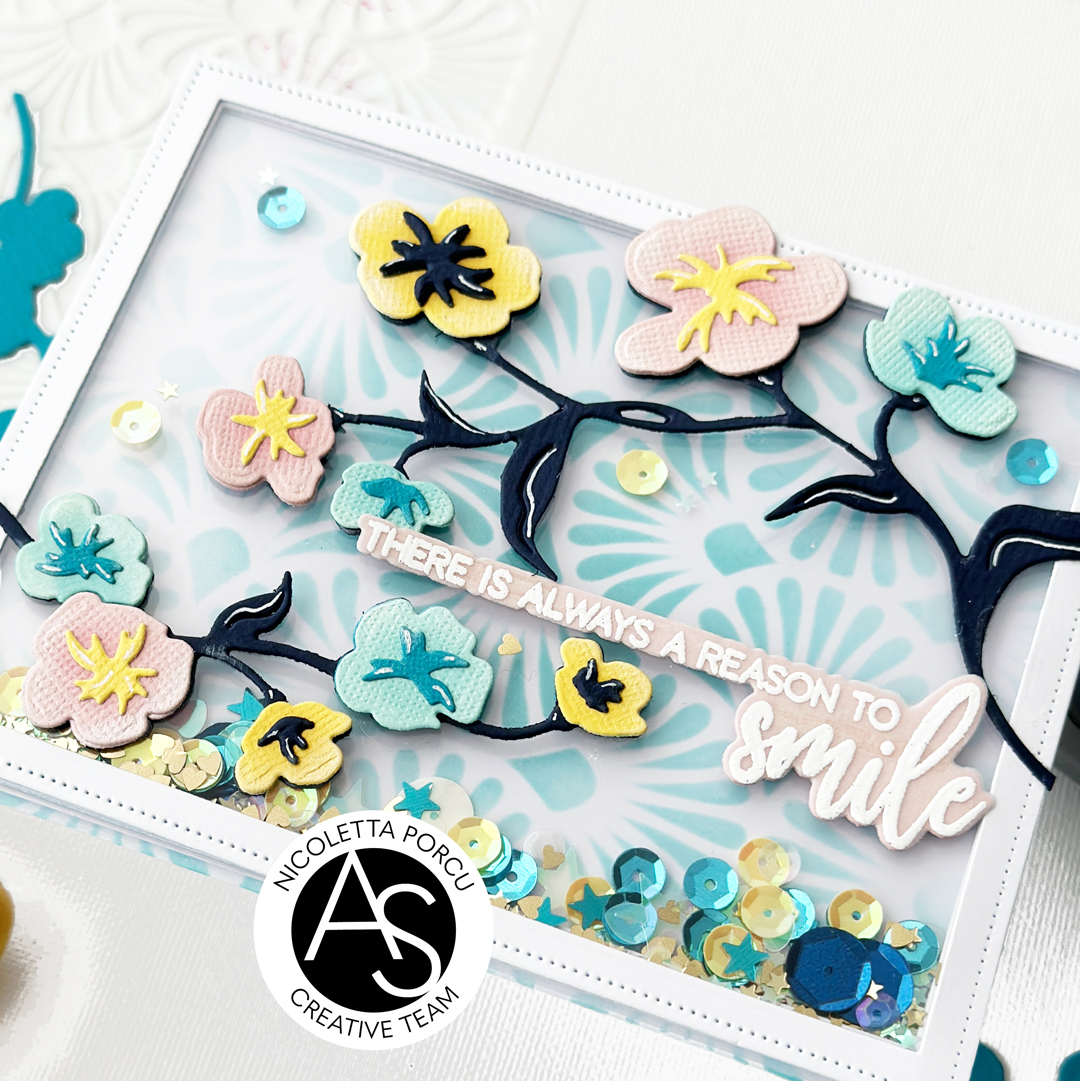
Once the shaker structure is completed I realised the floral decorations in the challange color combo by using the Petite Periwinkles die set.

I glued them over the acetate window and as last thing I glued the sentiment form the Spring Garden stamp set. It is stamped  on vellum, embossed in white , die cut with the coordinate dies,  and doubled with a rose cardstock layer.

And that's it!!

This is the card opened:

Hope you like my card and the challenge idea!

I can't wait to see all of your projects!

Thank you again for stopping by!

Ciao, Ciao

linktwin

Related Posts with Thumbnails

ShareThis