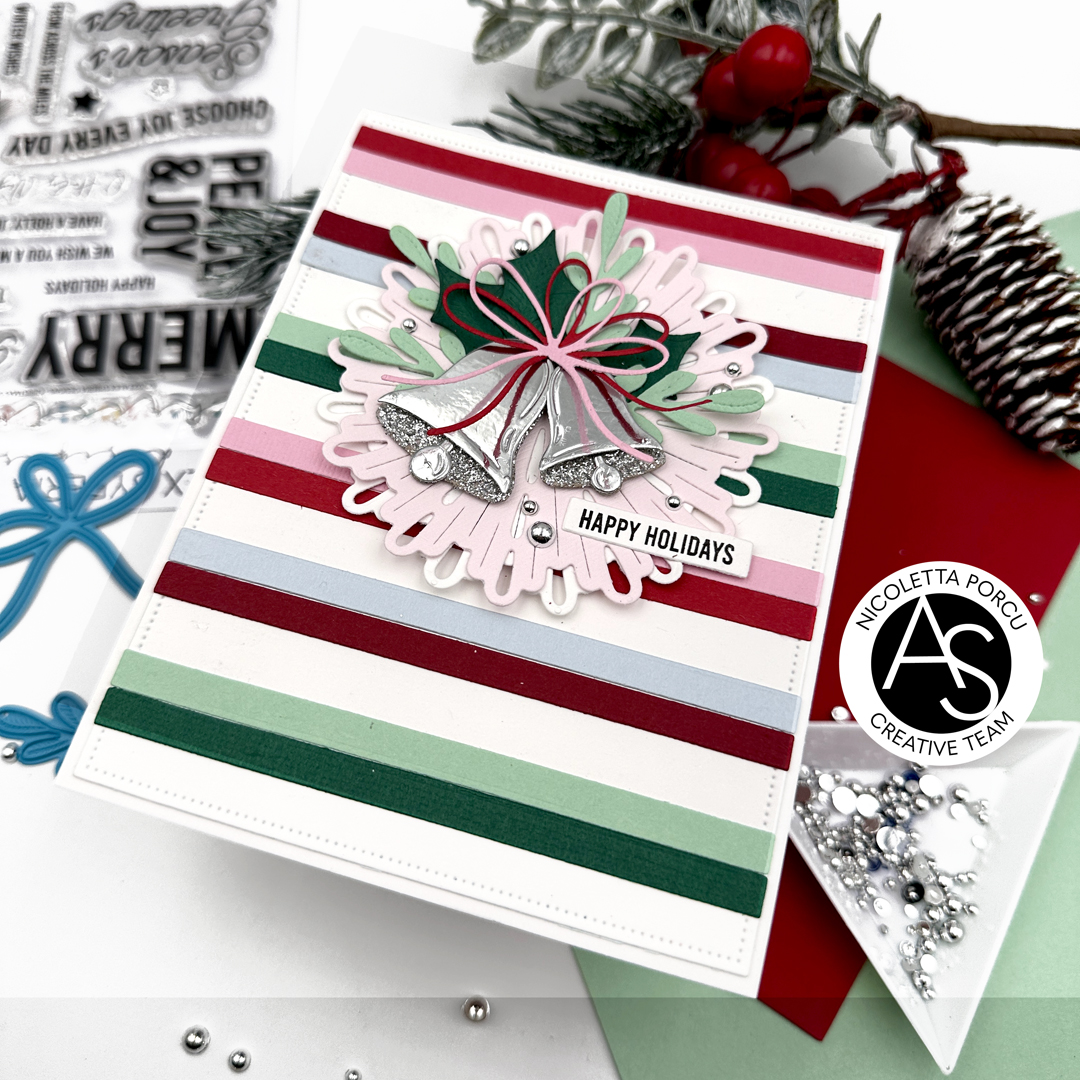
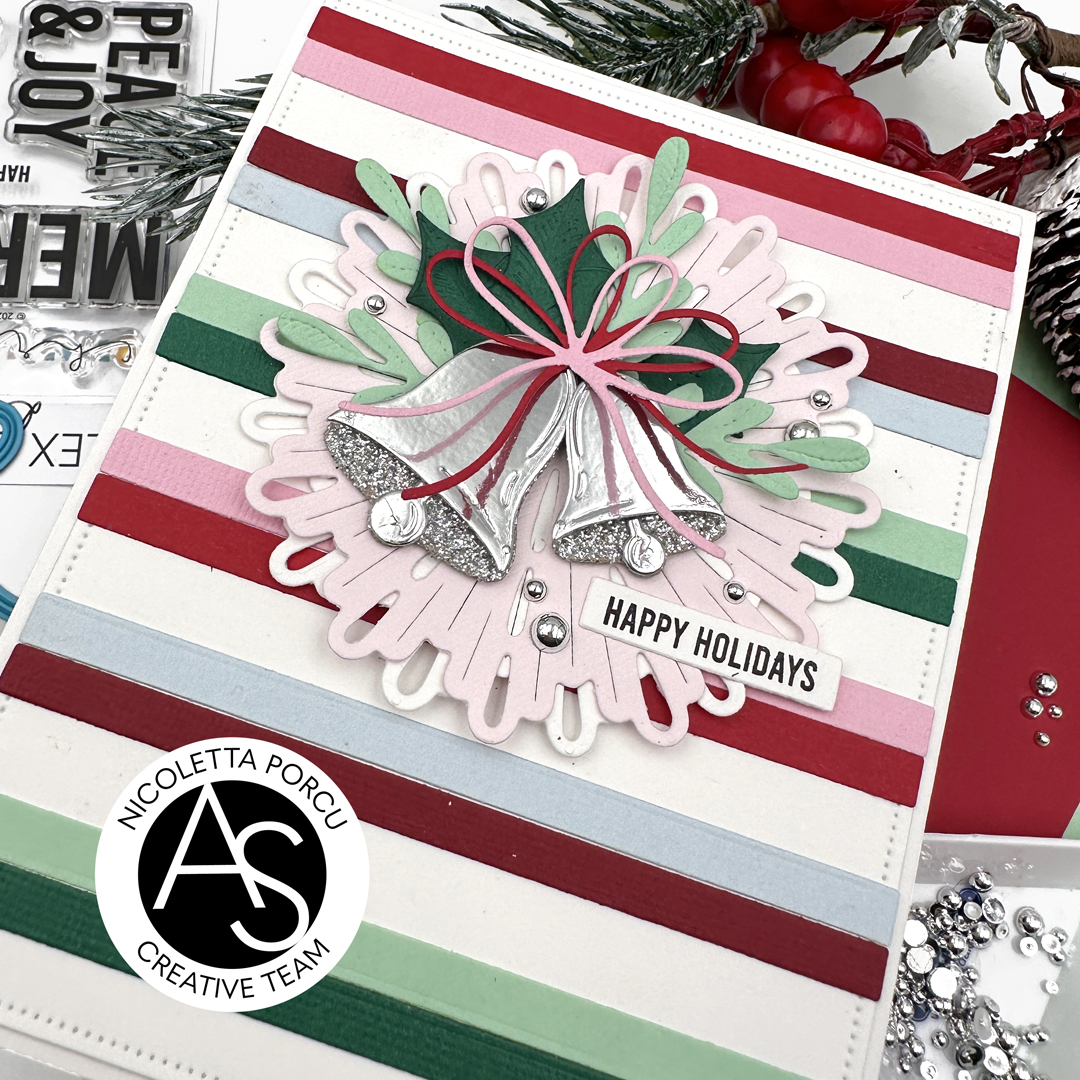
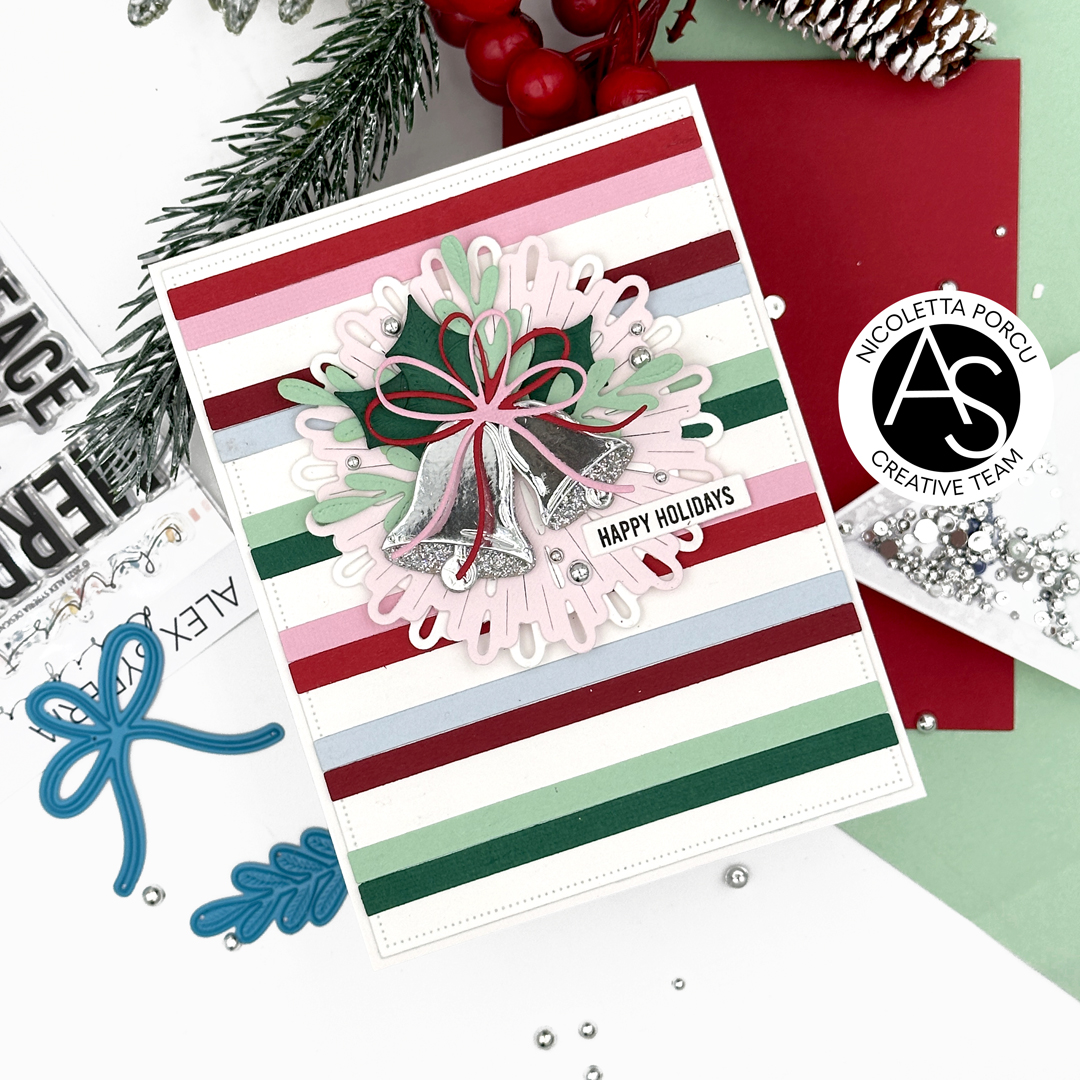
Hi crafty friends!
Nicoletta here today with a new card!
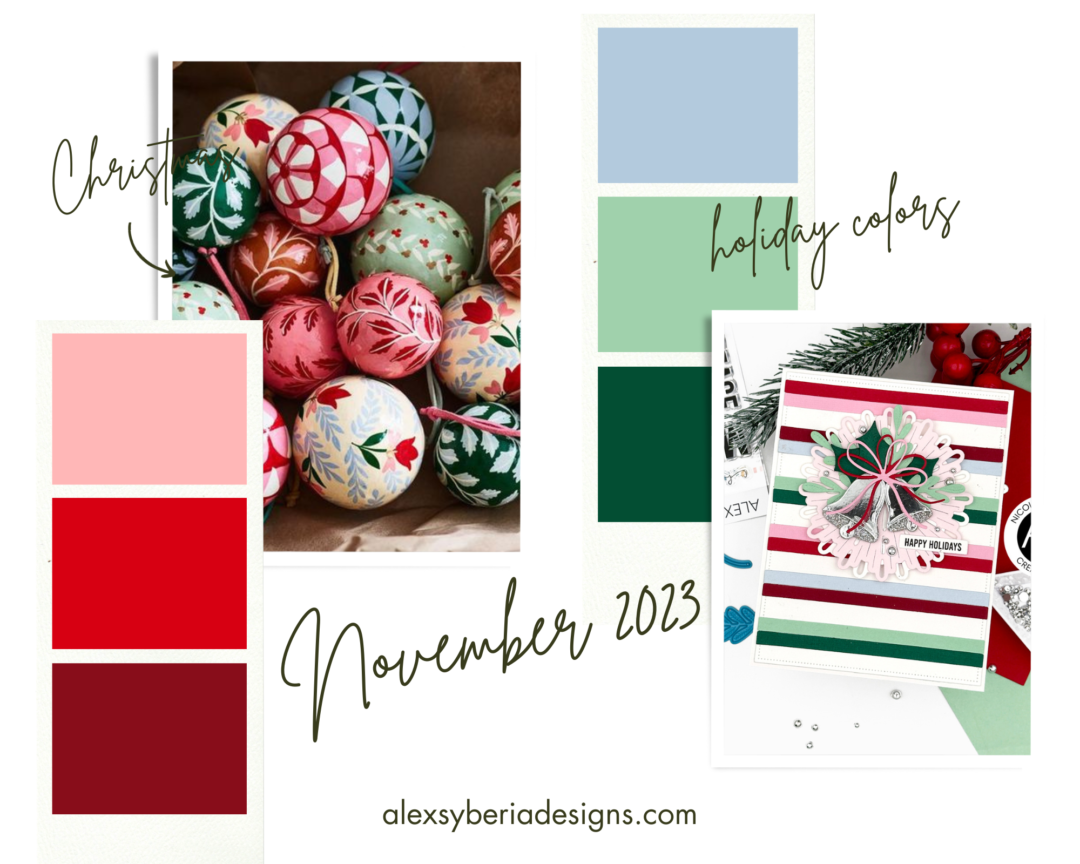
I hope you had a wonderful and peaceful Christmas! I spent these days with my loved ones and I collected sweet memories.... and I cooked soooo much!! So today I was really happy to sit in my craft room to play with my stuff!
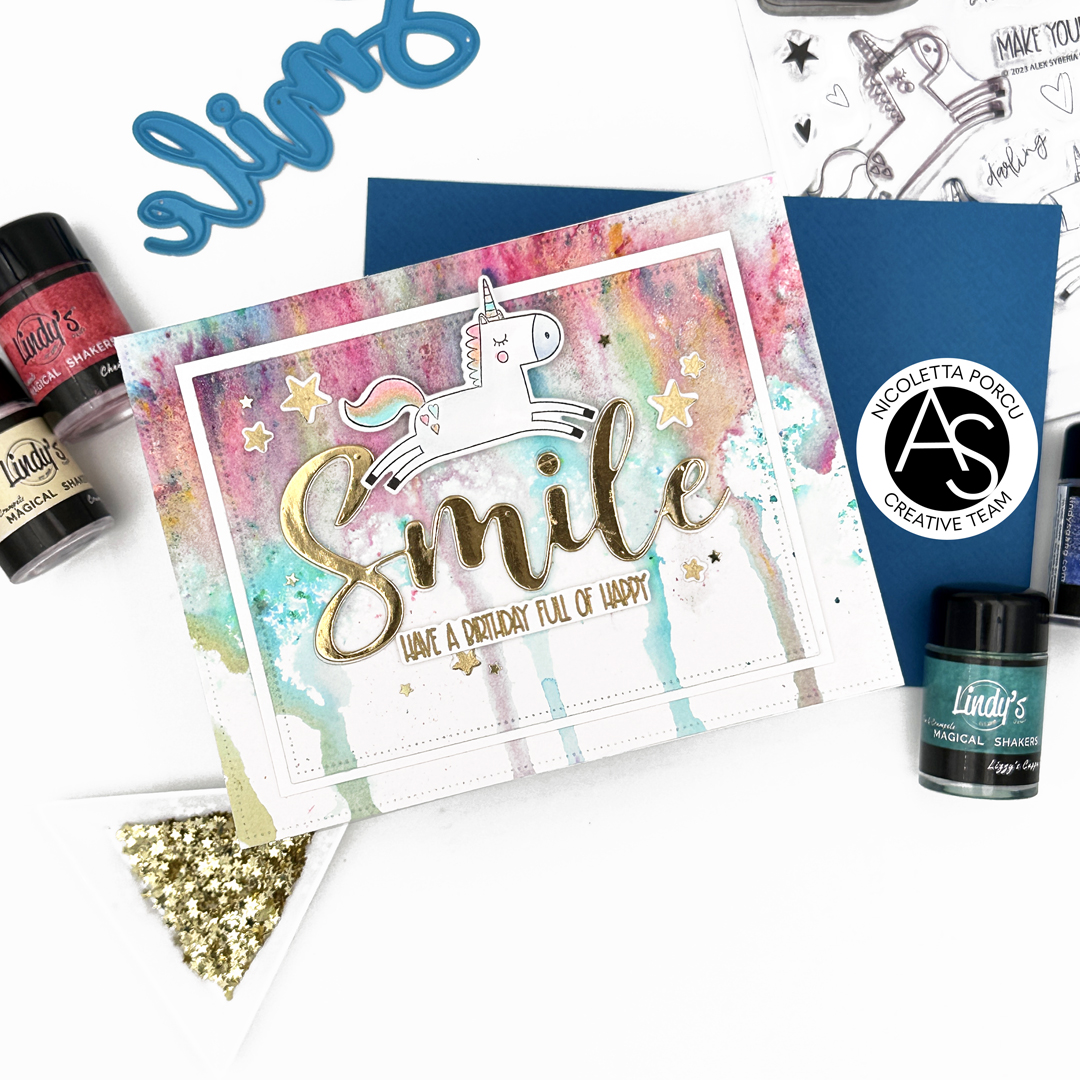
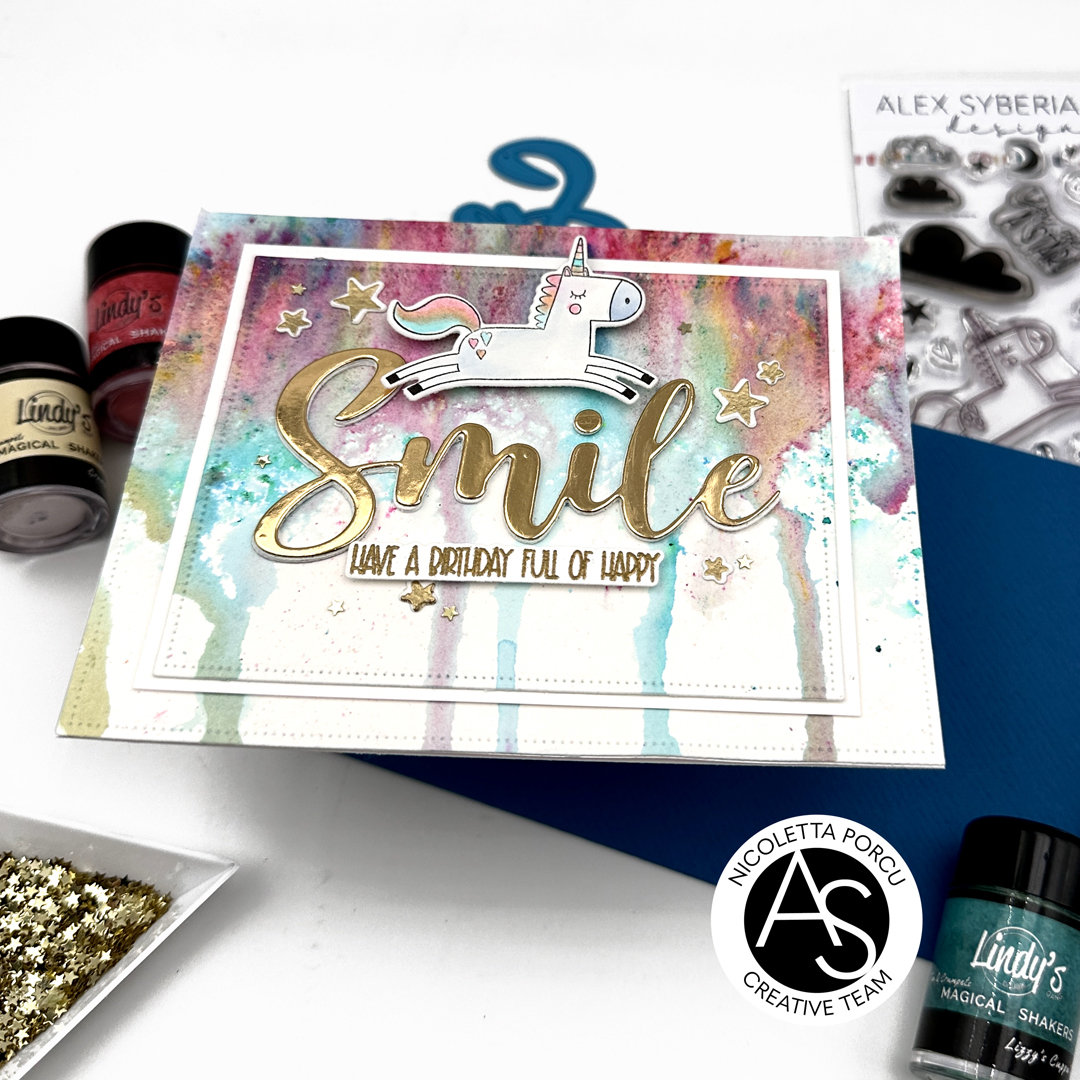
I have some birthdays during the holidays and I have this card in my mind for days and today finally I had the time to give birth to my idea.

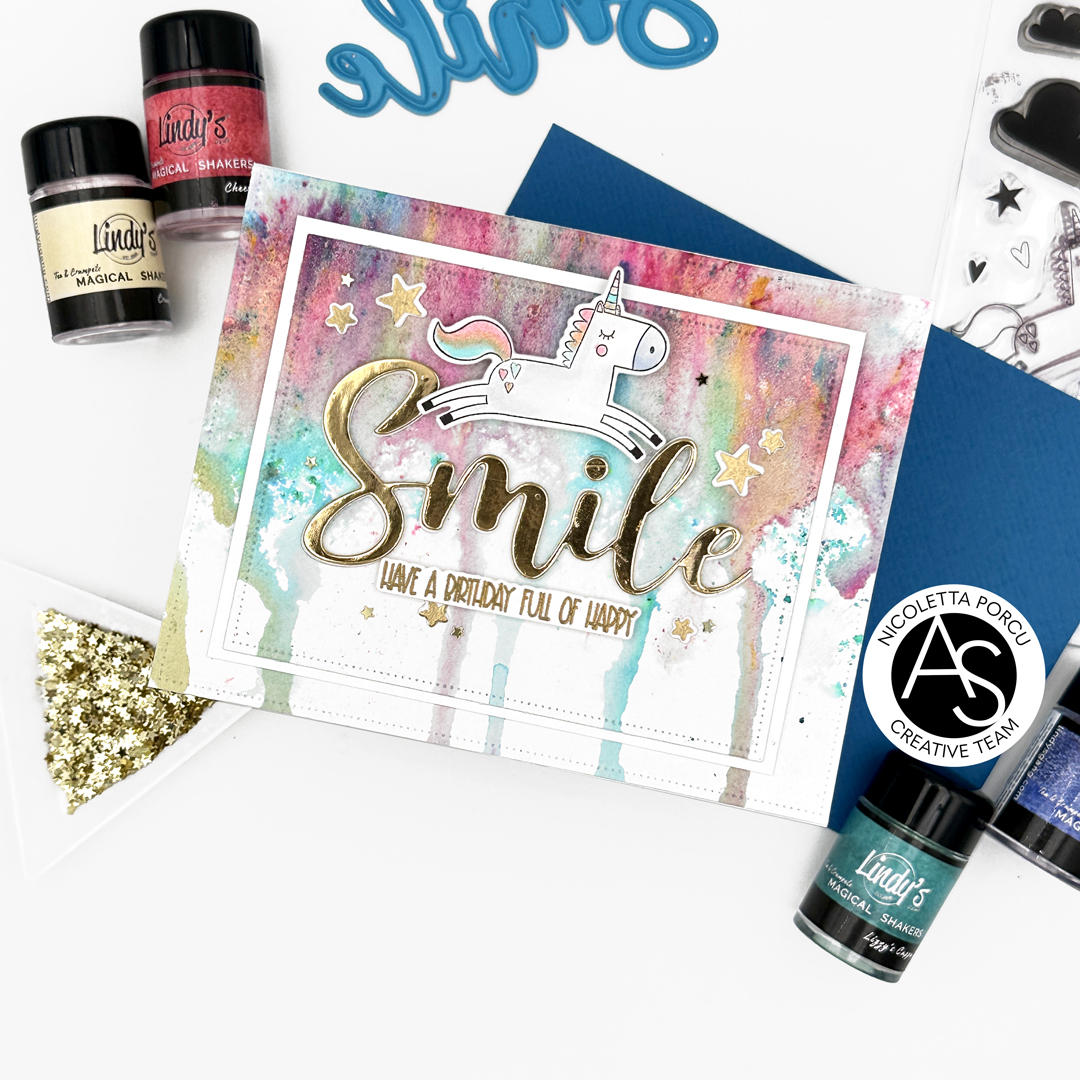
To make it I started by blending a red and green Distress Ink on a piece of Neenah paper and cutting it in the size 4 1/4 x 5 1/2.
I continued by die cutting the top panel of my card using the Snowflake Petals Cover die in 4 layers... I adhered the first 3 together, then I glued an acetate sheet and over the last snowflake petal layer and I put white glitters red stars confetti into the petal's shakers.
I plugged the shaker panel with the red and green blended paper and then I glued everything on a white card base.


As a last thing I added a red hot foiled and die cut sentiment ( doubled in green) in the center of the card and that's that.
(It's Your Birthday hot foil and die set)

Hope I give you some inspirations!
Thank you for stopping by !!
Ciao Ciao