Visualizzazione post con etichetta Copic. Mostra tutti i post

mercoledì 2 luglio 2025

Alex Syberia Designs July Release Blog Hop & Giveaway

Hello crafty friends!!!

The July release   is amazing and includes   dies and press plates  you will love for sure
You could find all products on Alex Syberia Designs shop. I want to remember to our European friends that you could buy all products on the UK store too here.

Joining with us  you will see many inspiration projects made by the AS design team in the ASD blog post,  so you could appreciate the amazing collection. 

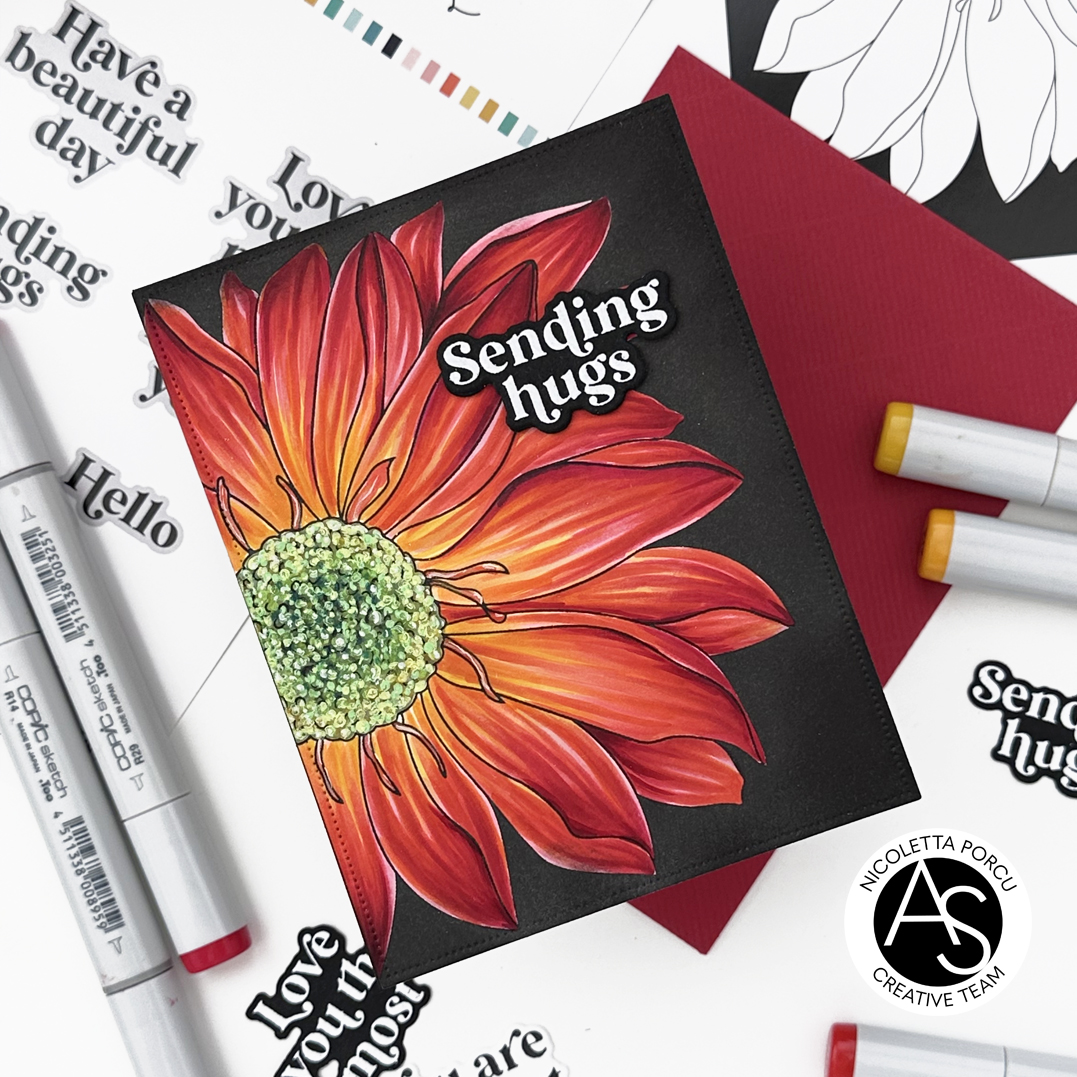
Now let me share the card I made for the occasion using the amazing Summer Flower Press Plate!

This plate is absolutely stunning and the card making process is so fast and satisfying

Really easier said that done!

To make this card I started by placing the Summer Flower Press Plate on my Betterpress tool and inking it using the Nocturne Versafine Clair ink ( I found that Versafine Clair works beautifully  with press plates) and I run it through my Spellbinders Platinum 6 machine to press the image into the cardstock.

As a last thing I added the sentiment  I realised using the Essential Sentiments Press Plate & Die set. I embossed in white the sentiment on a black cardstock and to add dimension I die cut it in five layers.

And that's it!


Next up I colored the flower using my Copic markers. For the disk florets  I also used Prismacolor Pencils and gel pens.

Here the Copic colors I used
R29/R27/R24/R17/R14/R05/Y19/15Y02/RV99/RV69
G94/G28/G43/G24/G20/G46/YG25/YG45/YG61

Once everything was colored I die cut the image using a  rectangle die from the Nested Scalloped Frames Die set and I glued it over a black base card.


I hope you would join us I this fun blog hop to see all the beautiful creation of our design team and for the chance to win fabulous prizes.

The previous stop is : Nicky

 and the next stop is : Raquel


Blog Hop order:


Alex Syberia Designs

Bobbi

Brenda

Carly

Emelie

Erin

Kelly

Lea

Lien

Nicky

Nicoletta ---- you are here

Raquel

Sandi

Sylvie


As I said before   fabulous prizes are waiting for you:


Alex Syberia Designs is giving away a $15 (or £15) gift card to four lucky winners. 


Open internationally. All 4 winners will be drawn from the entrants that have played along with this Blog hop by midnight BST July 10th, 2025. Winners will be announced on the Alex Syberia Designs blog 'Giveaway Winners' page on July 11th, 2025.


lunedì 13 gennaio 2025

With All My Love - Crafty Meraki IG hop and New Release

Hi crafty friends!!
so excited today to share with you my first card as DT member for Crafty Meraki  for the new release day!
Indeed we are celebration on Instagram with an Ig hop to give you the chance to win amazing prizes!
Don't miss up this and go on my Ig account @nicolettaporcu.design.
But now let me share the card I made for the occasion:


To make my card I started by using the All My Love Press-tacular Plate ; I hot foiled it in gold   on a X-Press blending paper and stamped and white embossed it on vellum.
After coloring the hot foiled on with Copic markers, I die cut the bouquets using the All My Love Coordinating dies.
Here the Copic colors I used:
R000/R02/R01/RV00/RV000/RV000
R37/R35/R32/R30
E84/E81/E40/E41
100/N9/N6/N4/N2


At that point I thought about the background and using the Diamond Dazzle Hot Foil Plate as an embossing plate on a white cardstock and I glued it on white card base  using foam tape to add dimension.
Next up I splashed som red and gold ing on the background and then I arranged the bouquets: first the vellum one and then the colored one , using foam squares to add a little bit of dimension.


I continued by adding the little Hugs sentiment   which is part of the All My Love Press-tacular Plate 
and the little butterly I hot foiled on vellum using the Flutter Glow Press-tacular plate.
You can have it as a free gift with $ 75 purchase.


As a last thing I added some gold rhinestone , the Meraky Sparkle Gold Illusion,  using the very helpful

And that's it!

Below some other pictures!


Hope you like my inspiration card and hope to see many of you in our IG Hop!
You could find all products I used on  Crafty Meraki   shop.

Ciao Ciao

sabato 7 settembre 2024

Grateful For You

Hello crafty friends!

I'm here today sharing my first card as Crafty Meraki guest designer for September!

I'm so excited to be a part of the  the Crafty Meraki family this month and to play with their amazing products!

Hope you could like my inspiration projects!

This week the theme will be "Focus on sentiment"  and I enjoy so much the time spent making my colorful  card!


To make the card I started by stamping the Enchanting Hugs stamps set on a piece of Neenah Solar white cardstock  using the Angel Pink Memento ink and my Misti stamping tool.

I wanted to color the image using the no lines coloring technique so once I applied the ink I first stamped on scrap of paper to remove a little bit of ink and then on the Neenah cardstock.

At that point the fun began!!

I decided to color the Hugs letters as a teal foil balloons, the flowers in red, the leaves in gold/yellow shades and the berries in violet.

I colored everything with Copic Markers refining the details with Prismacolor pencils and at the end some touch of white gel pen.

Here the   colors I used:

Teal letters

Copic:BG78/BG75/BG72/BG13/BG11/BG10

Prismacolor pencils :Black, Cobalt Turquoise, Aquamarine, Parrot Green, Light Aqua, Light Green , White)

Flowers

Copic: R27/R24/R17/R22/R21/R20/R00

Prismacolor pencils:Tuscan Red, Crimson Red, Scarlet Red, Carmine Red, Permanet Red,  Salmon Pink, white

Leaves 

Copic: Y28/Y26/Y23/Y21/YR24/YR000

Prismacolor pencils : Sepia

Berries

Copic: V09/V06/V05/V04/V01/V000

Prismacolor pencils: Dioxazine Purple Hub,Parma Violet, Lilac, Lavender, Greyed Lavender, White


Next up I die cut the coloring using the Enchanting Hugs coordinate dies, and I glued it on a white card base using foam dots to add dimension,

In the card center I added a string sentiment from the Meraki Moments Hugs stamp set, stamped in black using Versafine ink and outlined whit a teal string cardstock.

As a last thing I added some Meraki Sparkle Gold rhinestones using the amazing Twinke  Tray and Bling Buddy Embellishment Wand Tool.

And that's it!

Hope you like it!

See you in a week for my next post!

Have a great weekend

Ciao Ciao

mercoledì 3 luglio 2024

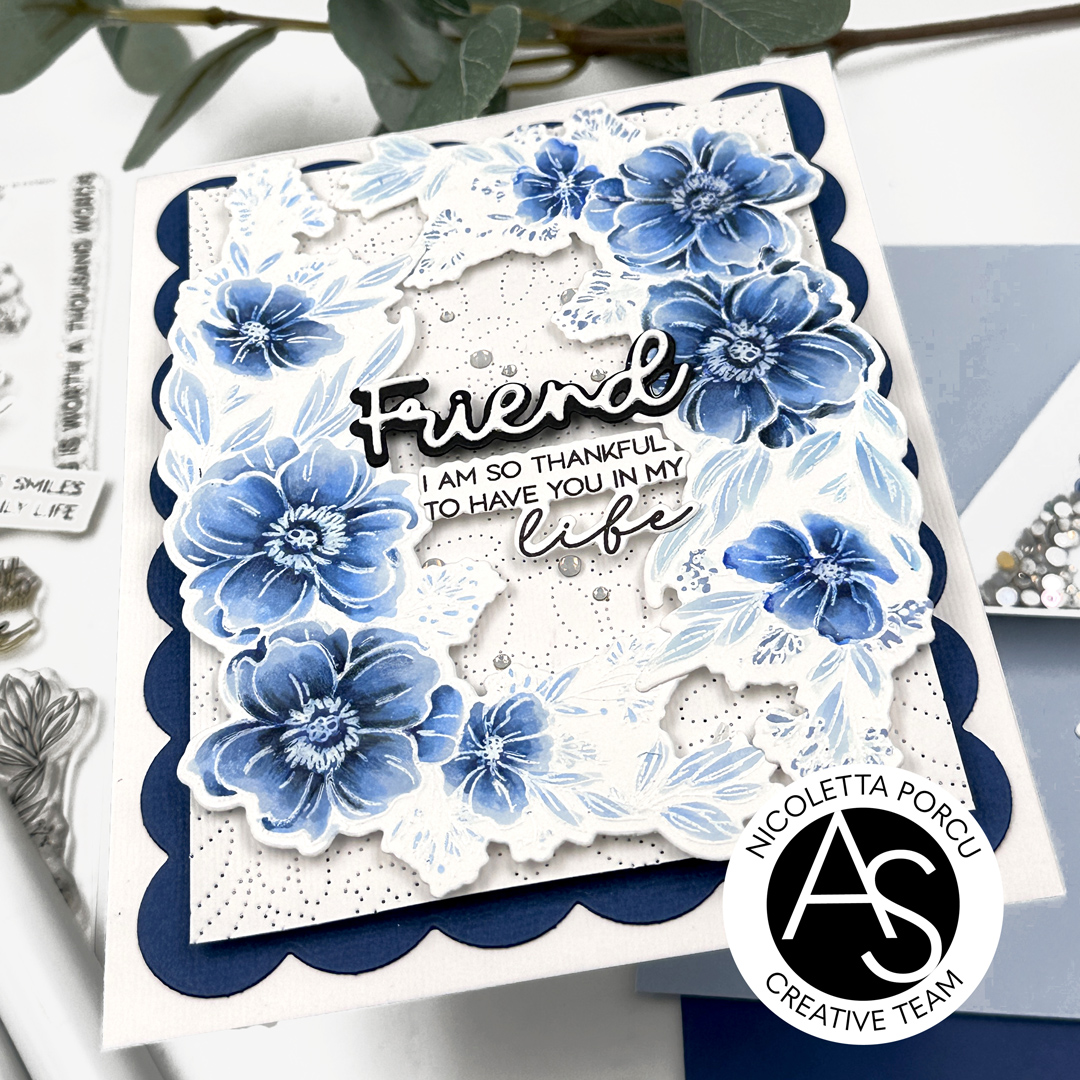
Blue Flowers for a friend

Hi crafty friends!

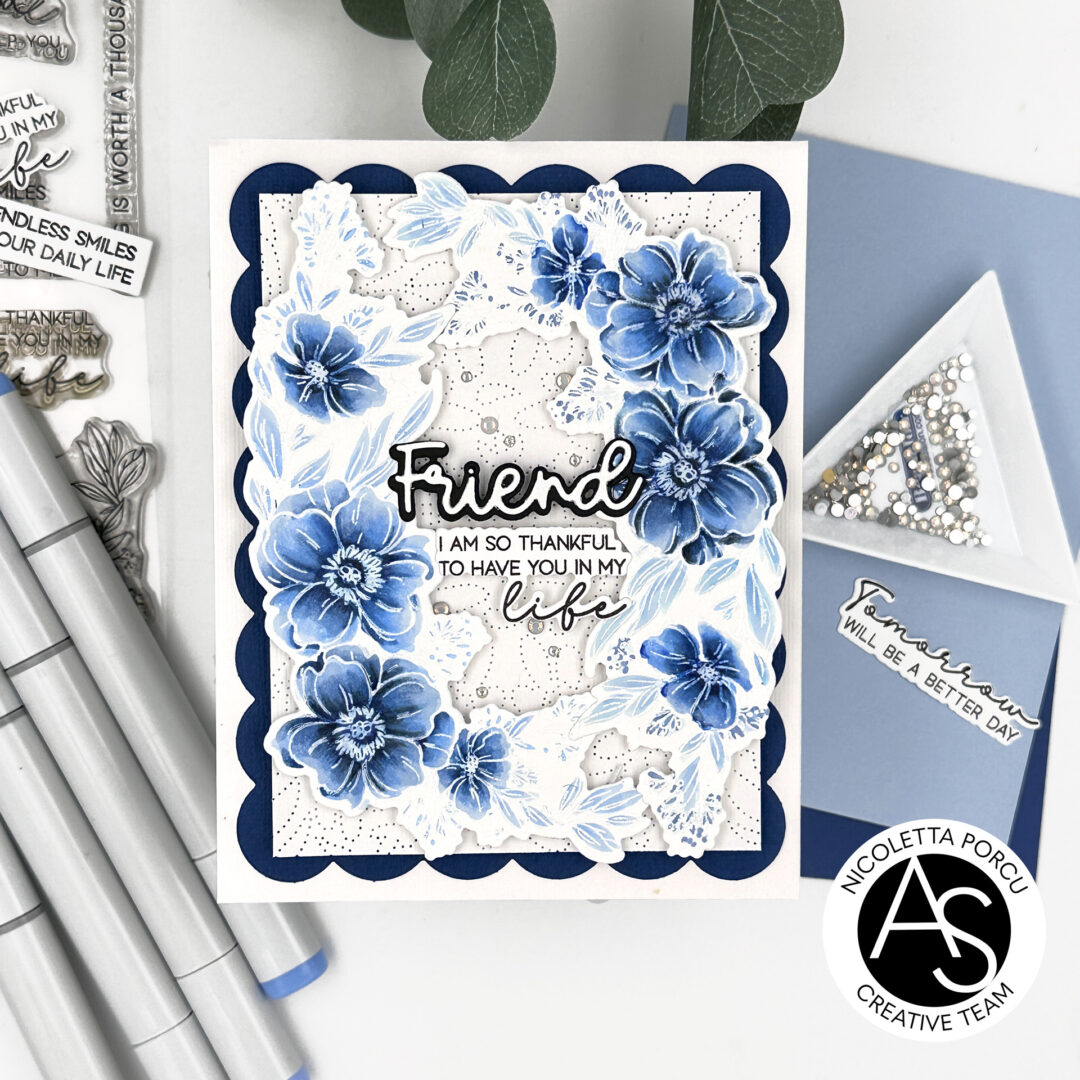
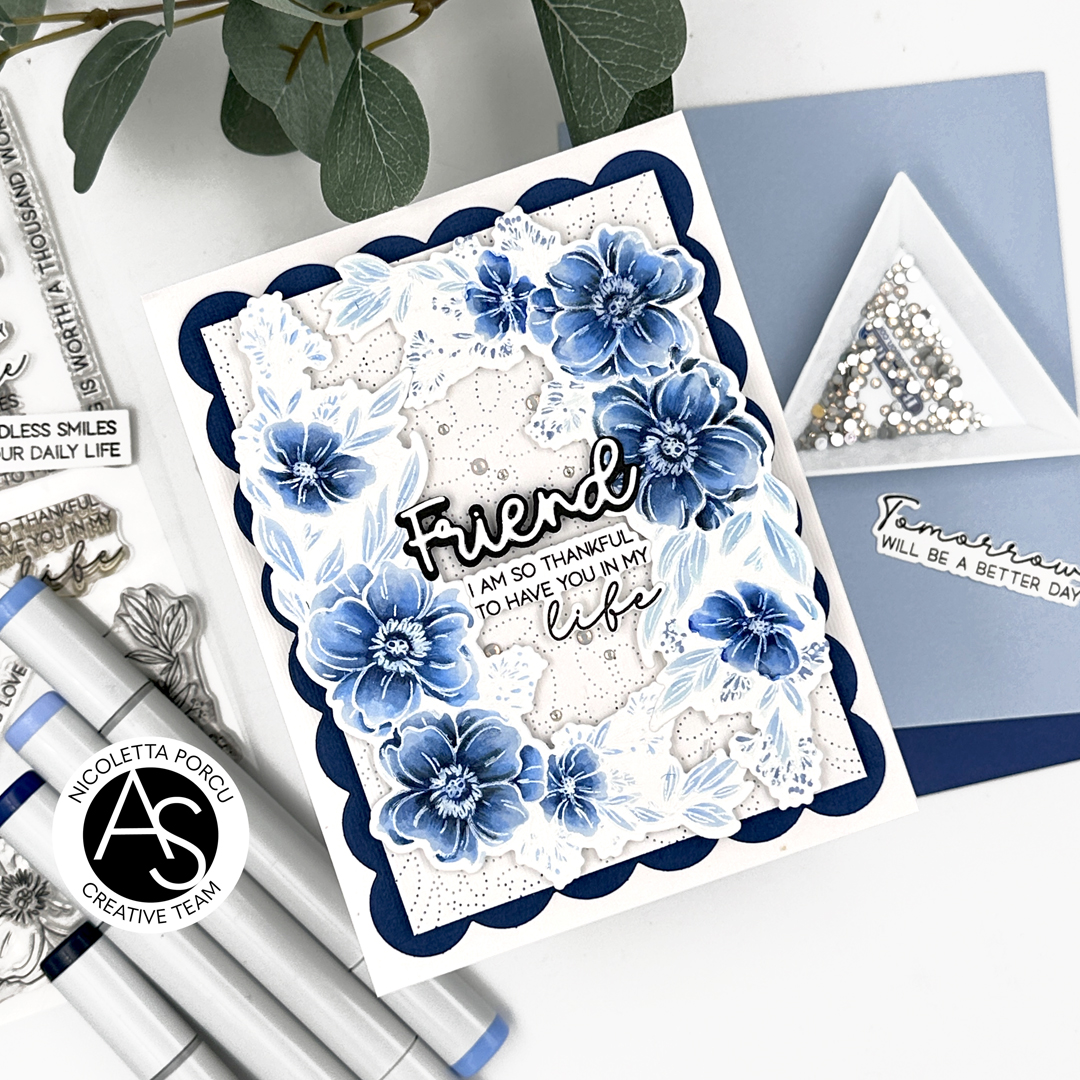
I'm  back today to share with you another floral card  featuring Alex Syberia Designs products ! this time I chose a  blue monochromatic style  for the Copic coloring ! I'm quite happy how it  turned out and hope you like it too.

Let me say something about the making process. To start I die cut a scalloped blu rectangle using the Nested Scalloped Frames die set and I glued it over a white card base. 


Next up I used the Charming Flora Cover die on a white cardstock And I glued it over the blu scalloped background using adhesive foam tape to add dimension.

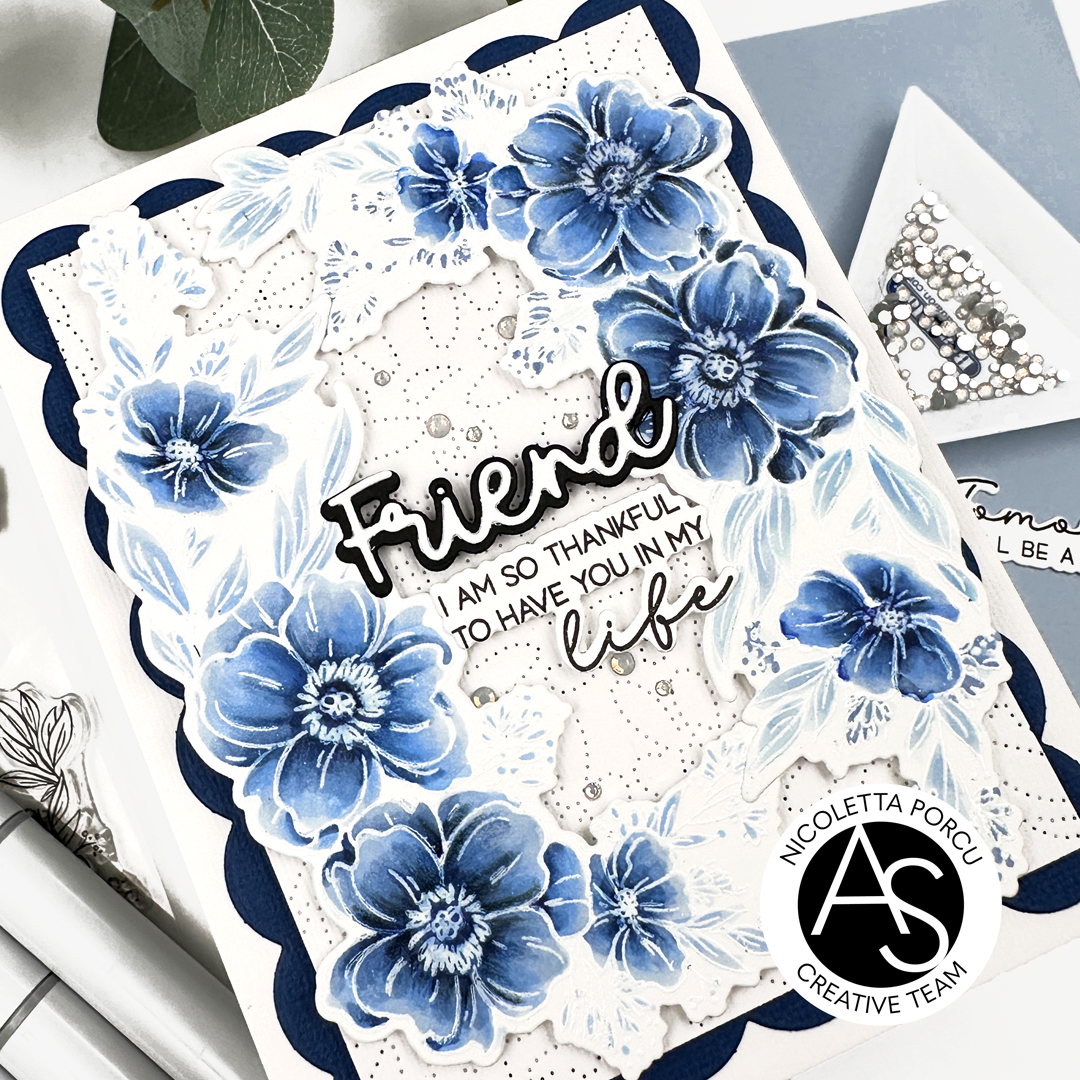
I continued by stamping and embossing in white the lovely flowers from the Bouquet of Blessing stamp set. I colored them using blue Copic markers and then I used prismacolor pencil to put the refinishing touches.

I die cut them using the Bouquet of Blessings coordinate dies and I glued on the card using foam pads.

The last thing was the sentiment; I used the Friend die set, to obtain a white sentiment outlined in black, and then I added the sentence which is a part of the Bouquet of Blessing  stamp set.

As a last touches I added some clear rhinestones.

And that's that.

Thank you for stopping by and reading me! Hope this card could inspire you!

See you soon!

Ciao Ciao!

giovedì 6 luglio 2023

Sending Love -Tulips Treasure

Hi crafty friends!

I'm  back today with a new inspiration cards featuring some other products from the Sunkissed Memories release!

This is the time for the Tulips Treasure stamp set and coordinate dies and for the Tiny Dots hotfoil plate.


To make my card I started by stamping the flowers from the   Tulips Treasure stamp set , coloring them with Copic markers and cutting them out using the  coordinate dies .

For the background I foiled in gold my  white top panel with the Tiny Dots hotfoil plate. I continued die cutting a scalloped frame using the Nested Scalloped Frames die set  and a 4 1/4 x 5 1/2 fuchsia rectangle.

On the white frame I traced a gold rectangle


As I had all the element ready I started to assemble my card gluing the fuchsia rectangle over a white card base. Next up I glued the foiled panel  and over I put the white frame using foam tape to add dimension.

I arranged  the tulips and over I put the sentiment I previously stamped, embossed in gold and die cut.

As a last touch I added some semi pearls.


That's that for today too!

Thank you for stopping by!

Ciao ciao!


giovedì 8 giugno 2023

Alex Syberia Designs "Sunkissed Memories" June Release Blog Hop and Giveaway

Hello crafty friends!!!
Today, we are celebrating the launch of Alex Syberia Designs' new release with  a fun blog hop!!
The new release "Sunkissed Memories"  includes  clear stamps, dies, stencils and  hot foil plates.
I'm sure  there's something for everyone to love!


Joining with us  will see many inspiration projects made by the AS design team in the ASD blog post,  so you could appreciate the amazing collection.

Let me share with you the card I made for the event, using some of the brand new products: the Pengu-tastic Holiday stamp set and coordinate dies,   the  Sunrays Hotfoil Plate and the Sunrays Stencil Set.
i
I started working on my backdrop panel so using the Glimmer Hot Foil Machine and the Spellbinders Platinum 6 machine  I heat foil the beautiful  Sunrays Hotfoil Plate on a  white cardstock. 
I used the coordinate stencils the Evergreen Bough and the Squeezed Lemonade Distress Oxide inks to add colors on some sunrays.
I glued the background on a white card base and then I used the Nested Scalloped Frames dies set to create a  white framed I added  it on the card using  foam adhesive to give dimension.


Next up I stamped the adorable Pinguin , the glassed and the umbrella from the Pengu-tastic Holiday stamp set , I colored  them with Copic markers and then I die cut everything using the  coordinate dies.
I continued by stamping and embossing in gold the string sentiment , even from the  Pengu-tastic Holiday stamp set and I glued it and all the images on the centre of card.

As a last touch I added the blue-green rhinestones and that's it!!


Alex Syberia Designs is giving away  two £15 gift cards to the ASD store and one full release bundle, valued at £400 ($495) in total. 

Alex Syberia Designs will pick the three winners from the comments left on each designer’s blog post in this hop before midnight BST on June 18th 2023. The winners will be announced on the ASD Release Blog Hop post on June 19th 2023

Blog Hop Order:


    Have fun joining us with this blog hop
    I'm sure you will love the entire collection and the DT inspirations as much as I do!

    Ciao ciao
    xx

    martedì 30 maggio 2023

    Heffy Doodle and Alex Syberia Designs Collaboration Blog Hop


    Welcome to the Heffy Doodle and Alex Syberia Designs Collaboration Blog Hop!
    Design Team members from both companies are sharing inspiration using products from both companies!


    To make the card I used the Paradise Birds Stamp set and the coordinate dies by Alex Syberia Designs and  the Stitched Birthday Trio Frame dies and the Ripple Waves Stancil by Heffy Doodle.

    I started creating the background. Using the stencil Ripple Waves and Distress inks I made the water effect, then with a blending brush I added the sand and sky shades.

    I glued the background on a teal cardstock base and then I framed  with the Stitched Birthday Trio Frame die. 

    Next up I stamped all the elements from the  Paradise Birds Stamp set ,  I colored everything with Copic markers and then I die cut them using  the coordinate dies.

    I placed all the elements on my card using in same of them  mouse pads to give dimension and as a last thing I die cute die big sentiment You in 3 layers. I glued them together and then I added it on the card.

    Over I added the little string sentiment( from  the  Paradise Birds Stamp set) I previously embossed in white.

    And that's it!

    I'm quite happy about the result!


    To be entered to win the giveaway, all you need to do is comment at each stop along the Blog Hop!

    Alex Syberia Designs and Heffy Doodle will be giving away £20 to their stores!  Be sure to comment before 11:59 PM EST on June 6th to be entered to win!

    Each company will post their random winner on June 8th at 10AM EST!  Make sure to check the Heffy Doodle Blog and Alex Syberia Designs Blog to see if you’re a winner!

    You should have come from Amanda Fitterer

    and the next stop is Natasha Davies


    Blog Hop Lineup:

    Heffy Doodle Blog

    Raquel Arribas

    Amanda Fitterer

    Nicoletta Porcu ---> you are here

    Natasha Davies

    Cheryl Espie

    Jordanna Channings

    Jarle Franceus

    Brenda Noelke

    Tallie Clewley

    Alex Syberia Designs


    Hope you like my inspiration card and  to see many of you joining with us in this fun blog Hop!
    Thank you for stopping by!!

    Ciao Ciao

    linktwin

    Related Posts with Thumbnails

    ShareThis