martedì 29 settembre 2026

White Embossed Peony Corners

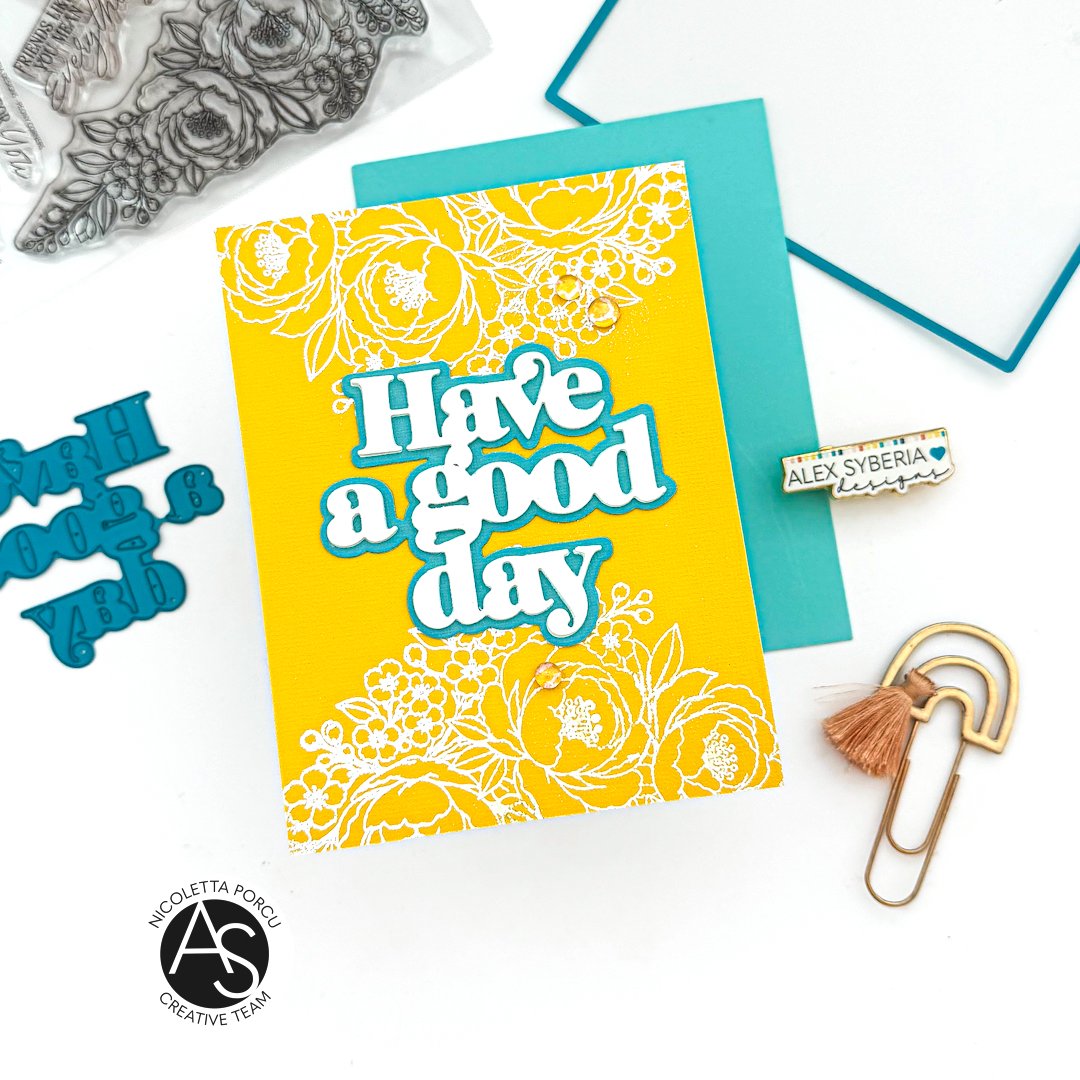
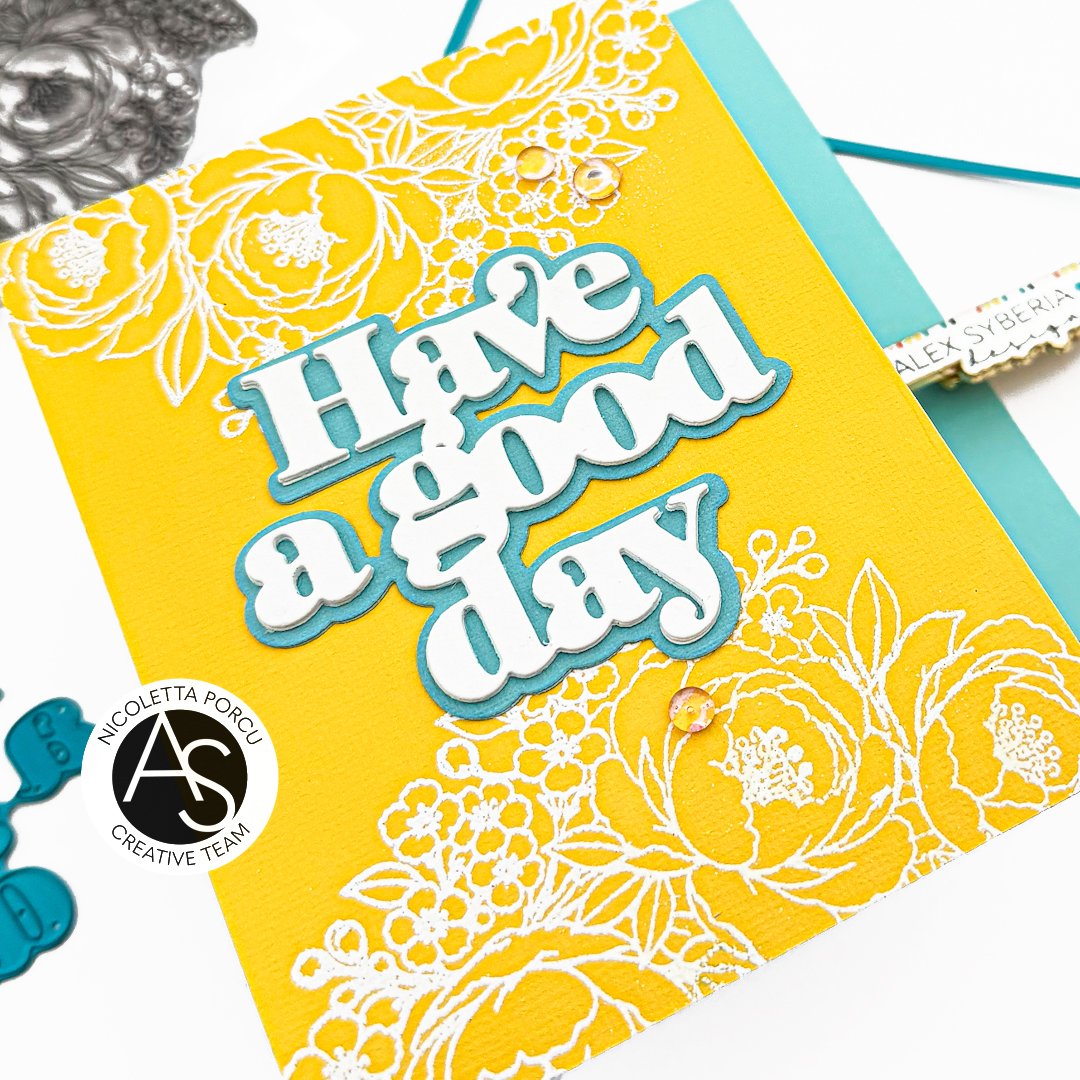
Hi crafty friends! I'm  here, today, to share   with you a card featuring the Peony Corners Stamp set and the Good Day Quilted Rectangle die set.

This time I played with high contrast to realise a modern  pop card .
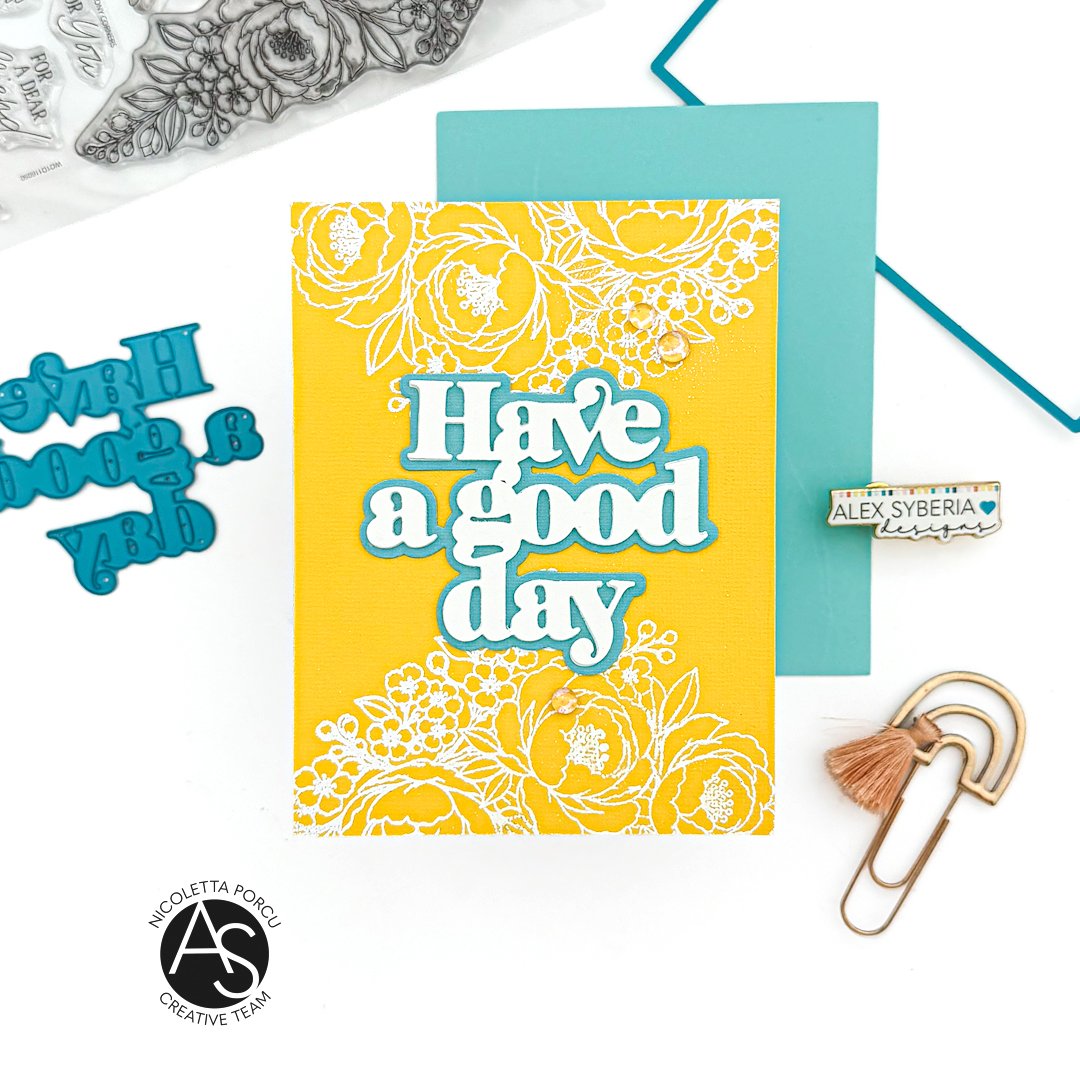
To male the card I started by die cutting a yellow rectangle from a textured Bazzill cardstock using a die included in the Whimsical Scalloped Frames die set.

Then I placed it on my Misti and I covered the surface  with anti-static powder to prepare it for heat embossing.  This to prevent stray embossing powder from sticking where it's not wanted.  Next up stamped the Peony Corners Stamp image using Versarmak ink, on the  top and on the bottom of the rectangle  and then I white embossed the floral images.

The result looks like a white embroidered  cover.


Next up I glued the embossed ywllow rectangle on a card base and I added the big sentiment on the card's center. I made it using a die from the Good Day Quilted Rectangle die set . I die cut the  aqua outlined part in two layers and the top one in four  white layers to give the die cut sentiment a little bit of dimension.

As a last thing I added some clear dew drops and that's it!
Here a recap of all products I used :

Peony Corners stamp, die & stencil Bundle

Peony Corners Stamp & Die Bundle

Peony Corners Stamp

Summer Full release Bundle

Whimsical Scalloped Frames die set

Good Day Quilted Rectangle die set

Spellbinders New & Improved Platinum SIX Die Cutting & Embossing machine

You could find all of them on Alex Syberia Design UK shop and on the  US Alex Syberia Design shop  for the American friends. 

Also Canadian friends  can now  order from the US store!!
 

I  hope you like my card and I gave you some inspiration!

Thank you for stopping by!

See you soon!

Ciao ciao

Nicoletta

martedì 22 settembre 2026

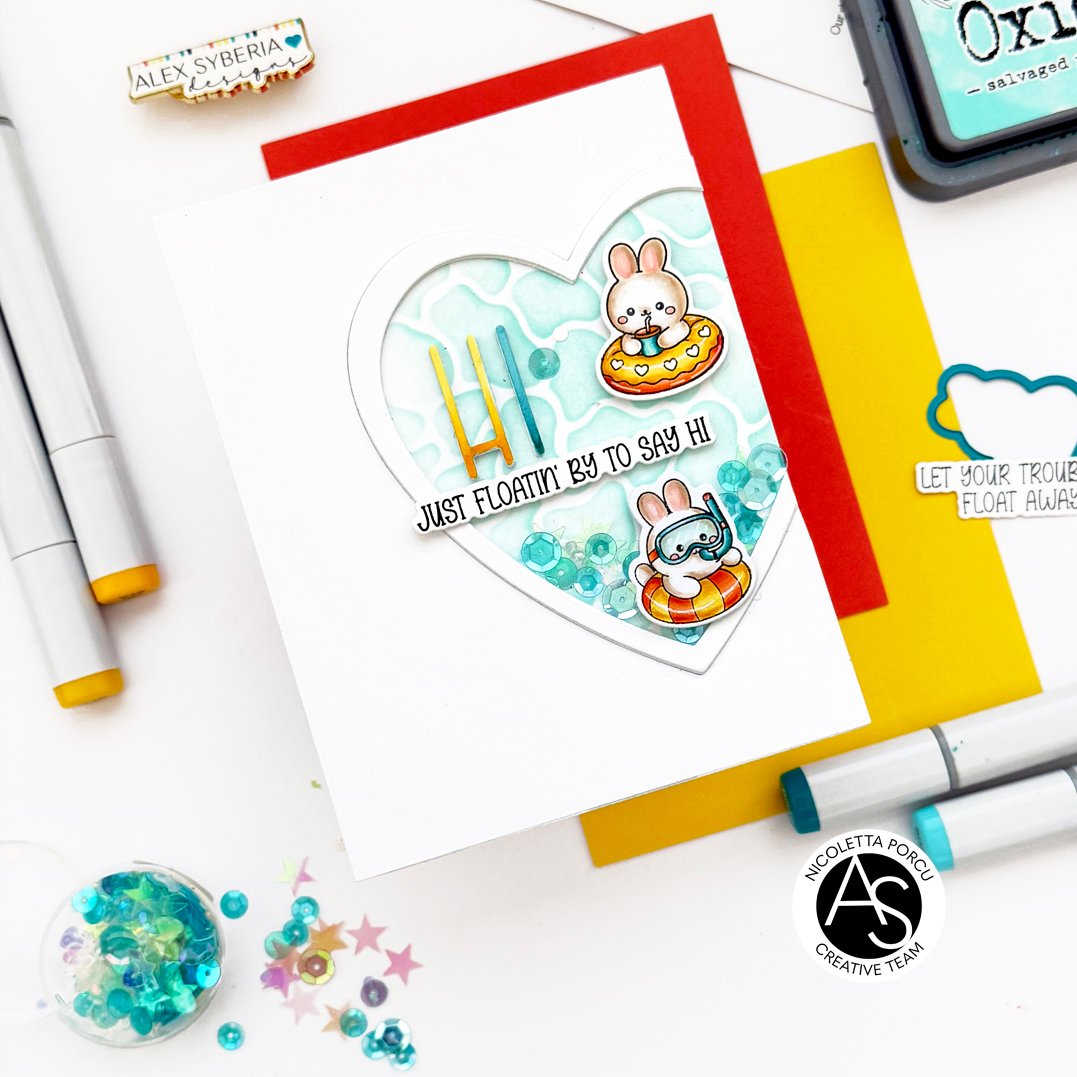
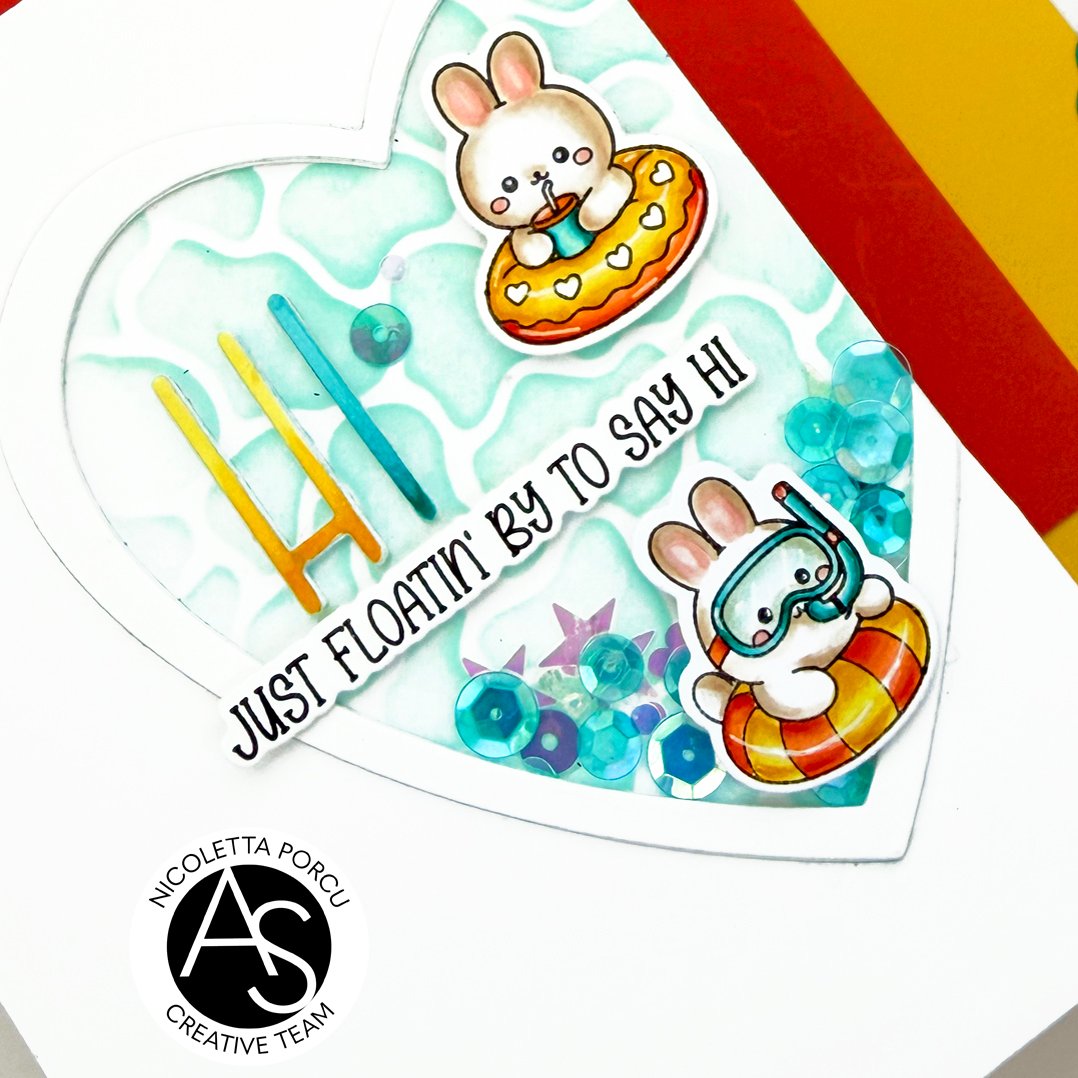
Just Floatin' By To Say Hi

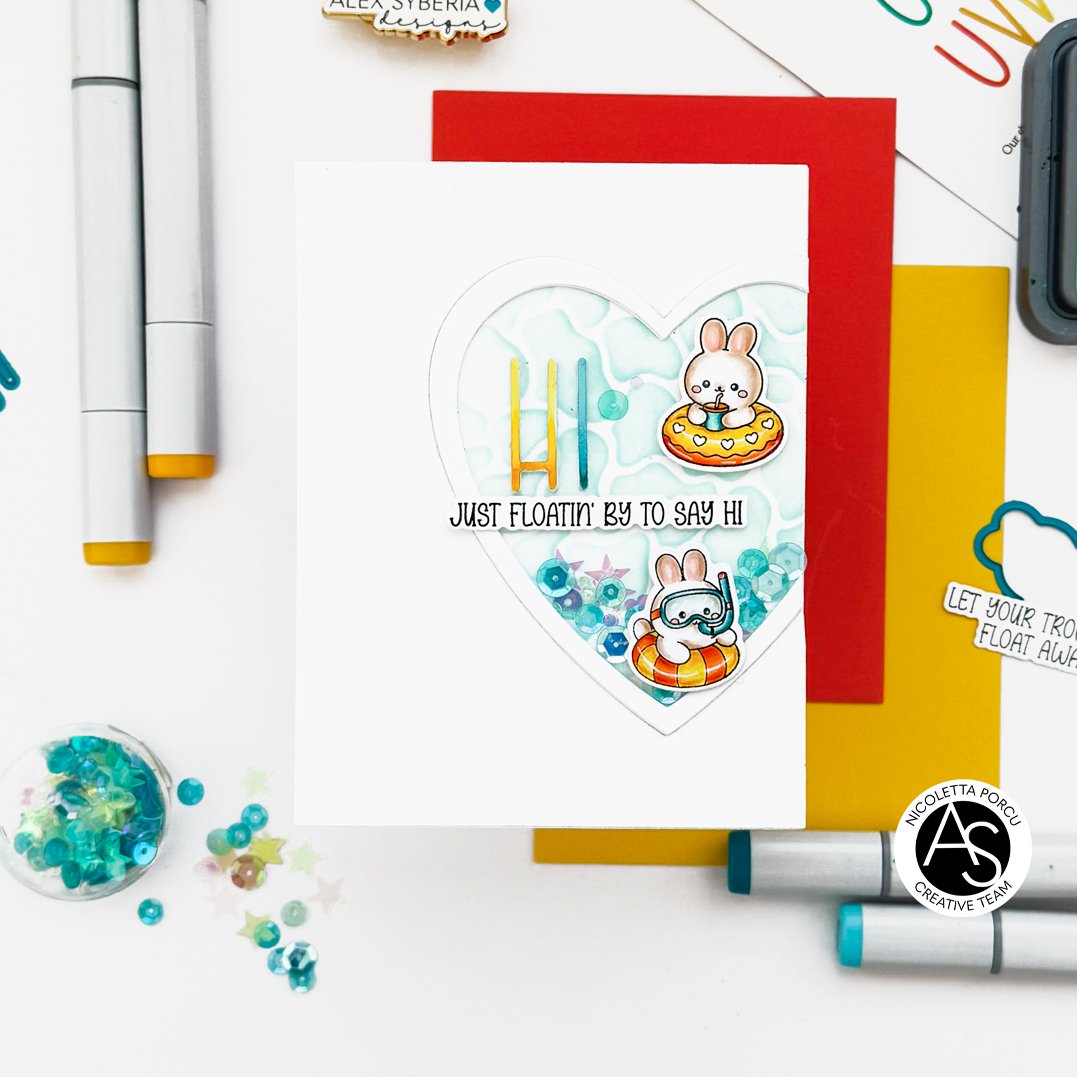
Hi crafty friends! I'm  here, today,  sharing  with you a card featuring the new  Alex Syberia  Happy Cuties and Peony Corners new release !

Summer is almost over, but it’s still super warm here and tons of people are taking off for a few extra beach days. So this card goes out to anyone who just can't pass up catching some sun and taking a dip in Sardinia’s crystal-clear water!

To make my card I started by stencilling the Glistening Water Stencil , on a Hammermill Cover paper using the Salvaged Patina Distress Oxide Ink; I die cut it into a rectangle using the largest one from the Whimsical Scalloped Frames die set.

Using the same rectangle die a die cut a white rectangle and on the right side I made a semi heart window using the Endless Hearts die and I glued ir over the stencilled rectangle, Then I added everything over a 4 1/2 x 5 1/2   white base card .


With the same Endless Hearts die I die cut the biggest heart frame in five layers and I glued all of them in the heart window cutting out the excellent part on the right side.

At the bottom of the heart frame I glued many acqua sequins.

I continued by stampjng the lovely bunnies images and the string sentiment  from the Summer Chill stamp set over a X-Press it paper; I colored them with Copic markers and then I die cut them using the Coordinate dies, the Summer Chill die set ;then I placed the lovely bunnies and the string sentiment inside the stencilled heart.

That's it!!

Here a recap of all products I used :

Summer Chill stamp set

Summer Chill die set

Summer Chill Stamp & Die Set Bundle

Summer Full release Bundle

Whimsical Scalloped Frames die set

Glistening Water Stencil

Endless Hearts die

Spellbinders New & Improved Platinum SIX Die Cutting & Embossing machine

You could find all of them on Alex Syberia Design UK shop and on the  US Alex Syberia Design shop  for the American friends. 

Also Canadian friends  can now  order from the US store!!

I  hope you like my card and I gave you some inspiration!

Thank you for stopping by!

See you soon!

Ciao ciao

martedì 15 settembre 2026

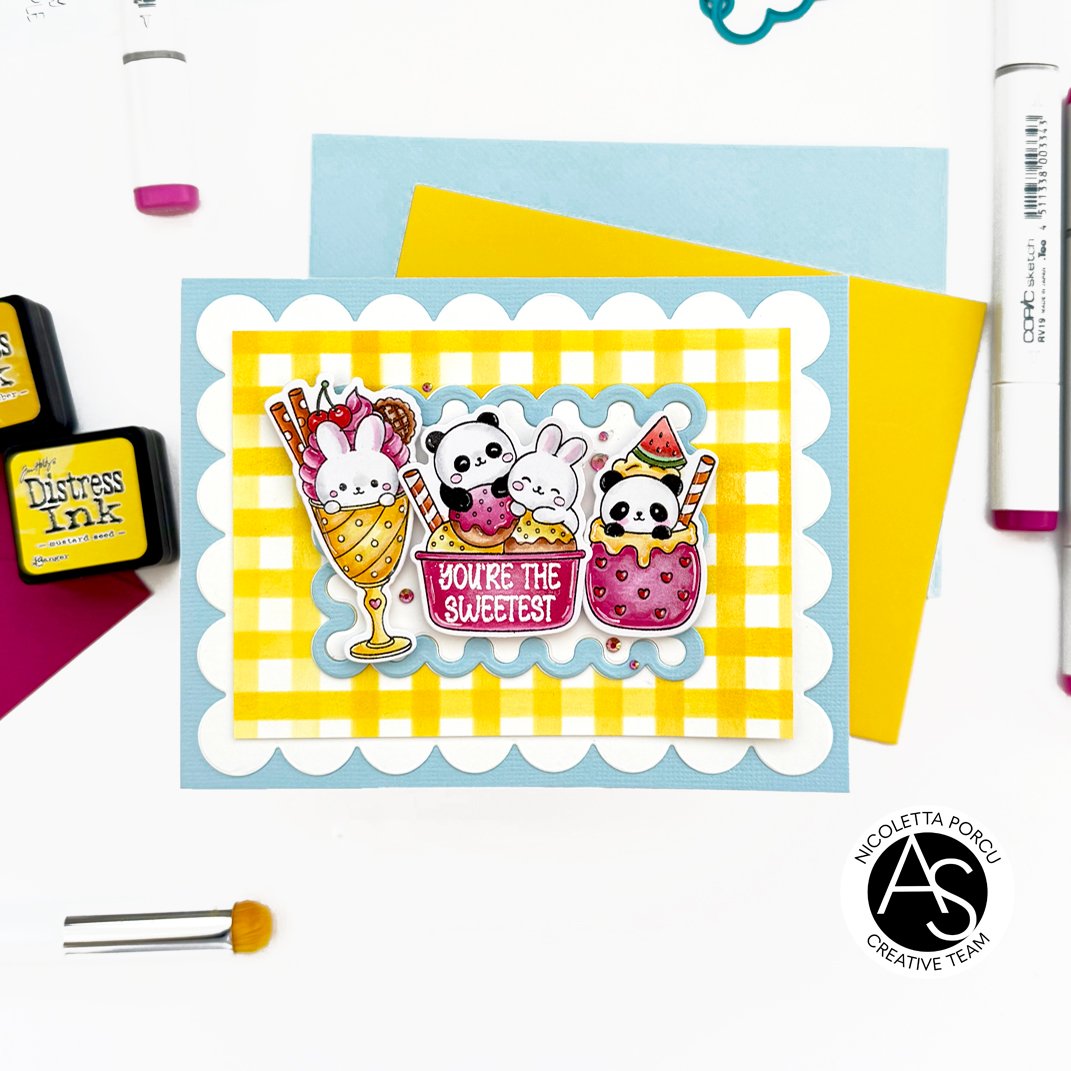
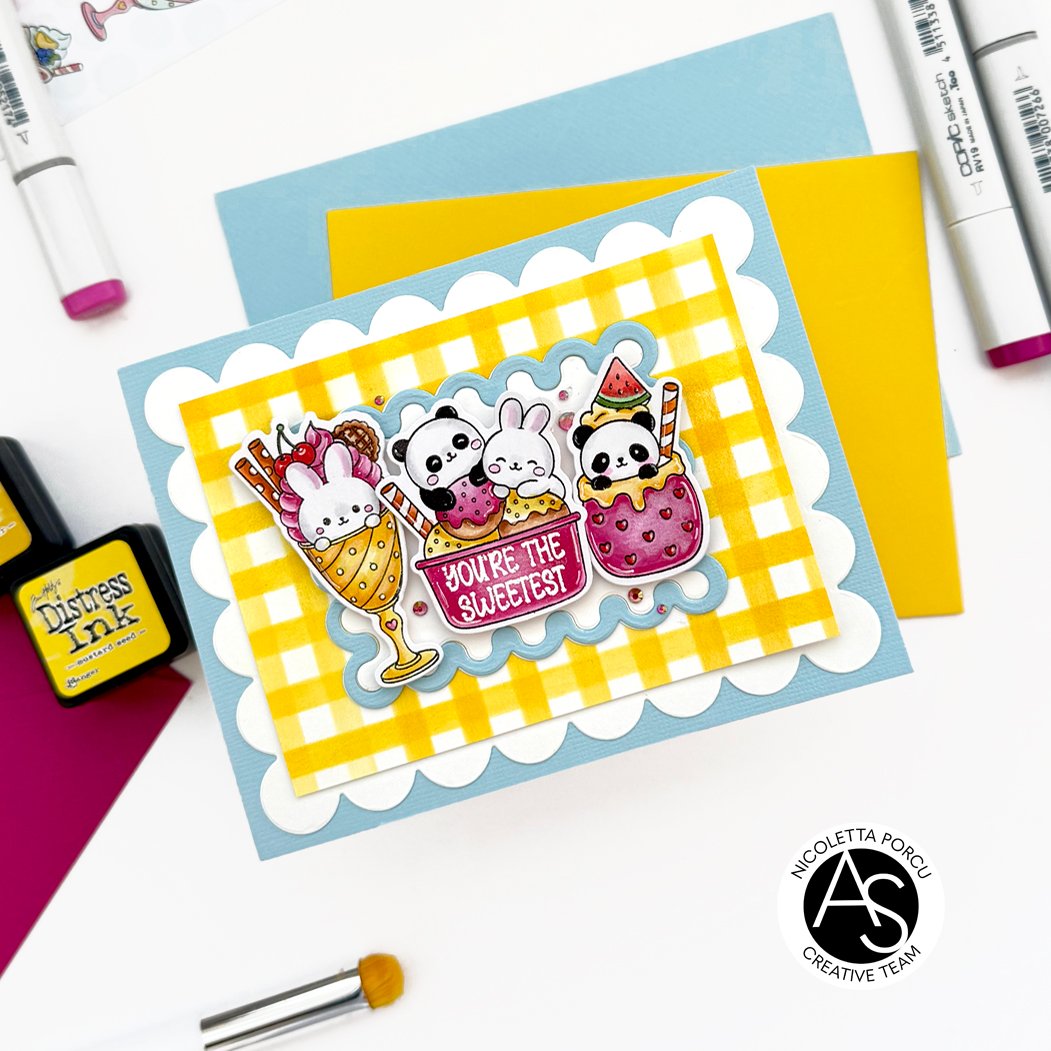
You're The Sweetest

Hi crafty friends!!!

Is Nicoletta @nicolettaporcu.design,  here,  sharing  with you my latest  card featuring the new  Alex Syberia  Happy Cuties and Peony Corners new release !

To make my card I started by creating a gingham background   by stencilling the Classic Stripes Stencil over a Neenah paper using  Mustard Seed and Fossilized Amber Distress inks.  I framed it with a white scalloped rectangle I  made  using the biggest scalloped rectangle die from the Whimsical Scalloped Frames die set  and I glued them over a  powder blue rectangle (I die cut using a die from the Whimsical Scalloped Frames die set).  Next up I glued everything  over a white card base.


I continued by  die cutting a smallest scalloped rectangle in white and the scalloped border in powder blue and I glued them on the card's center.
Then I stamped all  the elements I needed from the Sweet Treats stamp set,  I colored them with Copic markers and  die cutting  everything with the Sweet Treats coordinate die set.
 
Next up I stamped  and white embossed the sentiment( from the Sweet Treats stamp set) on the pink basket pf one colored image and I added all of them on the card using foam pads to add a little bit of dimension.
 
As a last thing I added some pink  rhinestones and that's it!!


Here a recap of all the products I used:

Classic Stripes Stencil

Sweet Treats stamp set

Sweet Treats die set

Sweet Treats Stamp & Die Bundle

Whimsical Scalloped Frames die set

Summser Full Release Bundle


You could find all of them on Alex Syberia Design UK shop and on the  US Alex Syberia Design shop  for the American friends.  for the American friends.

Also Canadian friends  can now  order from the US store!!  

I  hope you like my card and I gave you some inspiration!
 
Thank you for stopping by!

See you soon!

Ciao ciao


martedì 1 settembre 2026

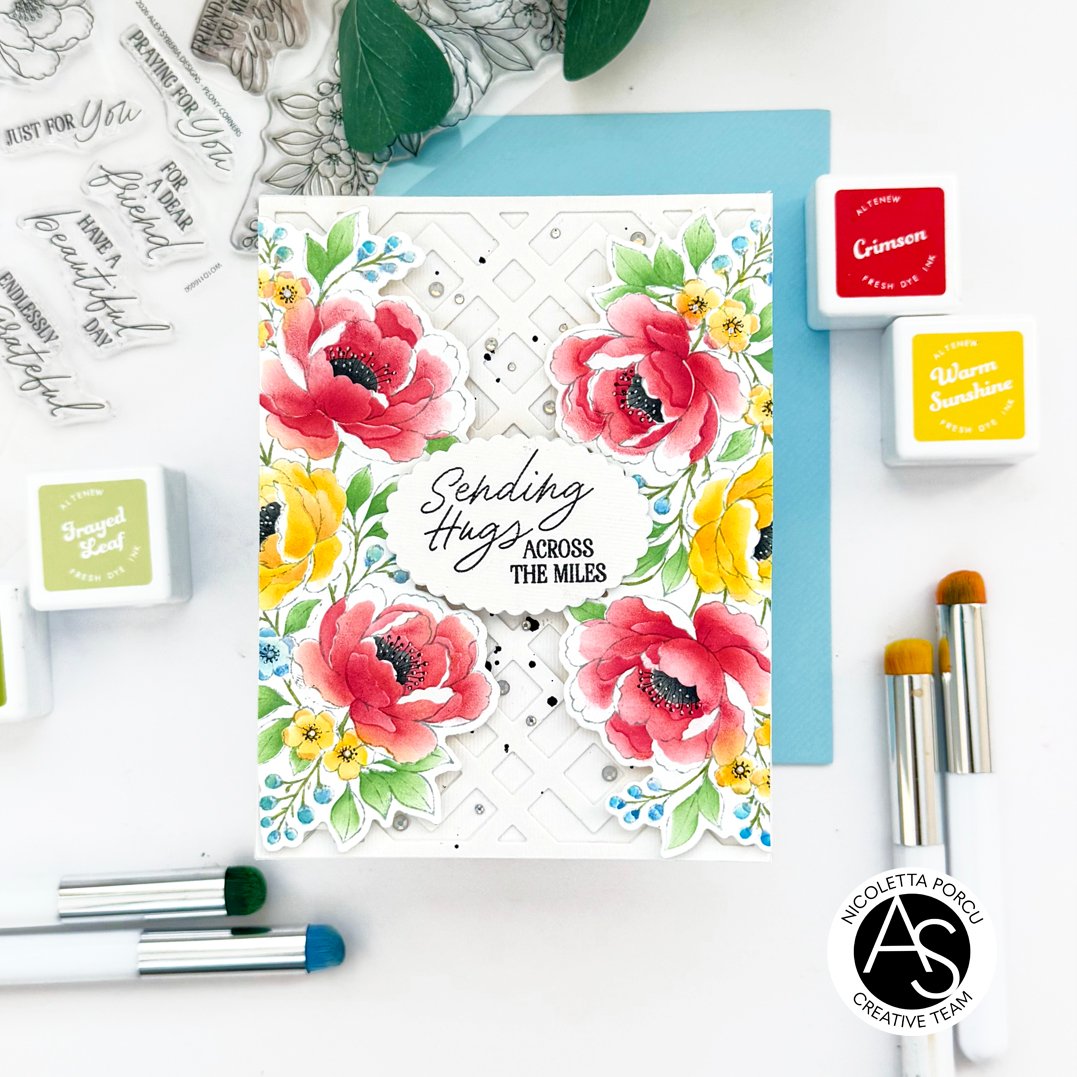
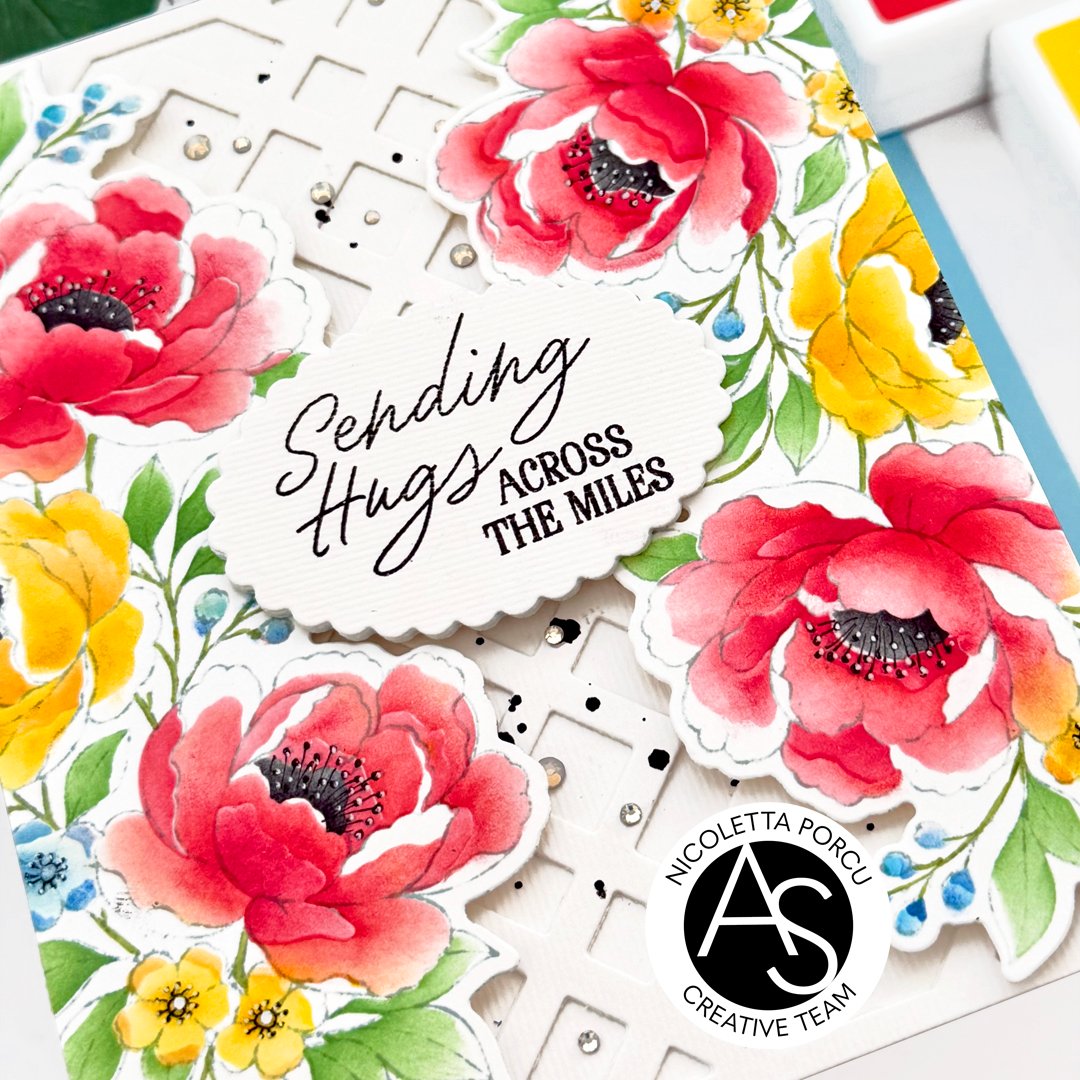
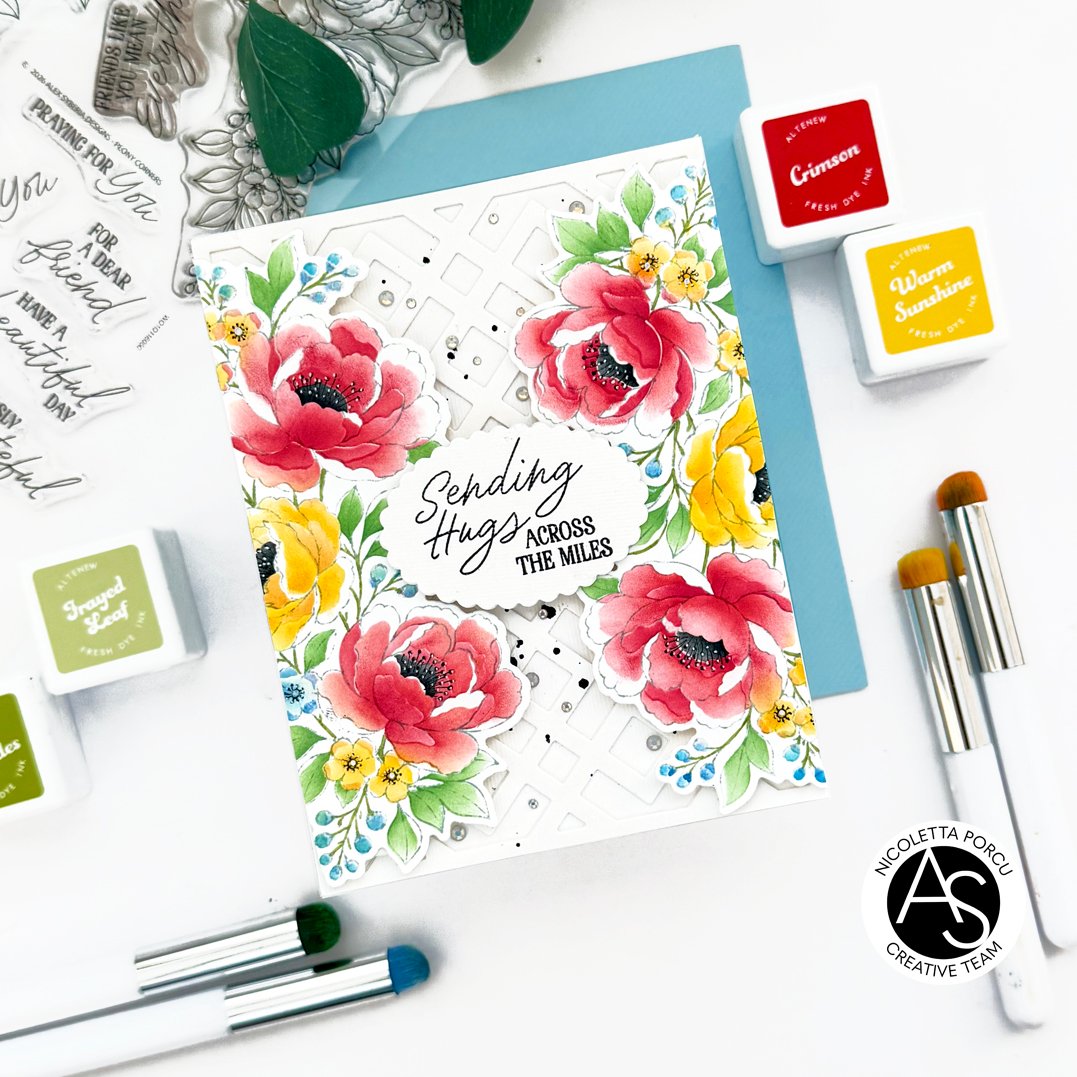
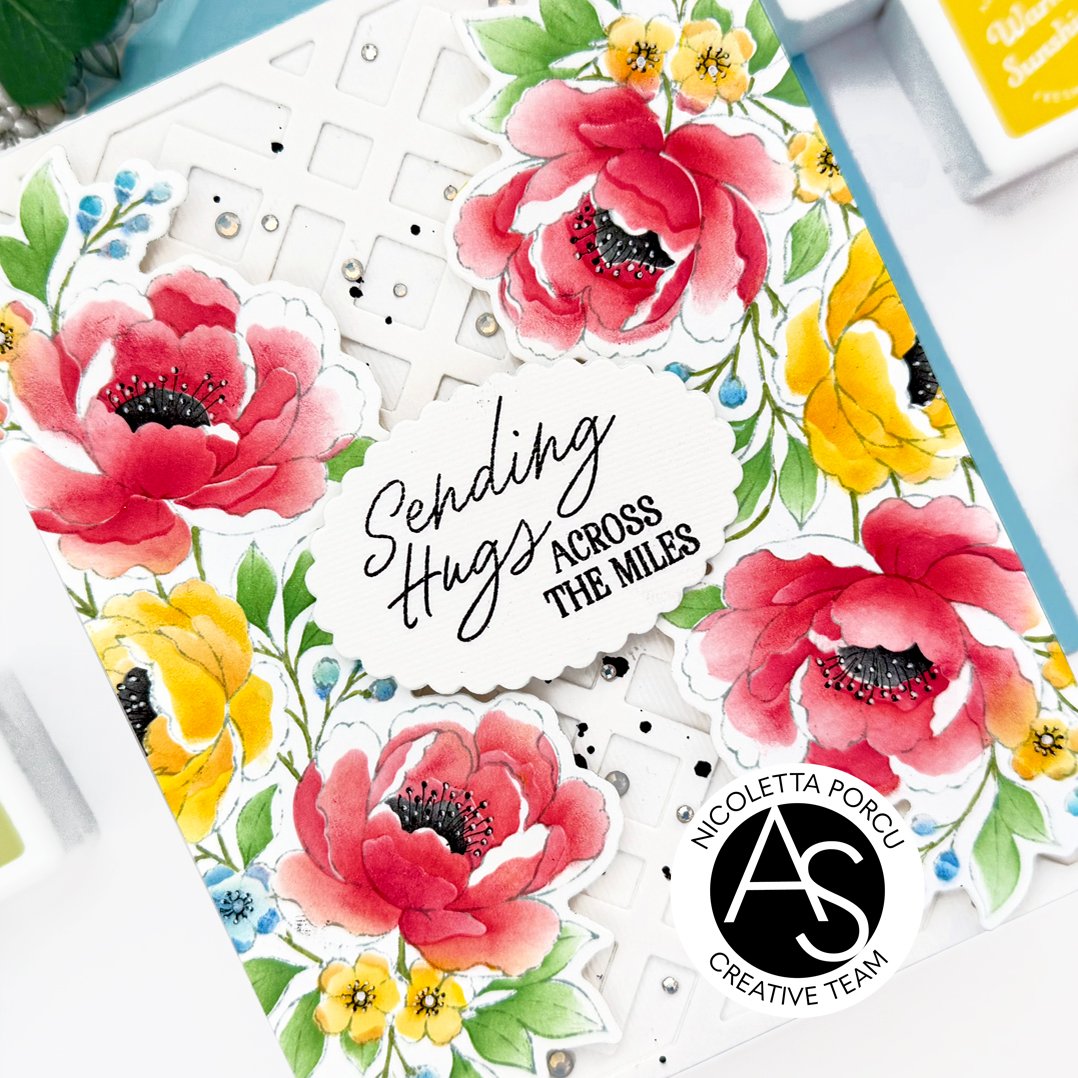
Sending Hugs Across The Miles

Hi crafty friends!!!

I'm here, today,  sharing  with you a card featuring the new  Alex Syberia  Happy Cuties and Peony Corners new release !

Today I played with the Peony Corners set,  the Whimsical Scalloped Frames die set and Trendy Pattern Cover die.

To make the card I start by stamping twice a floral image from the  Peony Corners stamp  on Neenah paper using London Fog Memento ink. I stamped first on a kitchen paper to make the stamped image on the Neenah paper lighter.

Then I colored everything using Fresh dye ink by Altenew in vivid red, yellow and blue shades;Next up I die cut them  with the Peony Corners die set and I put them a side.

I continued  by making the background  and the base card.

i die cut the Trendy Pattern Cover die in three white  layers I glued all together and then I glued on a white base card.

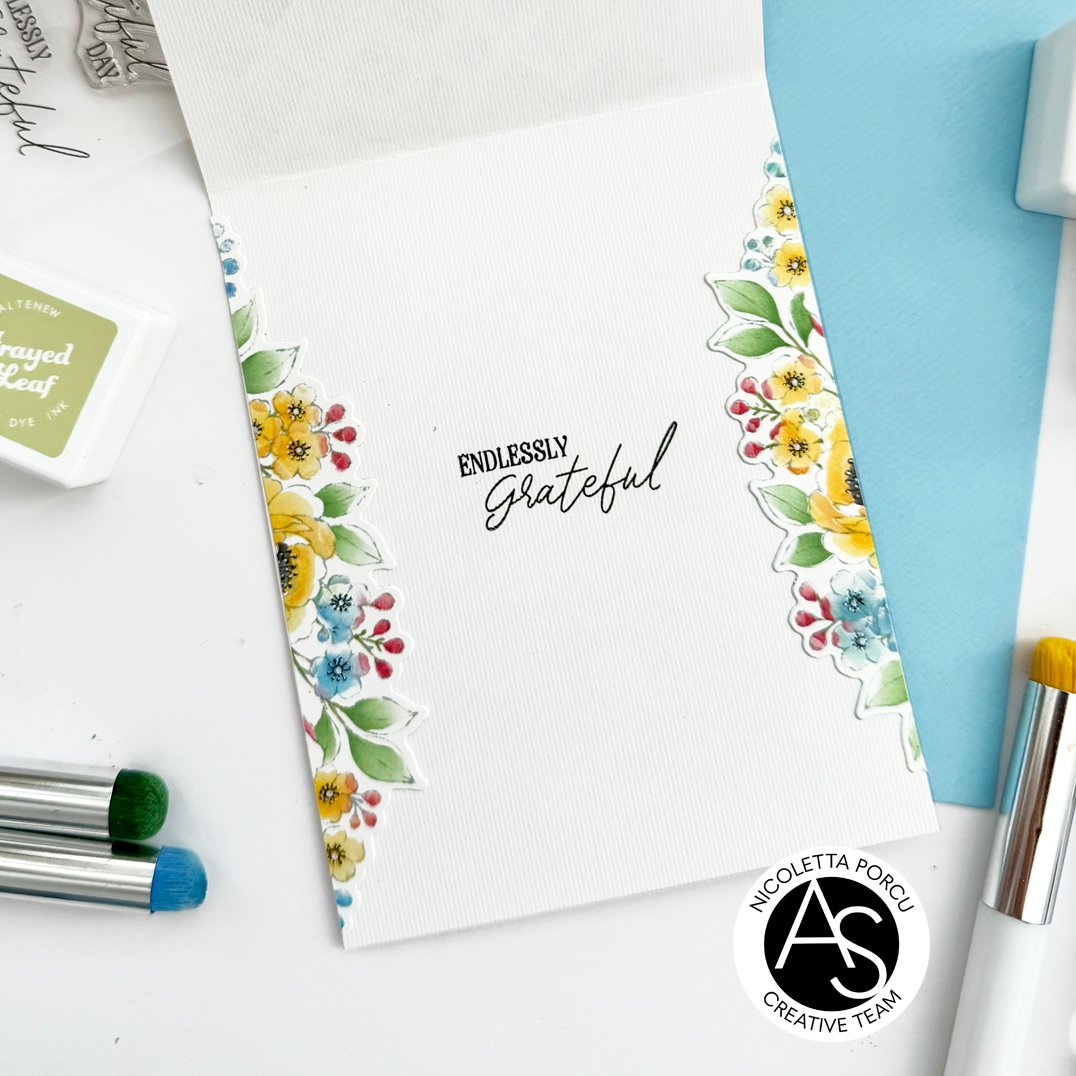
Then I added the floral images to the left and right side of the card using foam adhesive pad, I cut out the excellent part I'll glue to the inside.


At that point I stamped  the sentiment  from the Peony Corners stamp  set  using black Versafine  ink on a white cardstock, I  die cut  it with the oval scalloped die from the Whimsical Scalloped Frames die set  and  I glued on the cards center.

As a last thing I added some clear rhinestones. and that's it!

Here a recap of all products I used :

Peony Corners Stamp set

Peony Corner Die set

Peony Corners stamp & die bundle

Peony Corners stamp, stencil and die set Bundle

Summer Full release Bundle

Whimsical Scalloped Frames die set

Teendy Pattern Cover die

Spellbinders New & Improved Platinum SIX Die Cutting & Embossing machine

You could find all of them on Alex Syberia Design UK shop and on the  US Alex Syberia Design shop  for the American friends.  for the American friends.

Also Canadian friends  can now  order from the US store!!

I  hope you like my card and I gave you some inspiration!

Thank you for stopping by!

See you soon!

Ciao ciao
linktwin

Related Posts with Thumbnails

ShareThis