Hi crafty friends!
I'm here, today, sharing with you a new card made using one of my favorite Betterxpress and coordinate stencil by Alex Syberia Designs.
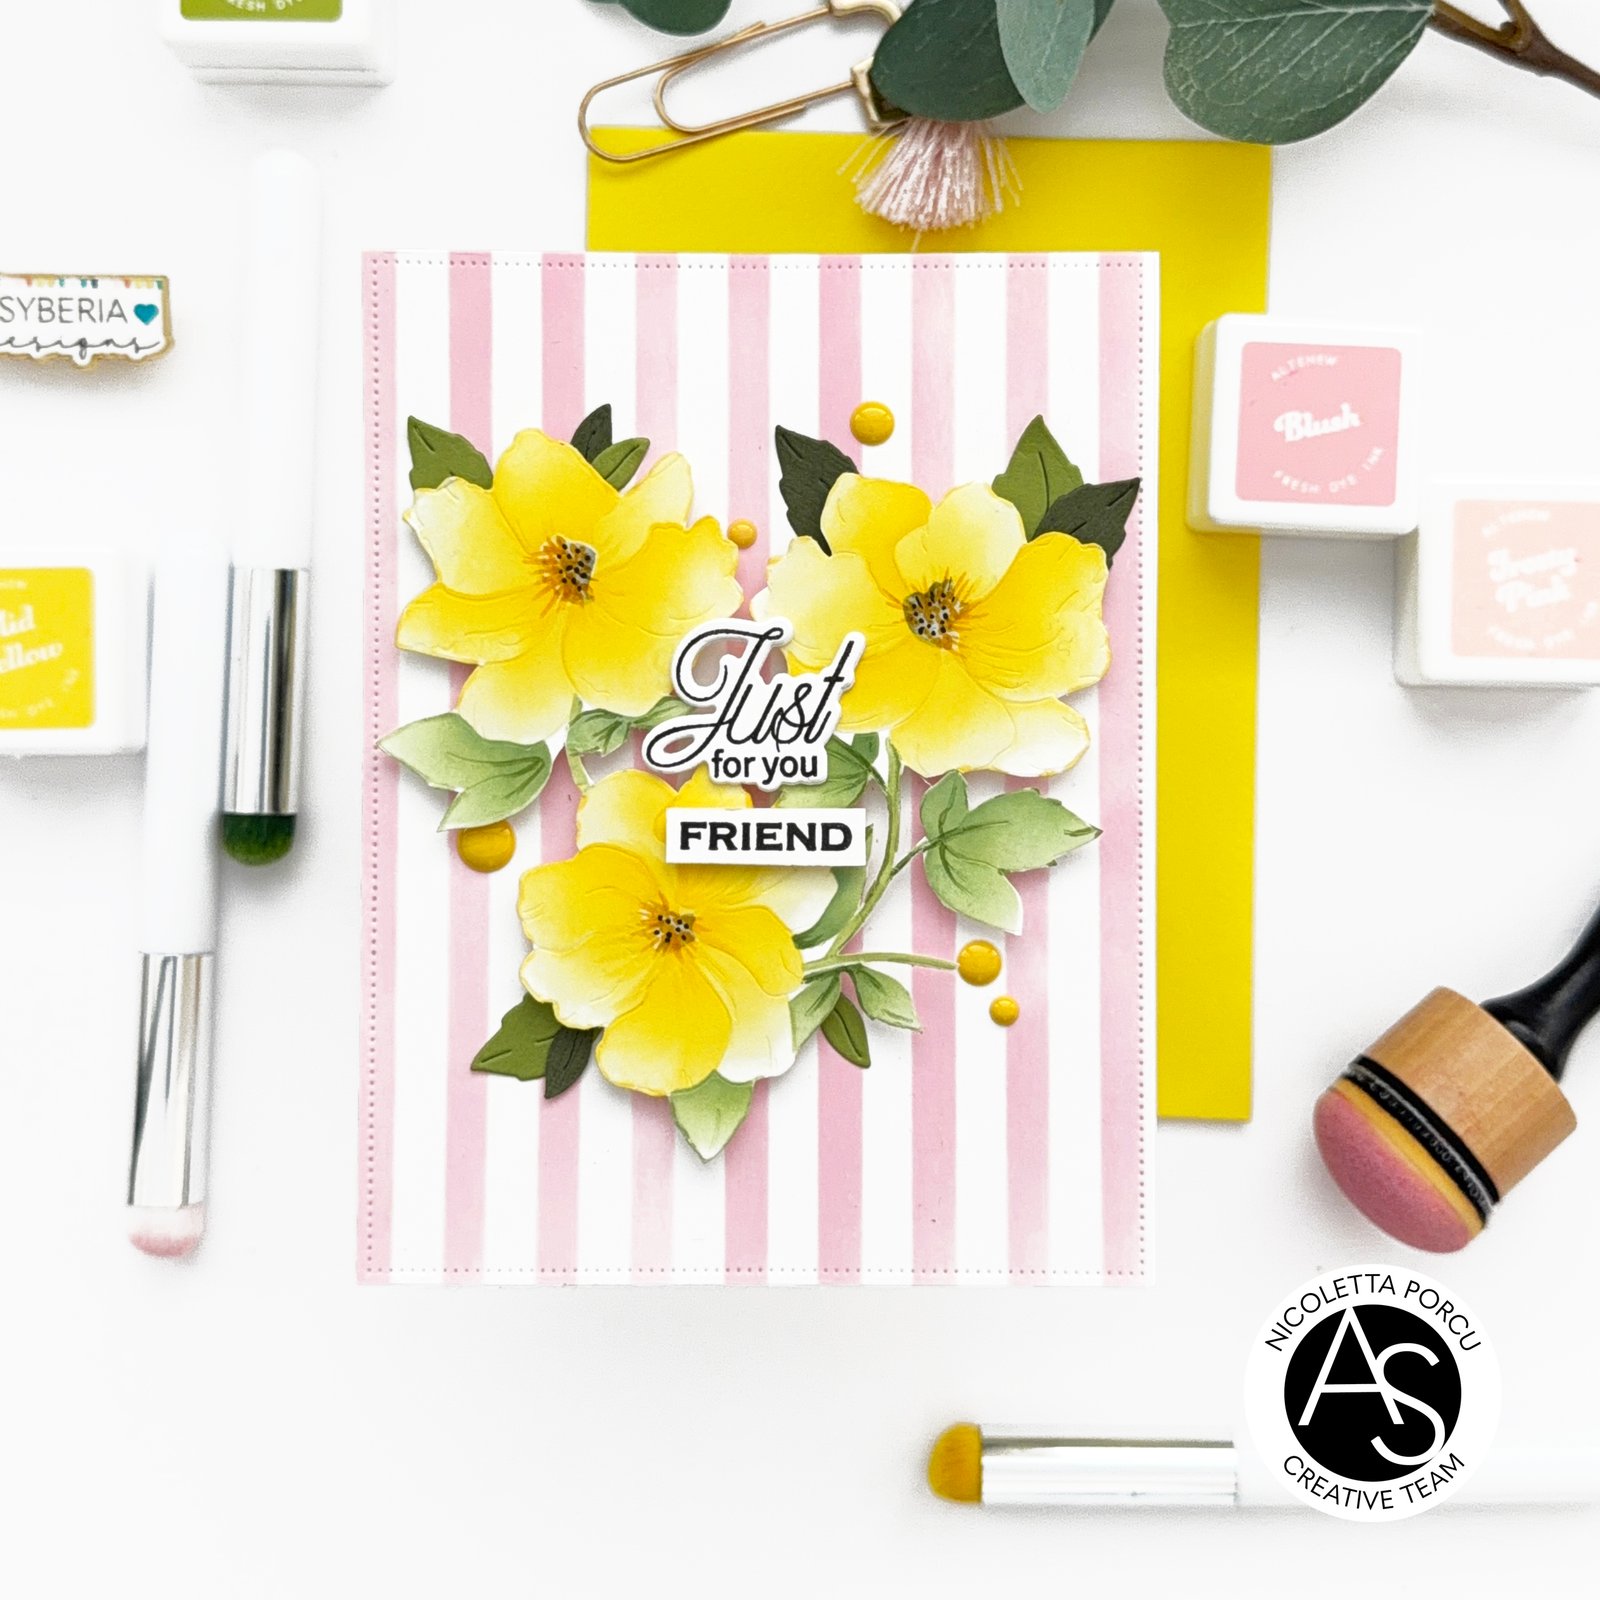
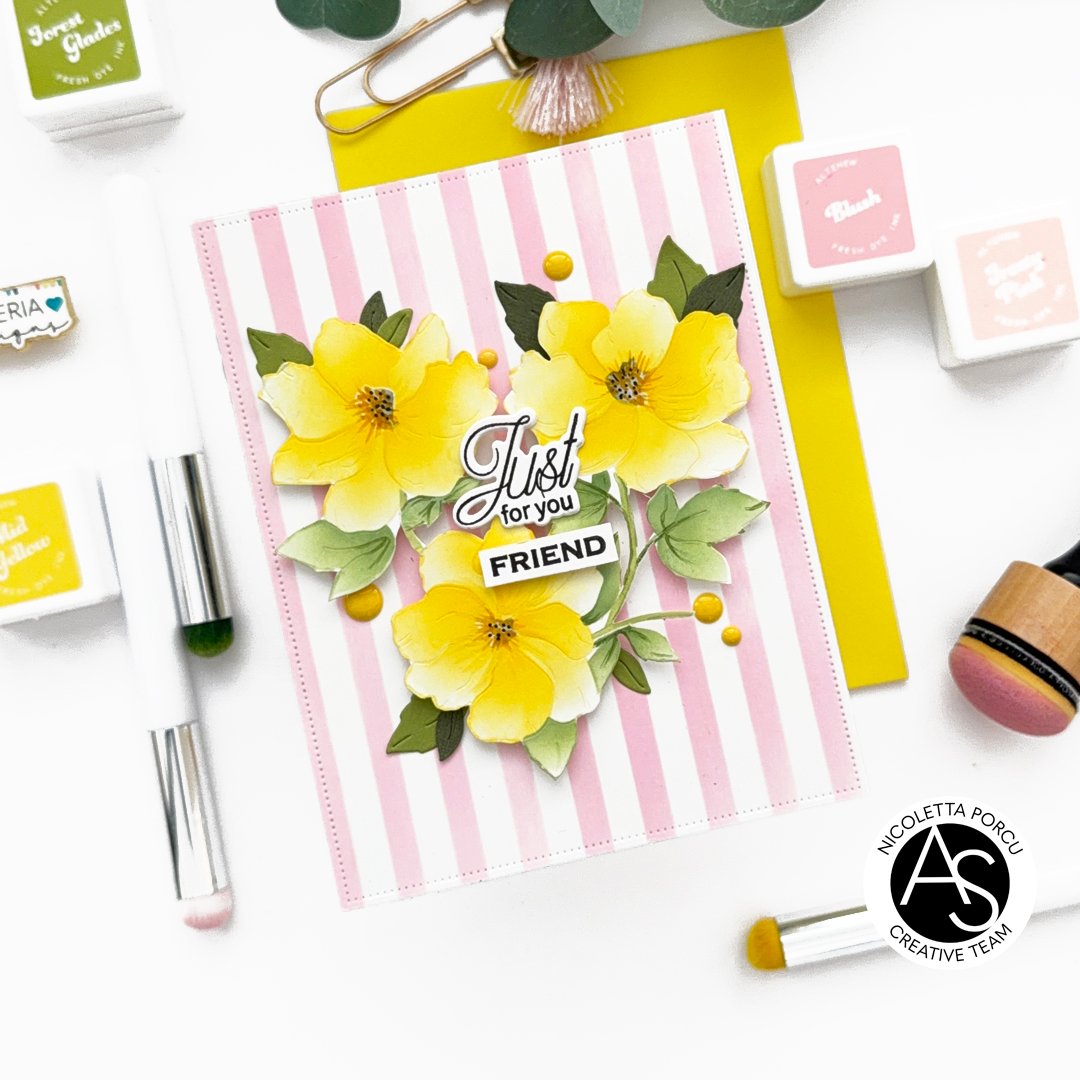
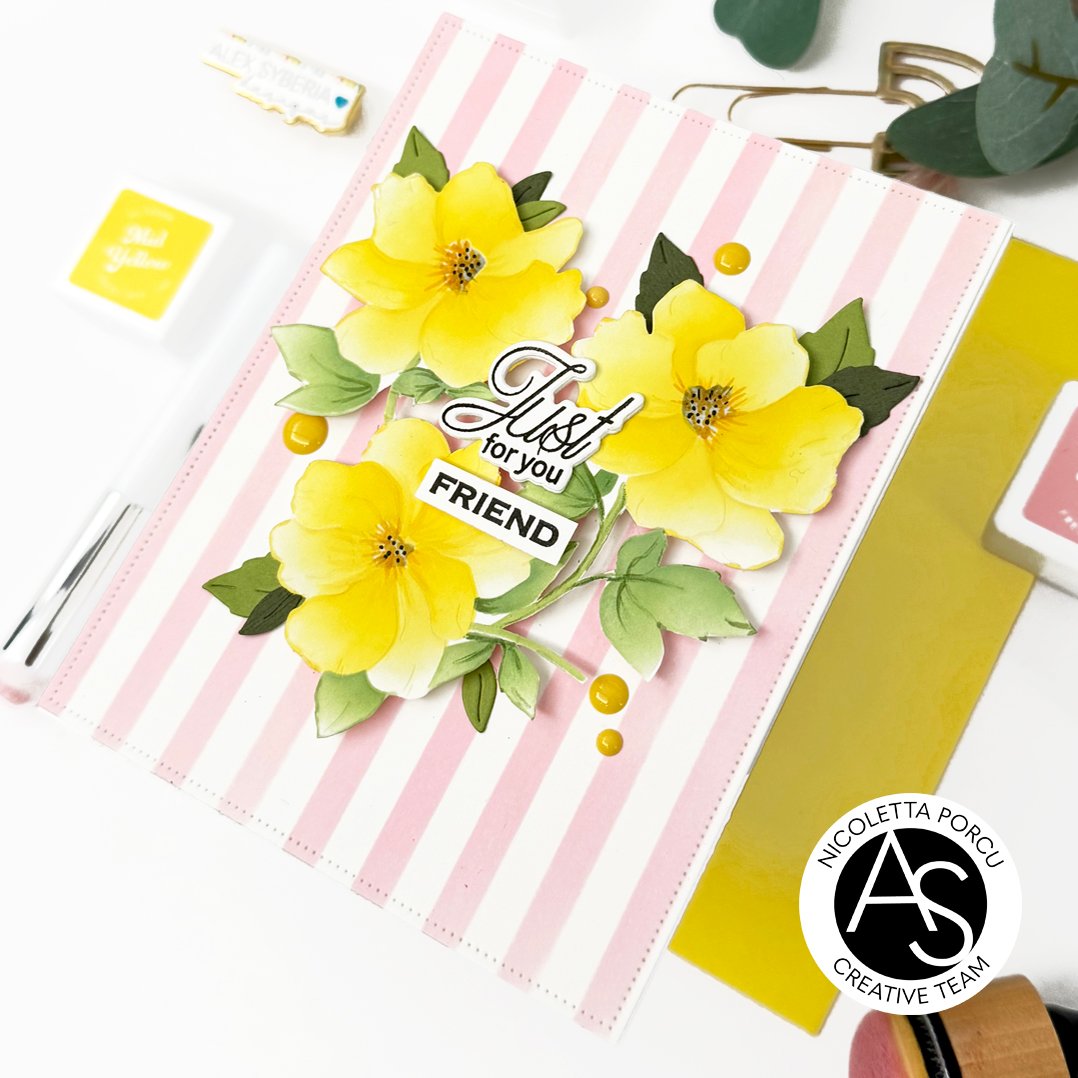
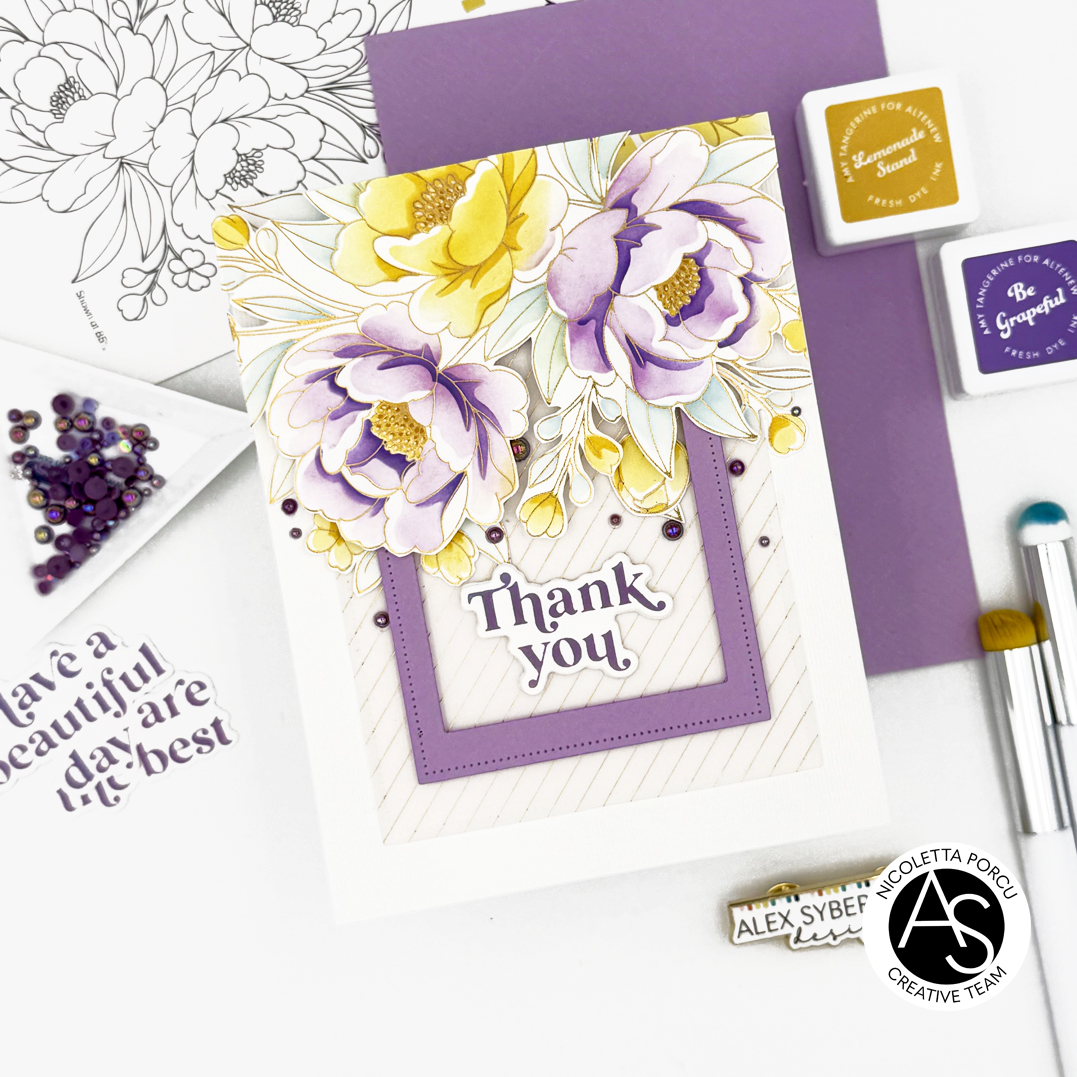
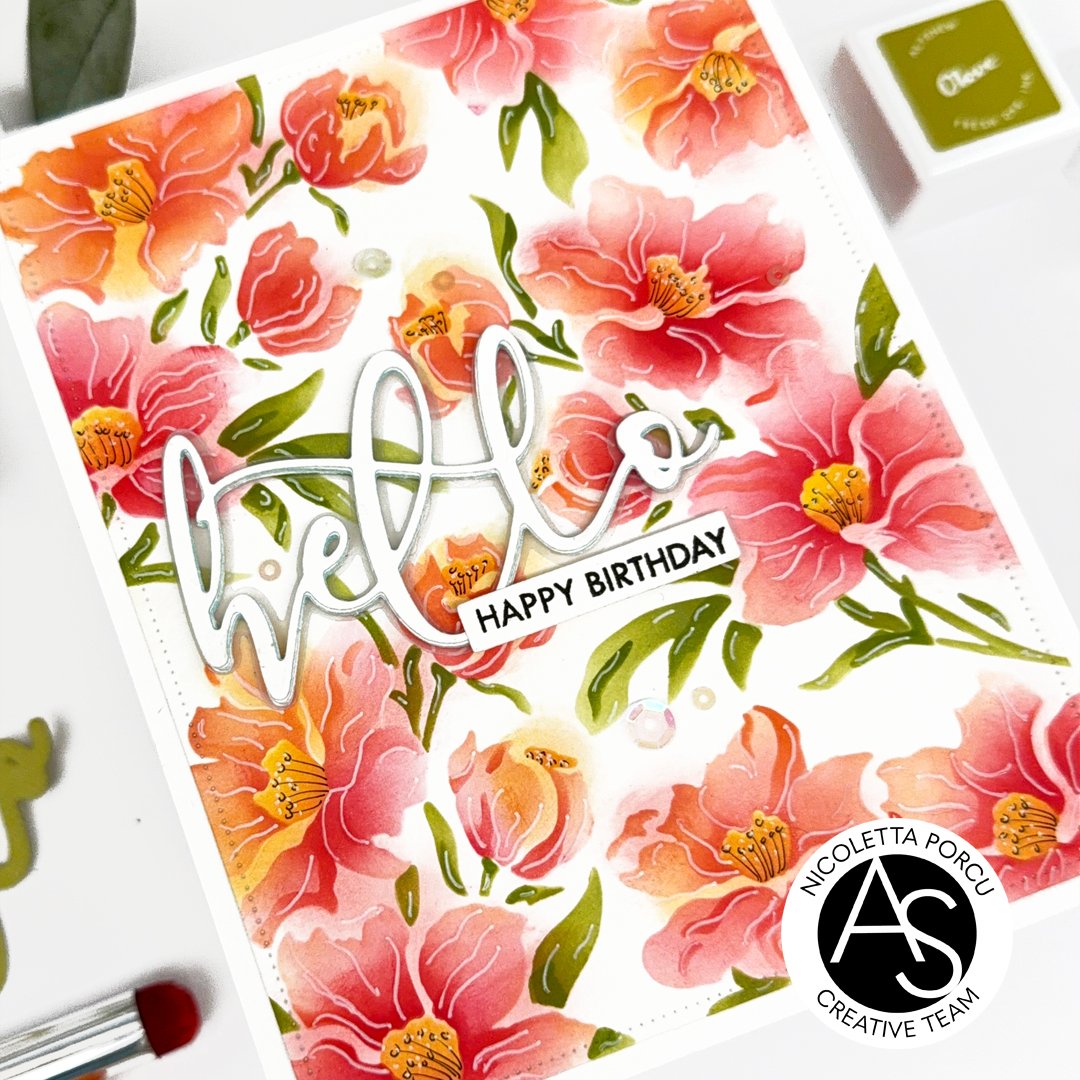
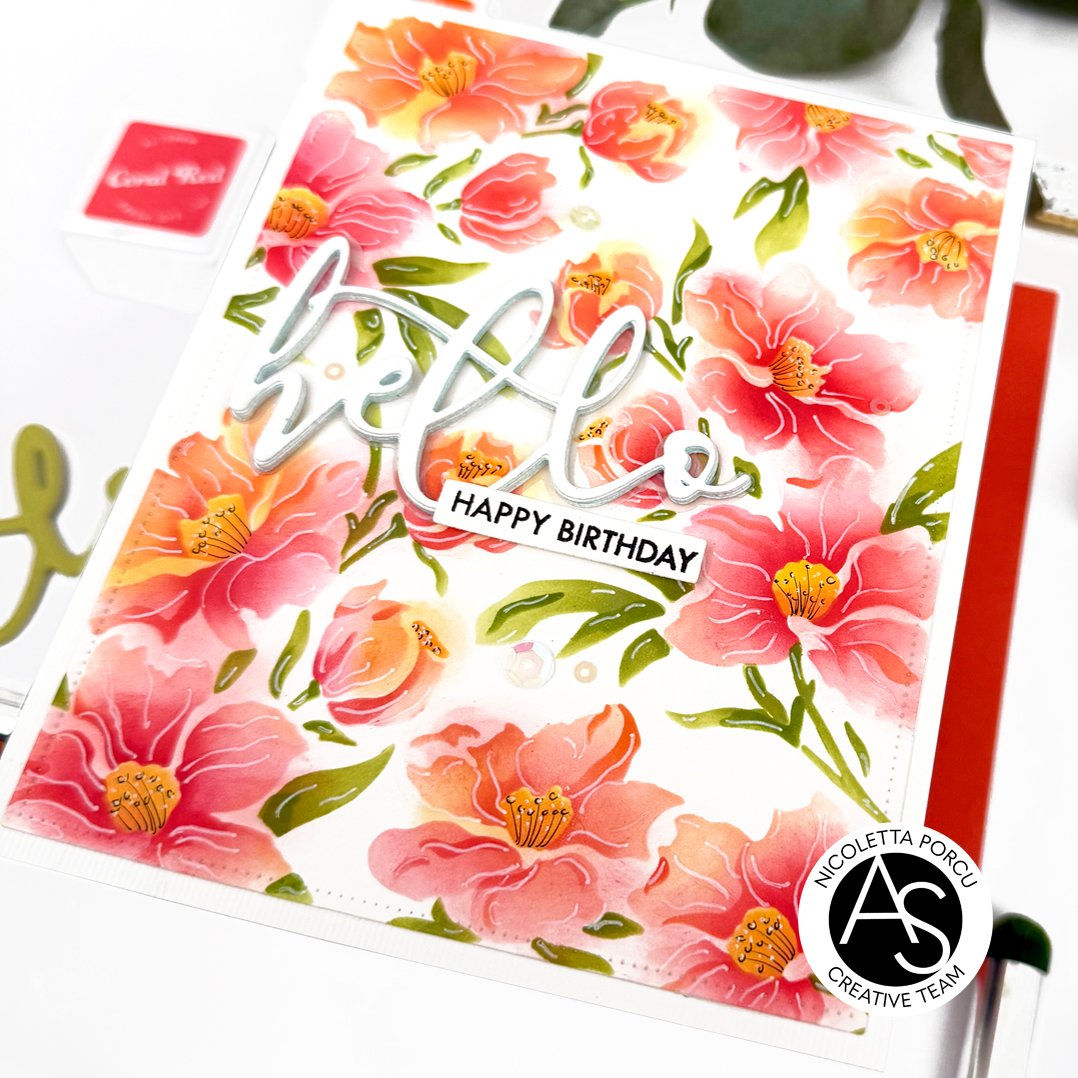
I'm talking about the Charming floral Background Press plate and the coordinate Charming Floral Background Stencil set.
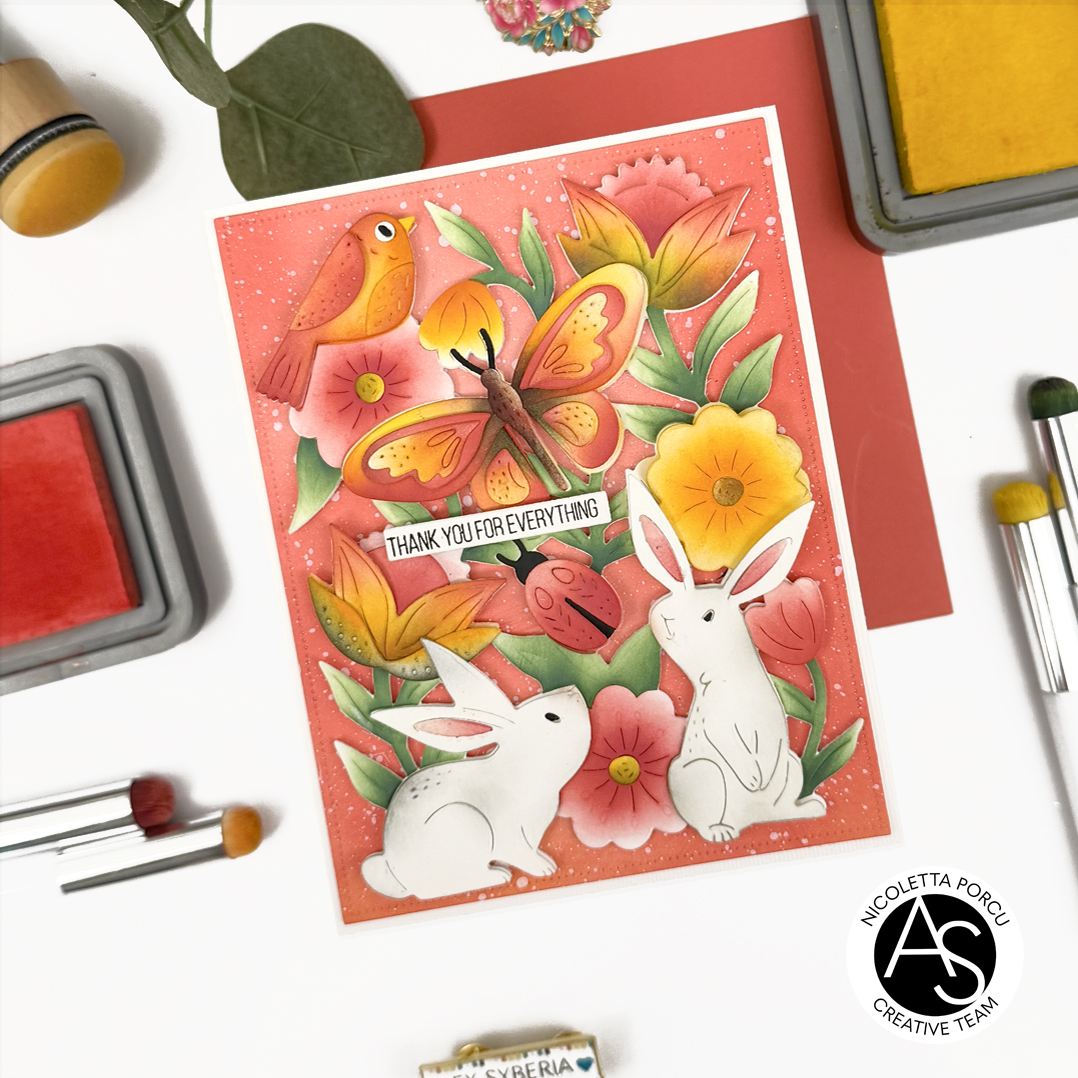
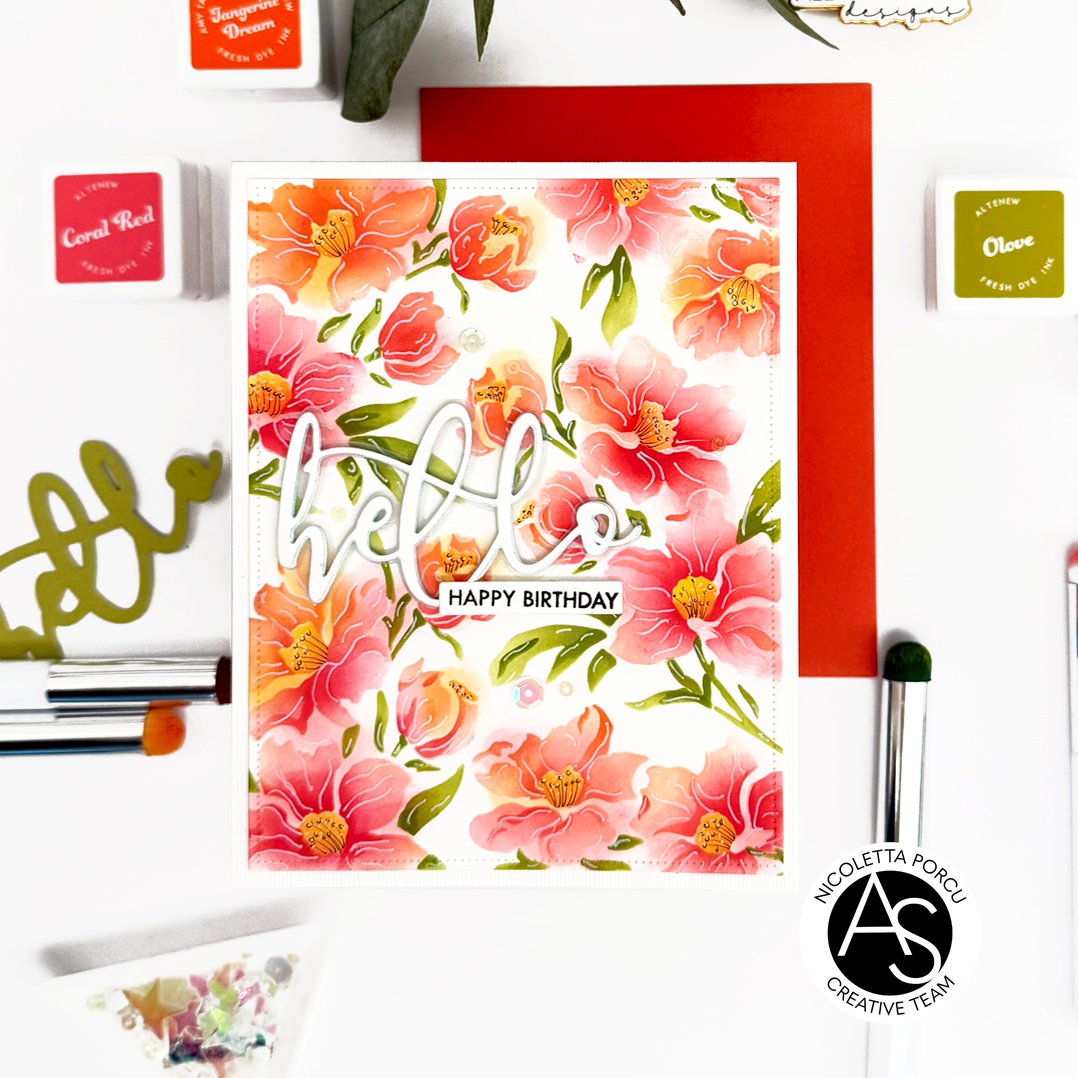
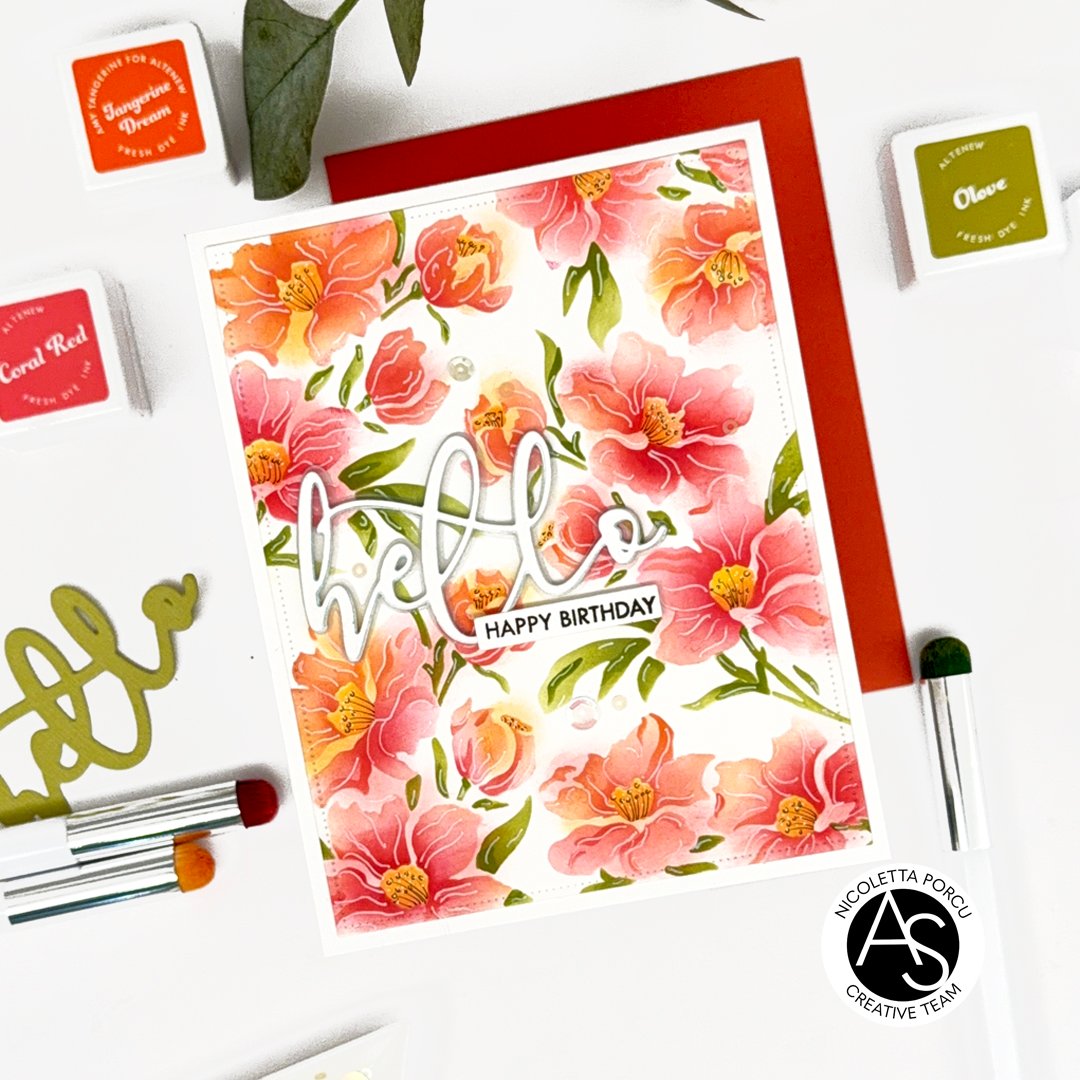
I love the colors Como I used for my last card so I chose to use a similar one for this card.
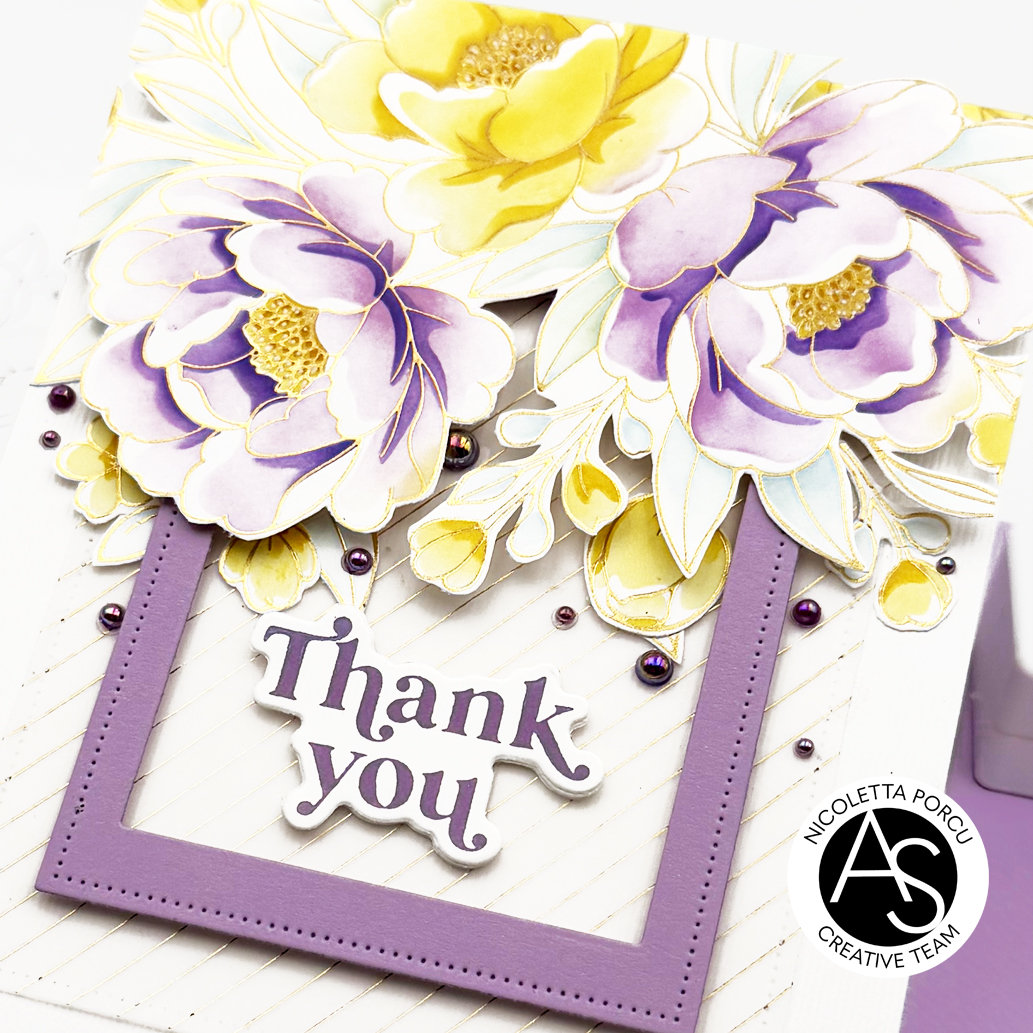
To make my card I started by impressing the Charming Flora Background Press Plate on a Neenah Classic Crest Solar White cardstock , I run Betterpress Letterpress system machine on my Platinum 6 die cut machine to transfer the floral outlines only on the cardstock without inking them. I used those impressed lines as a trace for coloring the flowers and leaves with the Charming Floral Background Stencil set.and some Fresh Dye inks from Altenew.
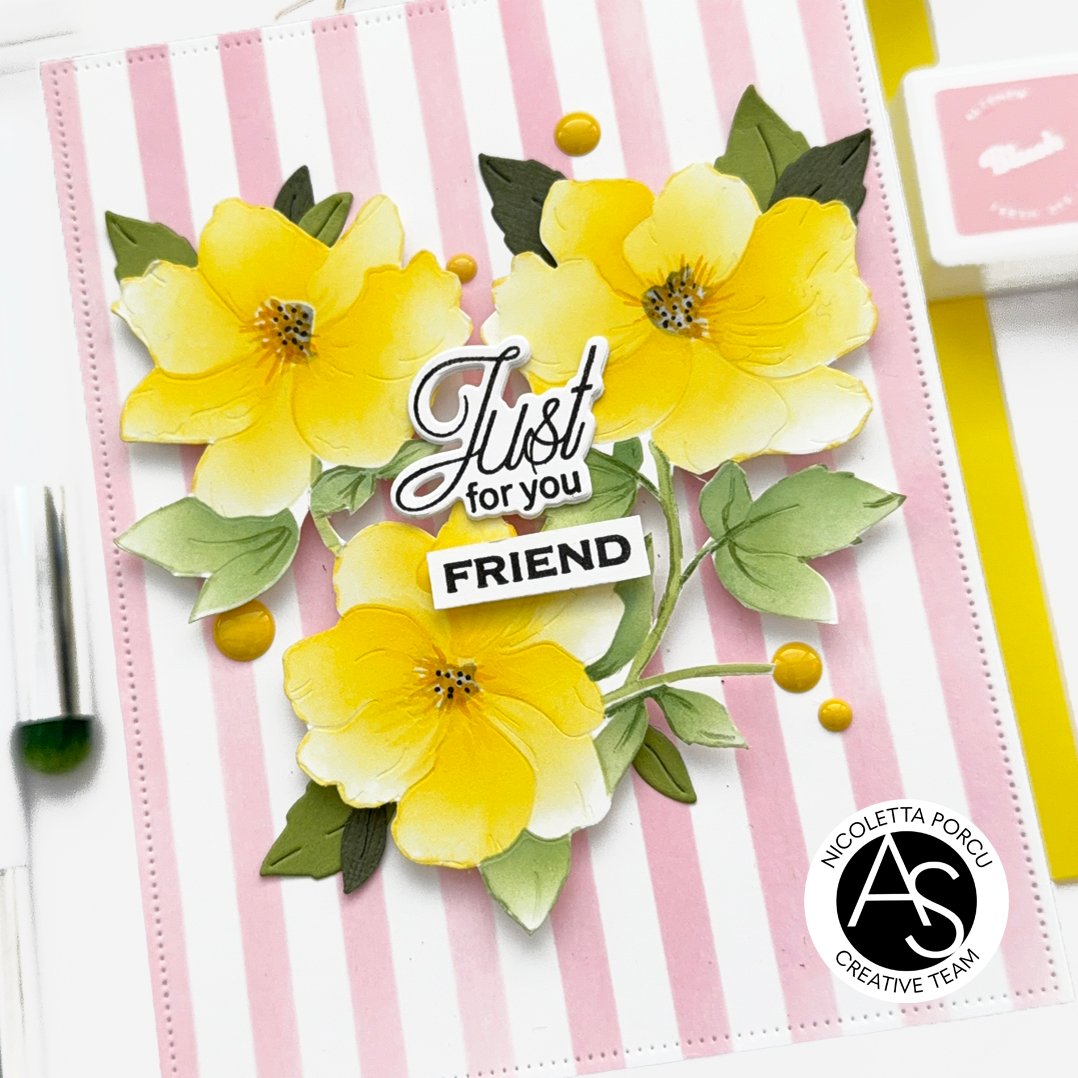
Once the stencil coloring was finished I added the black stamens and some white gel touch on the flowers and leaves,

Charming Flora Background Press Plate
Charming Floral Background Stencil set
Spellbinder Betterpress Letterpress system machine
Nested Scalloped Frames die set
Celebration Sentiments Stamp set,
Spellbinders New & Improved Platinum Six Die Cut and Embossing machine
You could find all of them on Alex Syberia Design UK shop and on the US Alex Syberia Design shop for the American friends. for the American friends.
Also Canadian friends can now order from the US store!!
I hope you like my card and I gave you some inspiration!
Thank you for stopping by!
See you soon!
Ciao ciao