martedรฌ 19 maggio 2026

Colorful Floral Trio

Hi crafty friends!

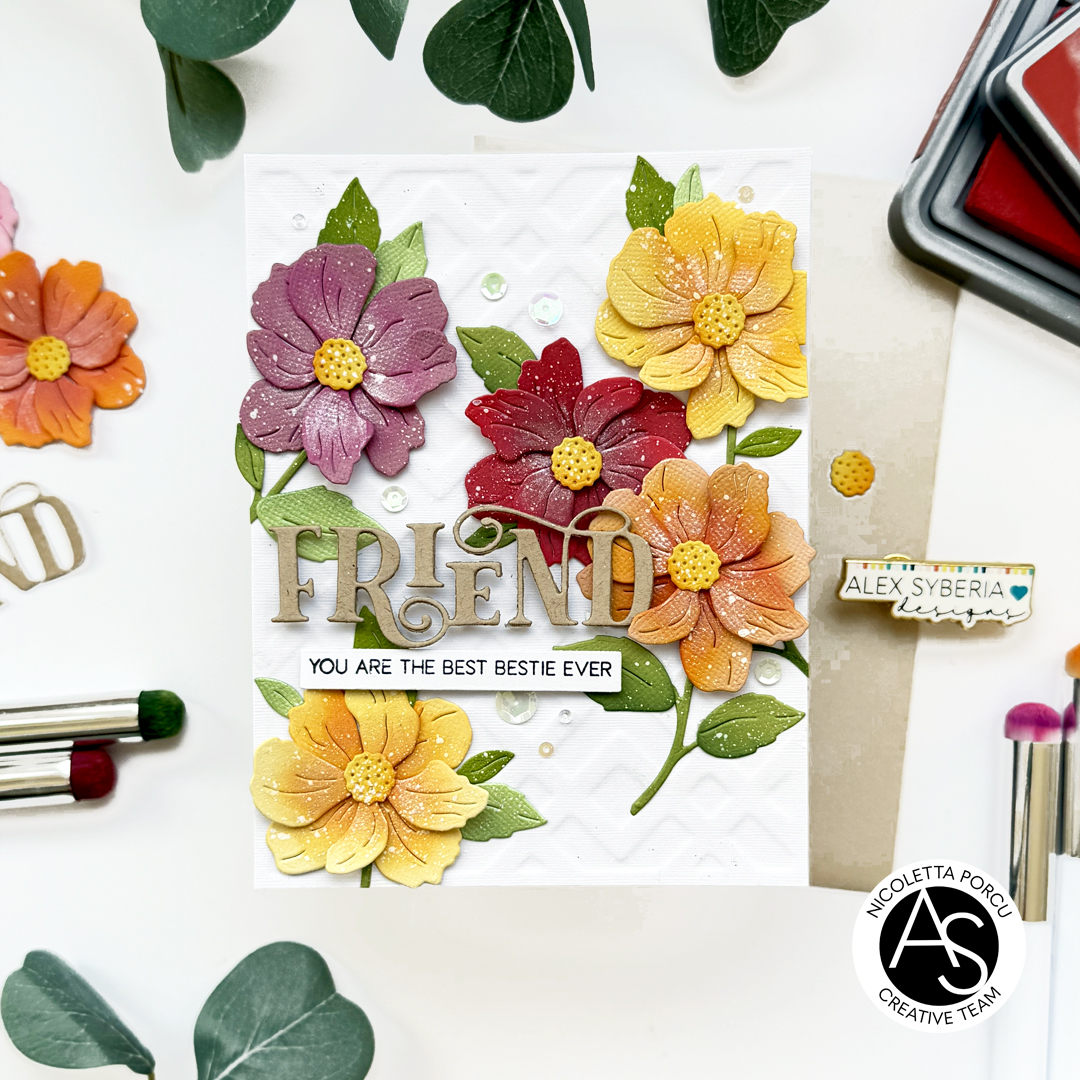
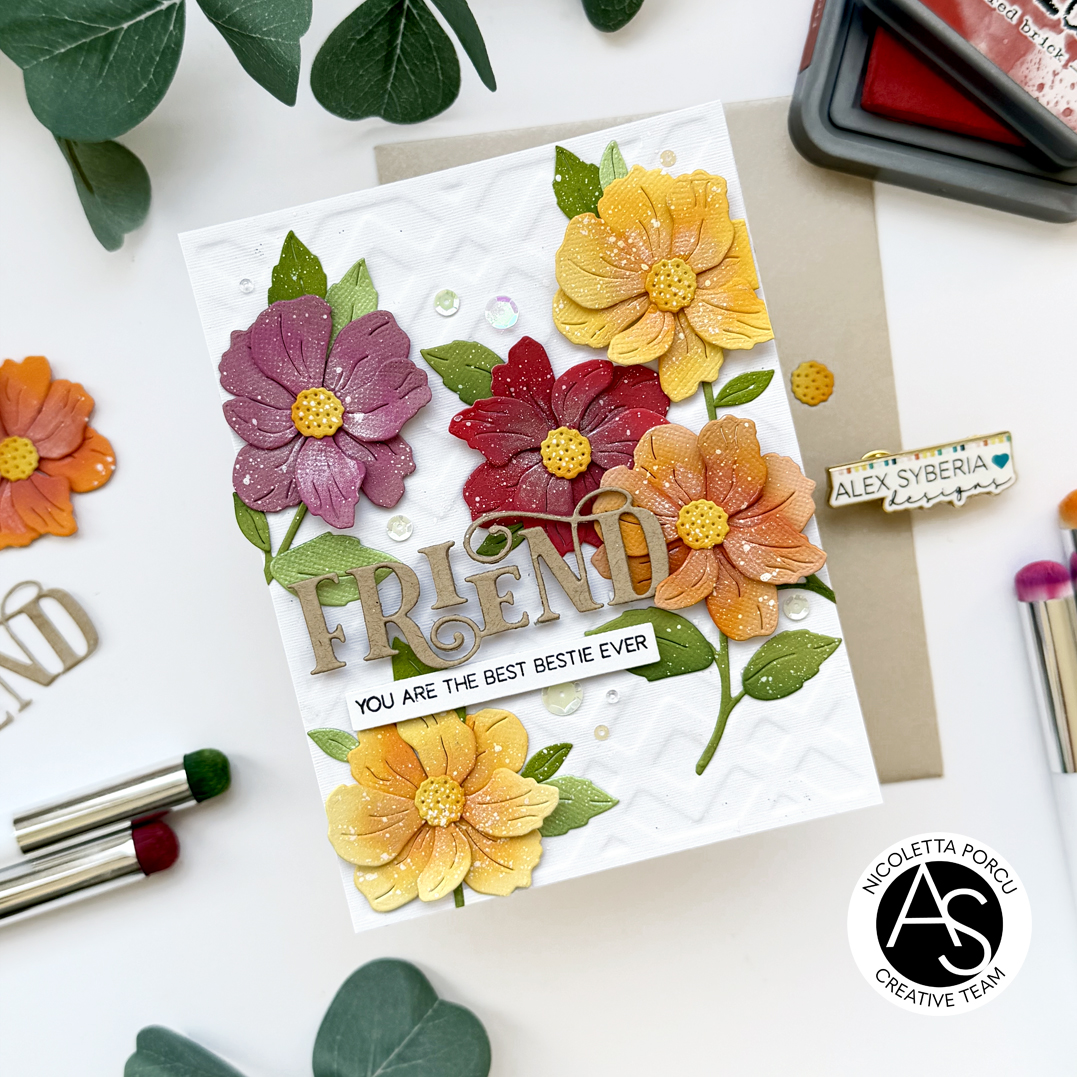
I'm here  today sharing  a new card with you, featuring the Floral Trio die set.

To make my card I started by recalling the background using the Faux Embossing  Folder Technique  I learned from Jennifer Mcguire.

It's really amazing because you could use your die as embossing folder, It consist of using the die plate to die cut a thin magnetic paper or an heavy cardstock (I used this one) and then using it in your usually  embossing sandwich  fro your die cutting and embossing machine.

It's a great, simple and fun technique and you could see the  Jennifer's video here.


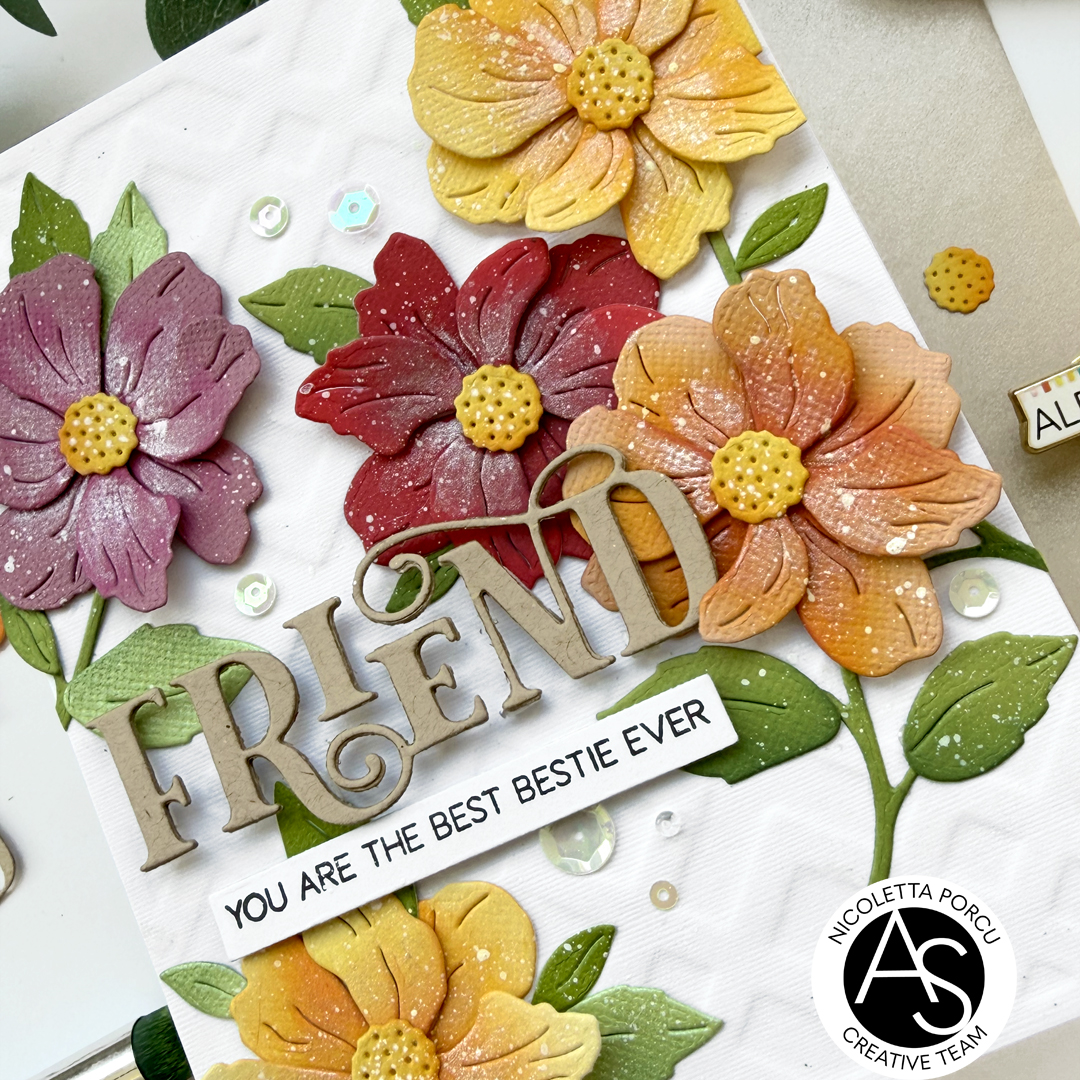
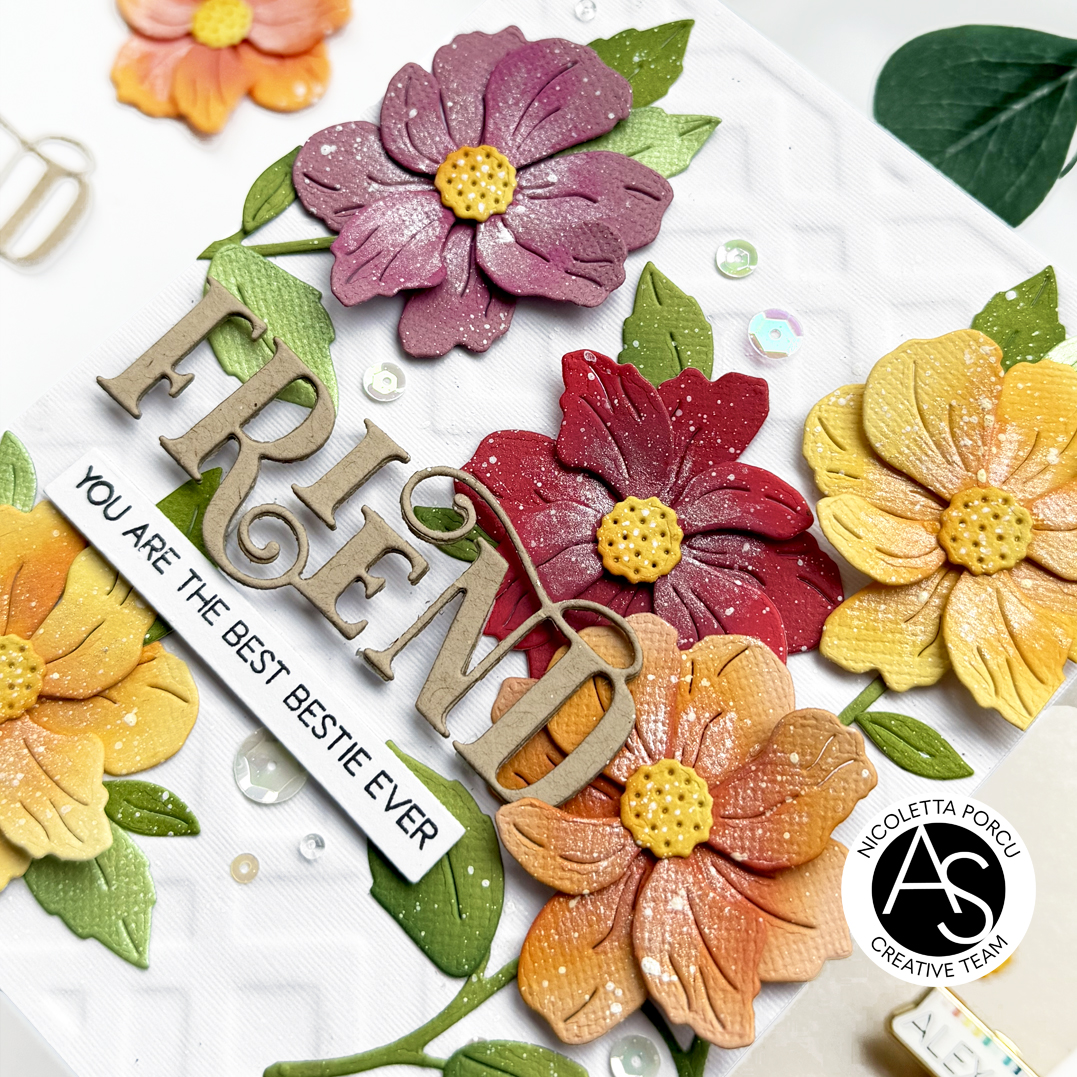
To make my embossing background I used the  Trandy Pattern Cover die .on a white linen  textured paper: I glued it over a white base card and then I die cut all the flowers and leaves using the Floral Trio die set . I blended all die cuts with Distress Oxide inks and then I added a shimmer effect using the Big Wink Of Stella brush pen.

I assembled the flowers using thin pam pads and the I glued them over the embossed background.

Then I die cut the friend sentiment from a craft cardstock  using the Friend die from the Delicate Frame & Friend die setand I glued it on the card.

As a last thing I added  white acrylic splatters and some clear sequins and beads to give a sparkle touch and that's it!

Below a recap of the products I used:

Floral Trio die set

Trandy Pattern Cover die

Delicate Frame & Friend die set

Expressing Gratitude Sentiments Stamp set

Expressing Gratitude Sentiments Die set

Expressing Gratitude Sentiments Stamp and die Bundle

Spellbinders New & Improved Platinum Six Die Cut and Embossing machine

You could find all of them on Alex Syberia Design UK shop and on the  US Alex Syberia Design shop   for the American friends.
Thank you so much for stopping by!

See you soon

Ciao ciao

martedรฌ 12 maggio 2026

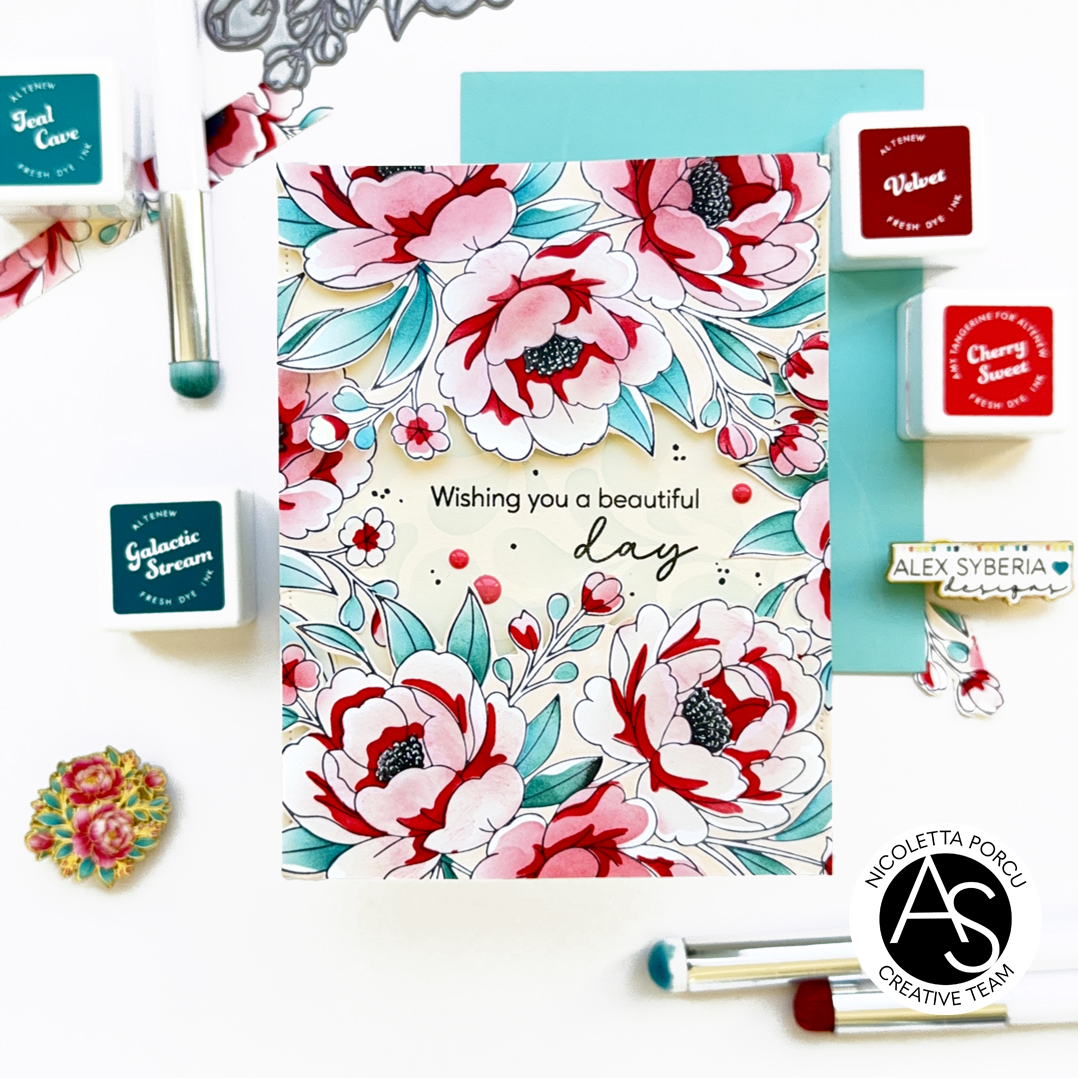
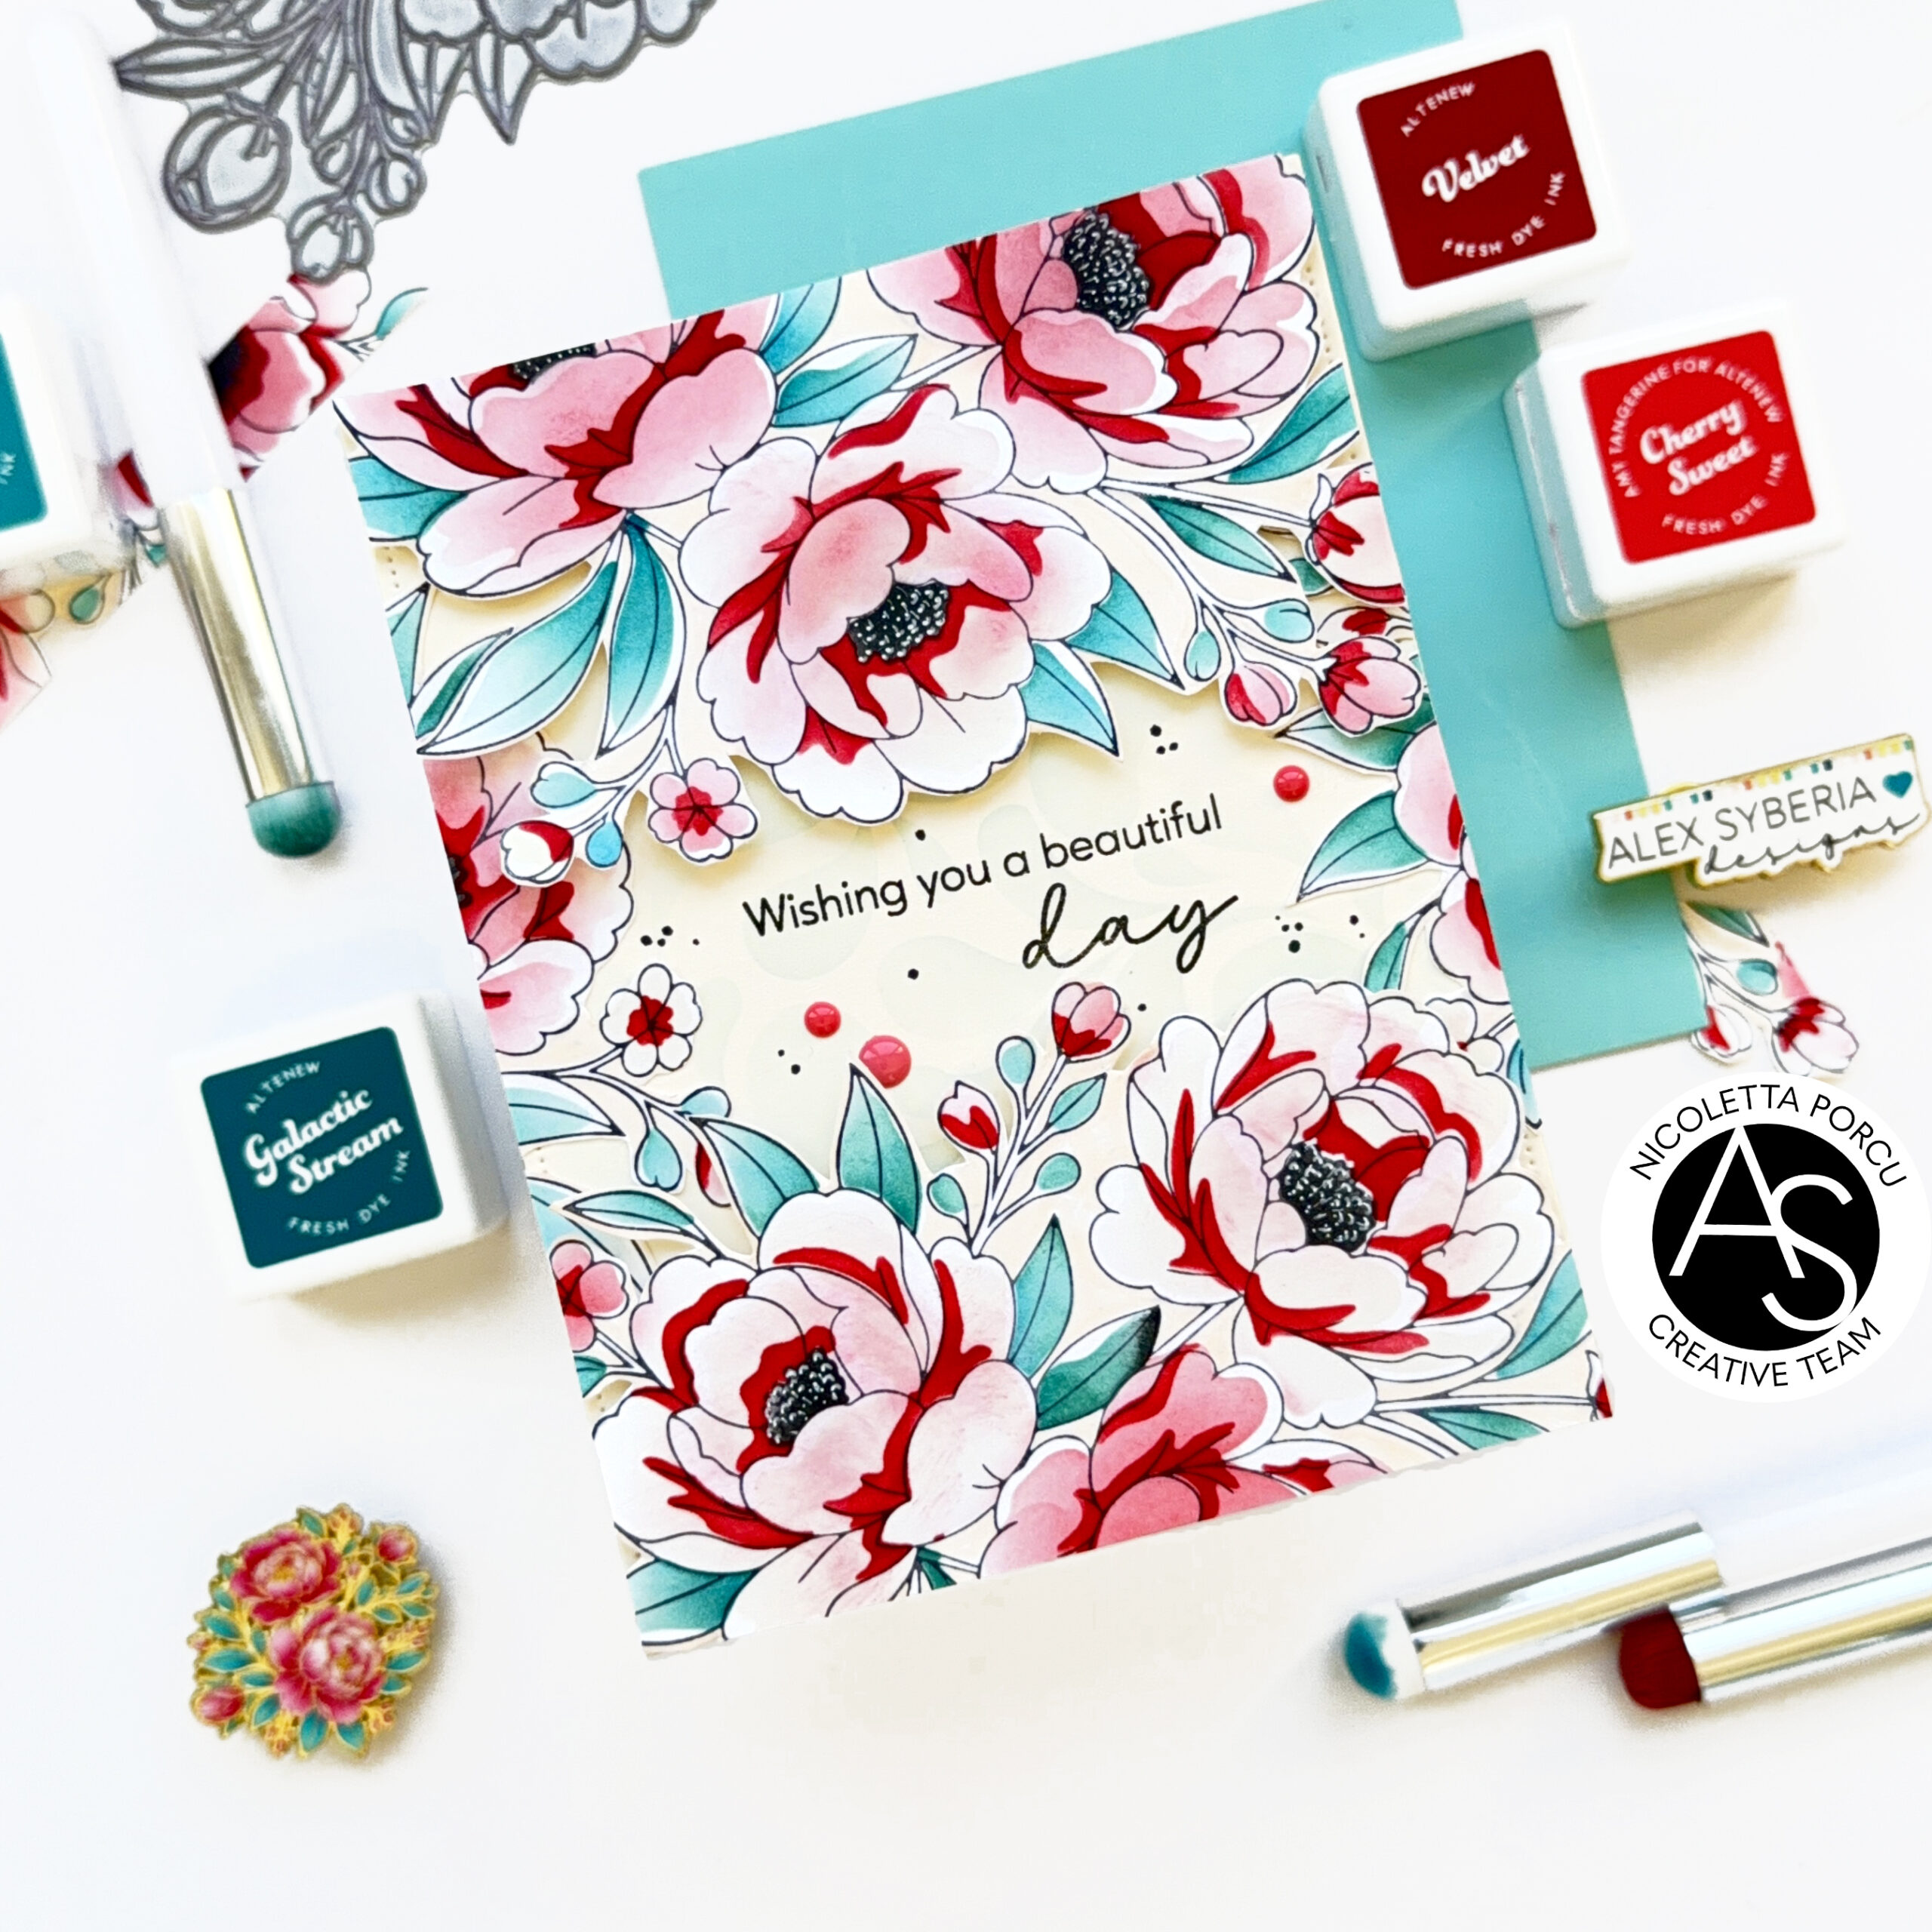
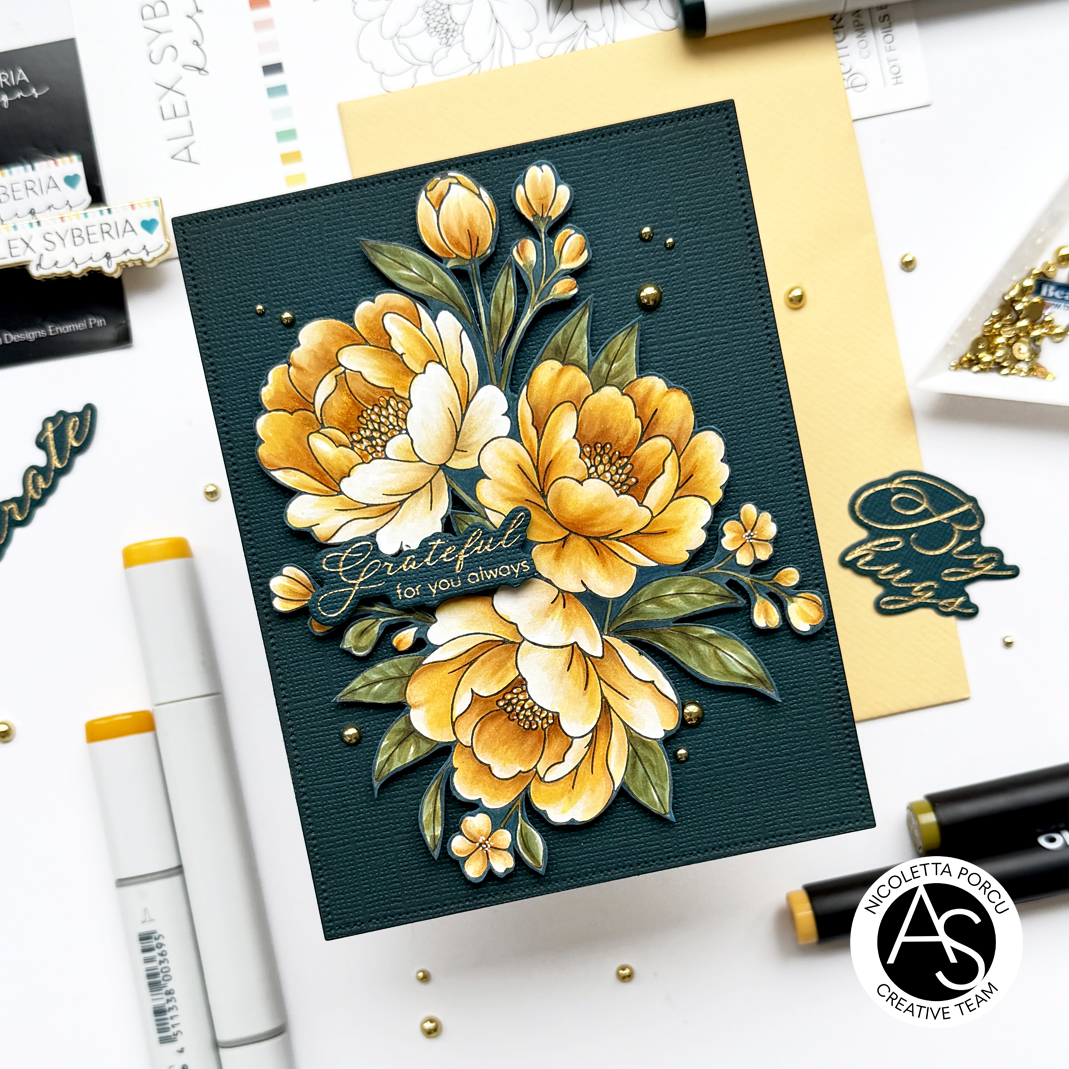
Lush Peony Bouquet

Hi crafty friends ! The last Friday  Alex Syberia Designs released  the  new Lush Floral Collection includes two elegant floral designs with press/hot foil plates and coordinate stencils , a beautiful die cut set and … ๐ŸŽ‰๐ŸŽ‰๐ŸŽ‰๐ŸŽ‰ three super adorable enamel pins you are going to love for sure.
Yesterday we celebrate the event with a fun Ig hop ! Don't miss it out and check my Ig account here @nicolettaporcu.design if you want the chance to win fab prizes.
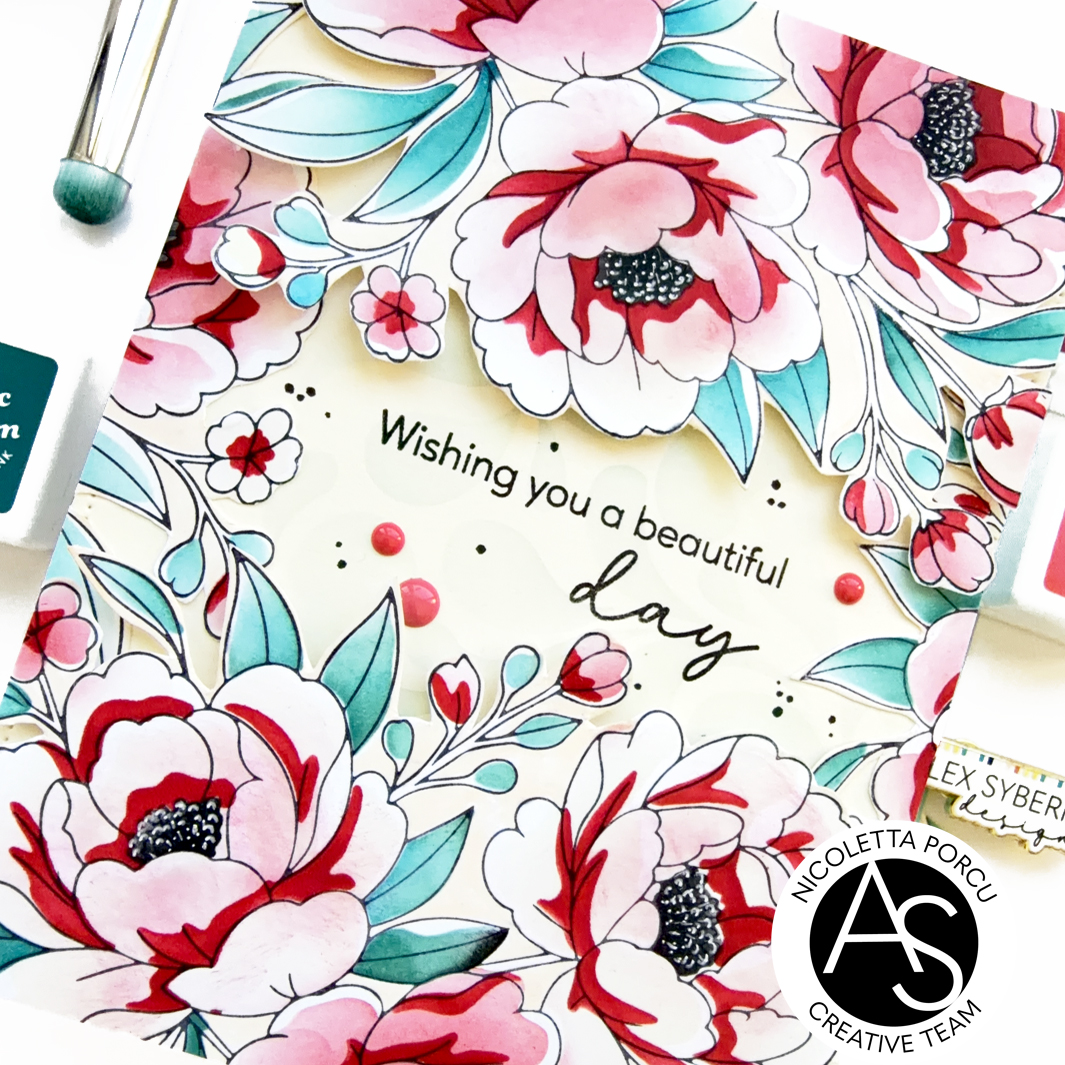
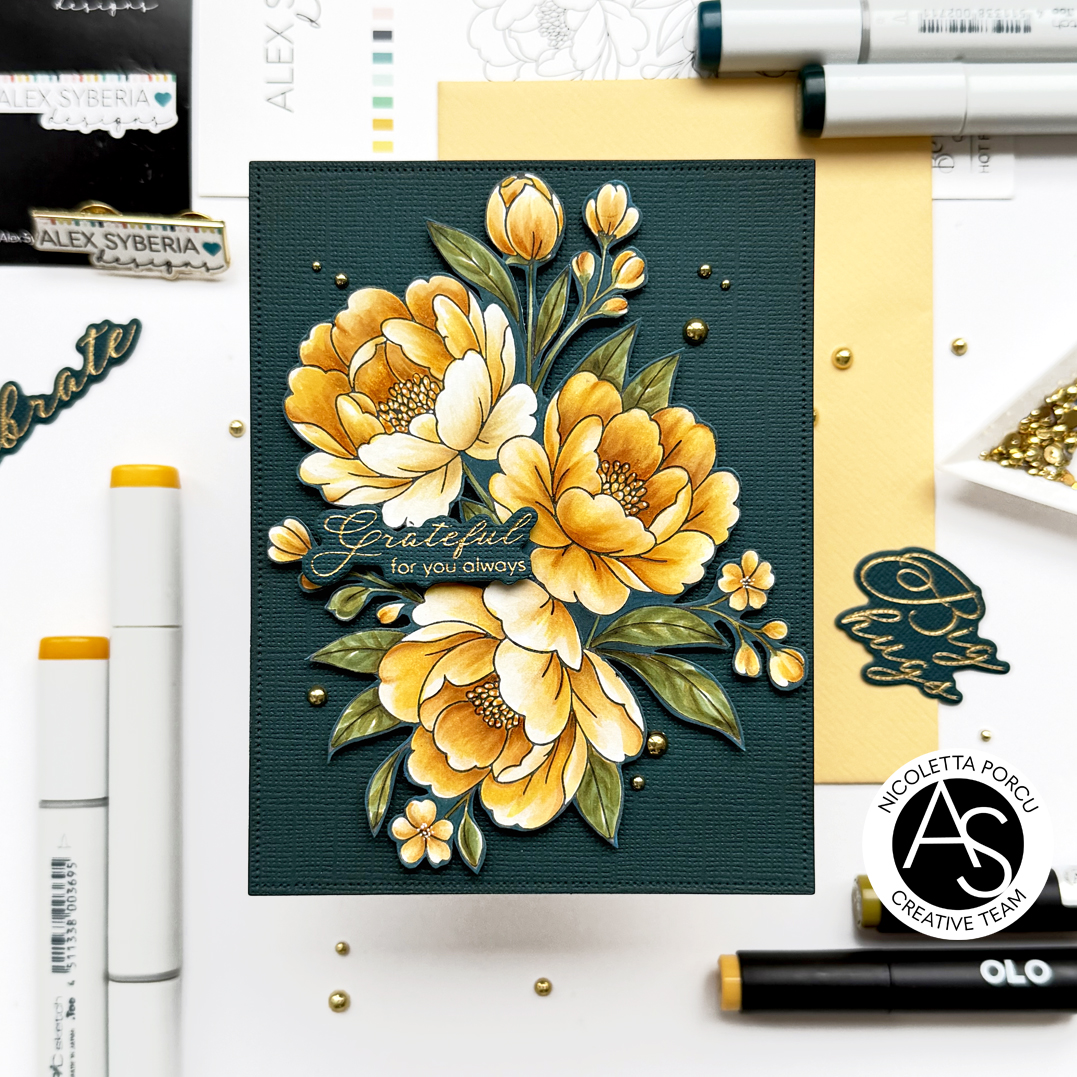
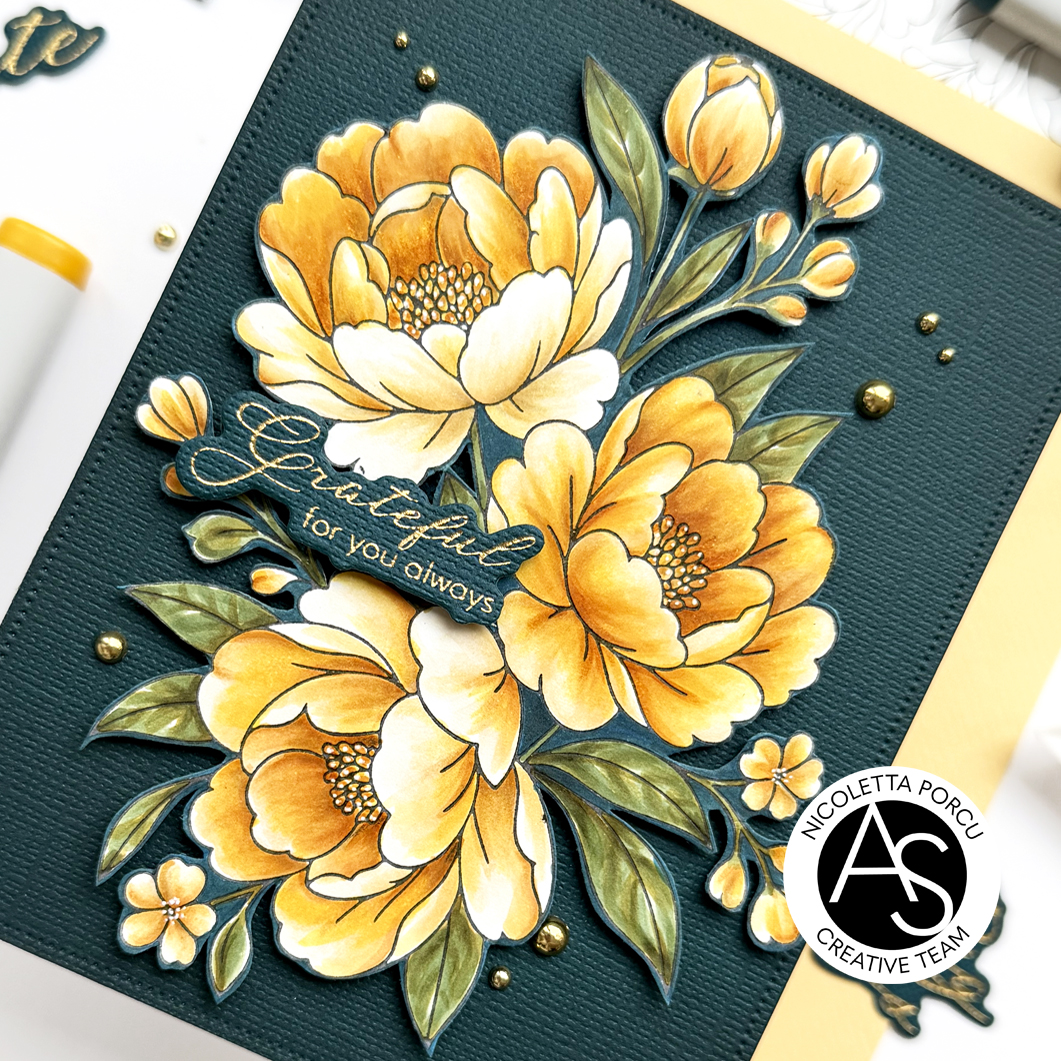
The is the card I did  featuring  the Lush Peony Bouquet Press + hot Foil Plate.

To make my card I started by stamping the Lush Peony Bouquet on a Perfect colouring Paper using a black Memento ink.
Every time I use the Press Plates I'm amazed by the perfect , crispy e detailed imagse they  stamp. I absolutely love them!
I colored the image using Copic markers and Olo markers ( sorry I did't take a note of the colors) and then I cut out the flowers.
 
Then I die cut a Petrol rectangle using the rectangle dotted die from the Nested Scalloped Fames die set and I glued it over a card base.
I colored the outlined part of my flowers using a color very similar t my background and then I glued them over the petrol background using foam pads to add a little dit of dimension.


I continued with the sentiment: I hot foiled in gold and die cut  the little sentiment using the Classic Sentiments Press Plate & die set and I glued it over the bouquets.
As a last thing I added soon gold metallic beads and that's it!


Thank you so much for stopping by!

See you soon

Ciao ciao

domenica 10 maggio 2026

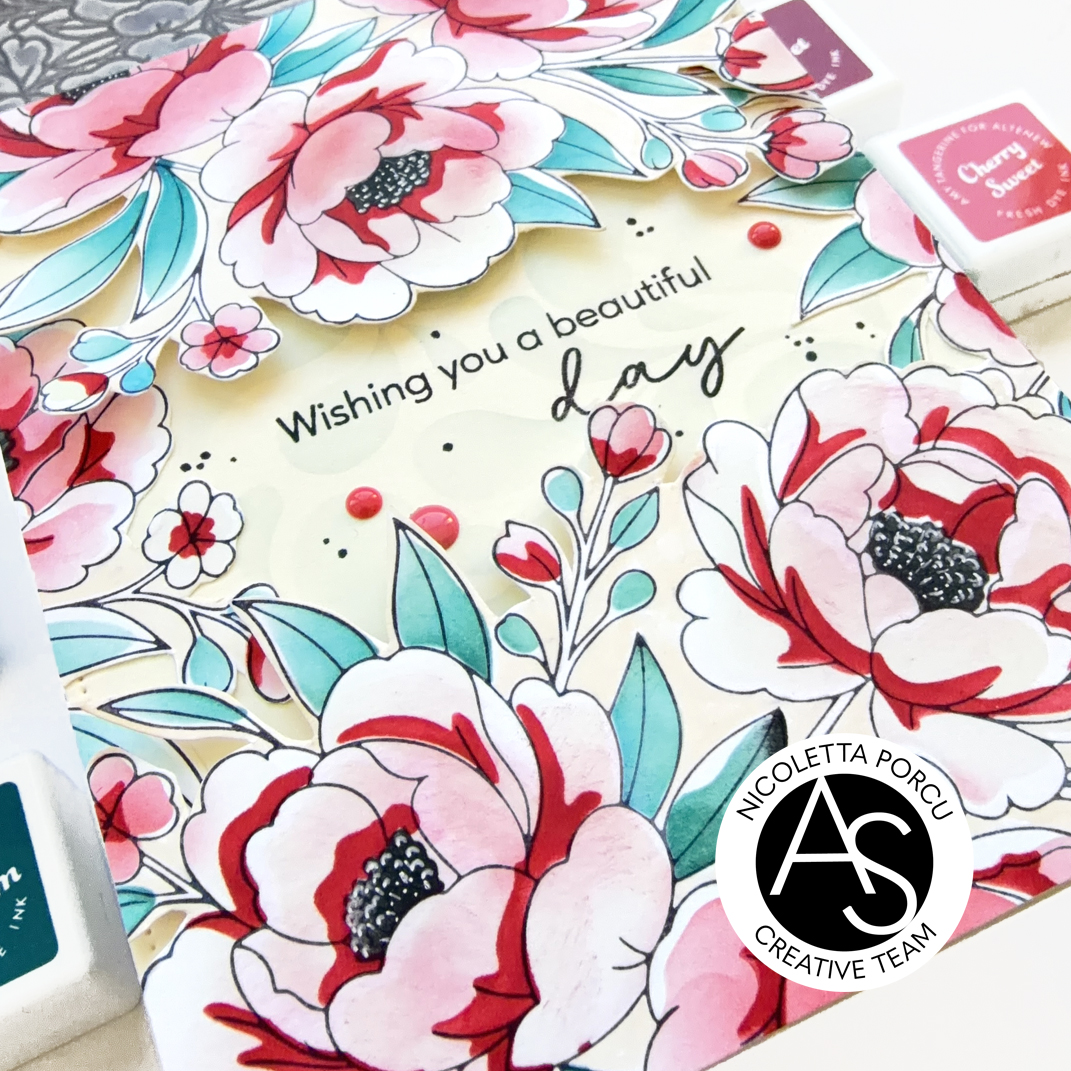
Floral trio card

Hi crafty friends ! The last Friday wa released the last Alex Syberia Designs release !
The new Lush Floral Collection includes two elegant floral designs with press/hot foil plates and coordinate stencils , a beautiful die cut set and … ๐ŸŽ‰๐ŸŽ‰๐ŸŽ‰๐ŸŽ‰ three super adorable enamel pins you are going to love for sure.

To make my card I started  by  die cutting a rectangle from a Neenah paper using a dotted rectangle die from the Nested Scalloped Fames die set  and then  I stamped over it  the Trio Floral   using the Floral Trio Press+Hot Foil set and the black Betterpress Ink.  I stamped the Trio Floral many times all around the die cut rectangle and then  I colored the stamped images using the Floral Trio Stencil set 
 and red and violet Distress ink and Fresh Dye inks by Altenew.
I'm trying to use unusual color combos and I',m quite happy about the result.
Next up I glued the colored rectangle over a larger white base card putting between them an  heavy cardstosk to add dimension.
Then I thought about the sentiment. I stamped the thank you one from the Essential Sentiments Press Plate & die set  using a Versamark ink on a black cardstock, I embossed it in white and then I die cut it using the coordinate die available in the set. I die others  four layers and I glued all together under the embossed one and then I glued it on the card.
Under the big sentiment I added the string one I made using the Expressing Gratitude Stamp set and the Expressing Gratitude Die set.


As I told you before for the first time Ales Syberia Designs is releasing three super adorable enamel pins!
I'm sure you will love them all.
You can choose to buy the trio bundle or some of them:


Thank you so much for stopping by!

See you soon

Ciao ciao

lunedรฌ 4 maggio 2026

Enjoy Life

Hi crafty friends!

I'm here here  today sharing  a new card with you.  

I had this design in my mind for a while and finally today I did ti! hope you like.


To make my card I started  by  die cutting a rectangle from a Neenah paper using a dotted rectangle die from the Nested Scalloped Fames die set  and the  I stamped over it  the flowers bouquet   using the Hugs In Bloom Press/Hot Foil Plate and die set, and the black Betterpress Ink. I masked half the rectangle and  so  I colored the flowers  using the Hugs in Bloom Stencil set  and the Ocean Waves, Teal Cave, Galactic Stream, Dusk, Velvet, Redwood, Tangerine Dream, Caramel Toffee fresh dye Inks by Altenew and the Picked Rasberry, Rusty Hinge, Peeled Paint ,Forest Moss Distress Oxide inks.

I stamped over a little  sentiments using  a clear stamp from the Spring Garden stamp set  so I glued the rectangle over a  white base card.

Next up  I die cut the big Hugs sentiment by using the Foxtrot Alphabet die set.

I die cut it in five white layers  blending the top one of the H,U, G with the colors I used for the flowers. I glued all the layers  together to add dimension  and I put the die cut sentiment  over the card placing the colored letters on the black and white side and the white one on the colored side.


As a last thing I added some gold sequins  all over the card   to give some sparkle touch to my card!

Ant that's it!!

Below a recap of the products I used:

Hugs In Bloom Press/Hot Foil Plate/Die set and Stencil Bundle

Hugs in Bloom Stencil set

Nested Scalloped Fames die set

Foxtrot Alphabet die set

Spring Garden stamp set

Spellbinders New & Improved Platinum Six Die Cut and Embossing machine

Spellbinders BetterPress Letterpress System

You could find all of them on Alex Syberia Design UK shop and on the  US Alex Syberia Design shop   for the American friends.


Thank you so much for stopping by!

See you soon

Ciao ciao

linktwin

Related Posts with Thumbnails

ShareThis