mercoledì 30 agosto 2023

Choose Joy Every Day

Hi crafty friends!!

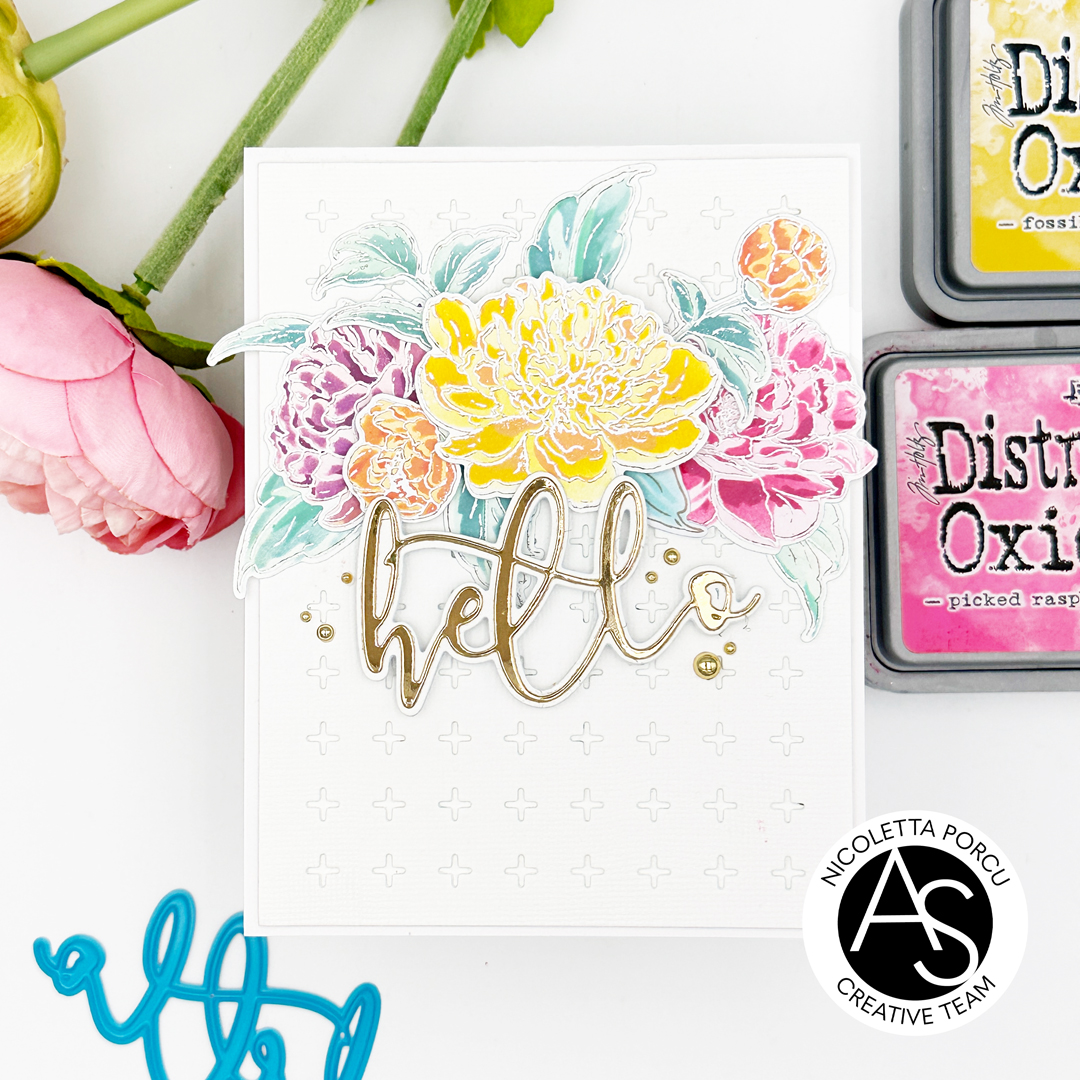
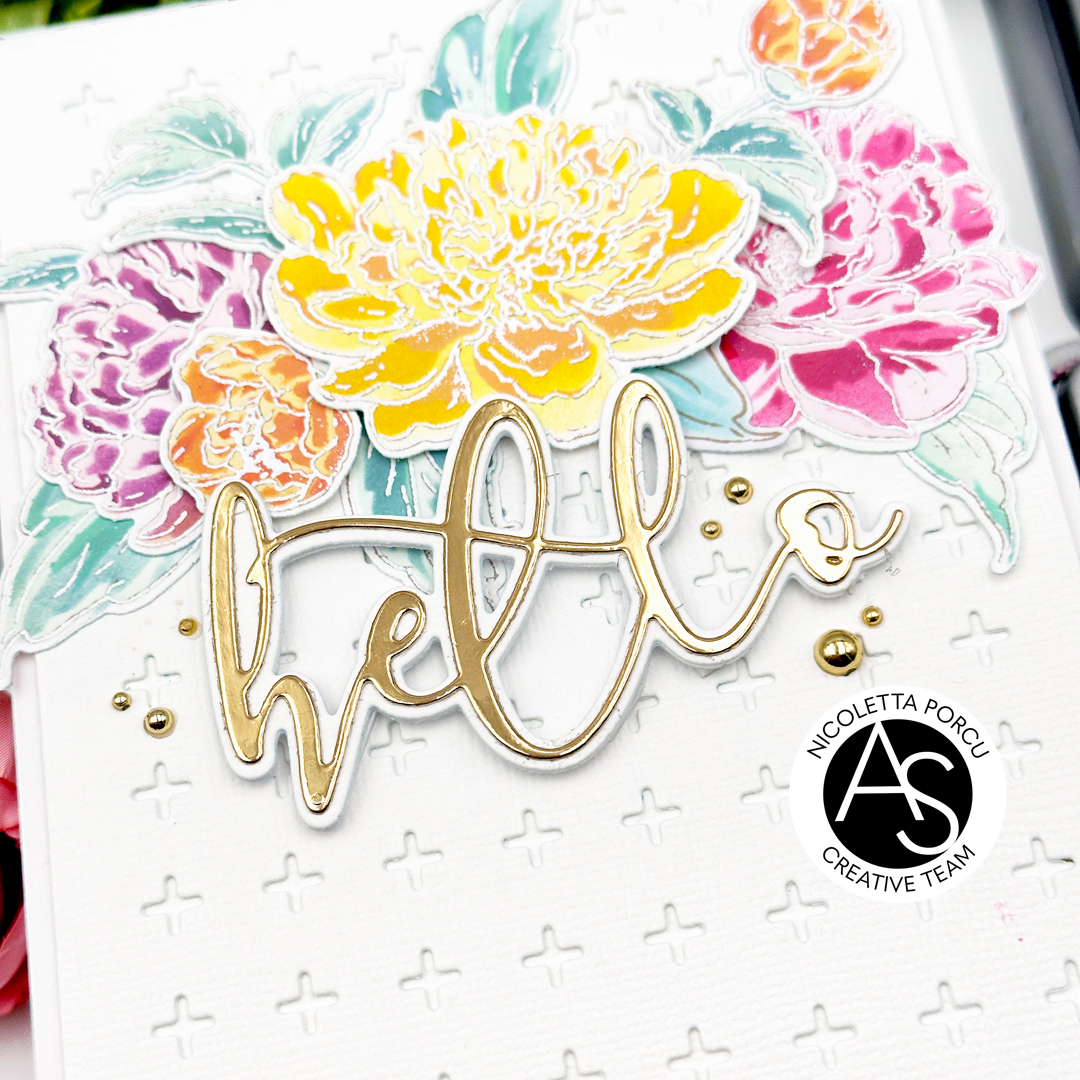
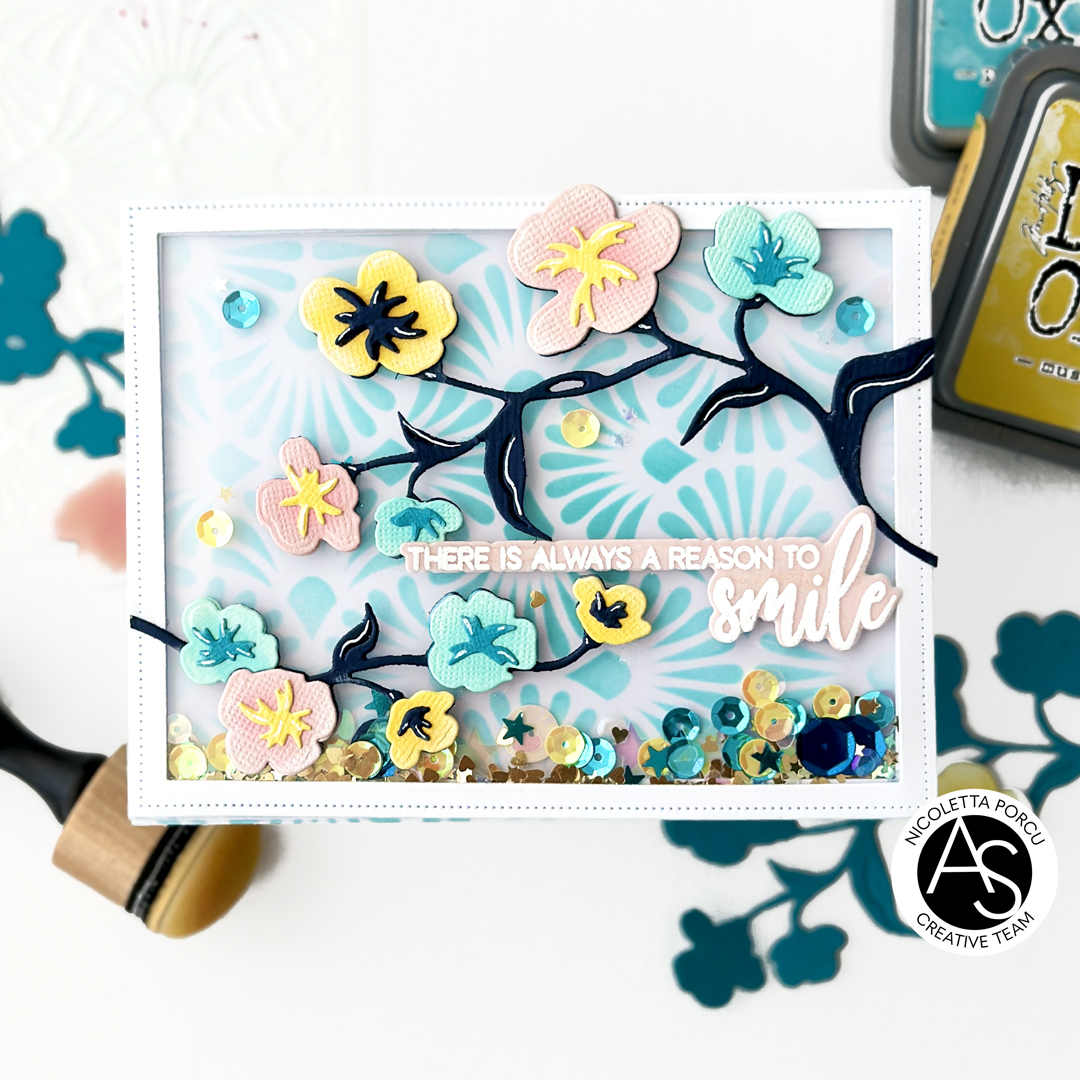
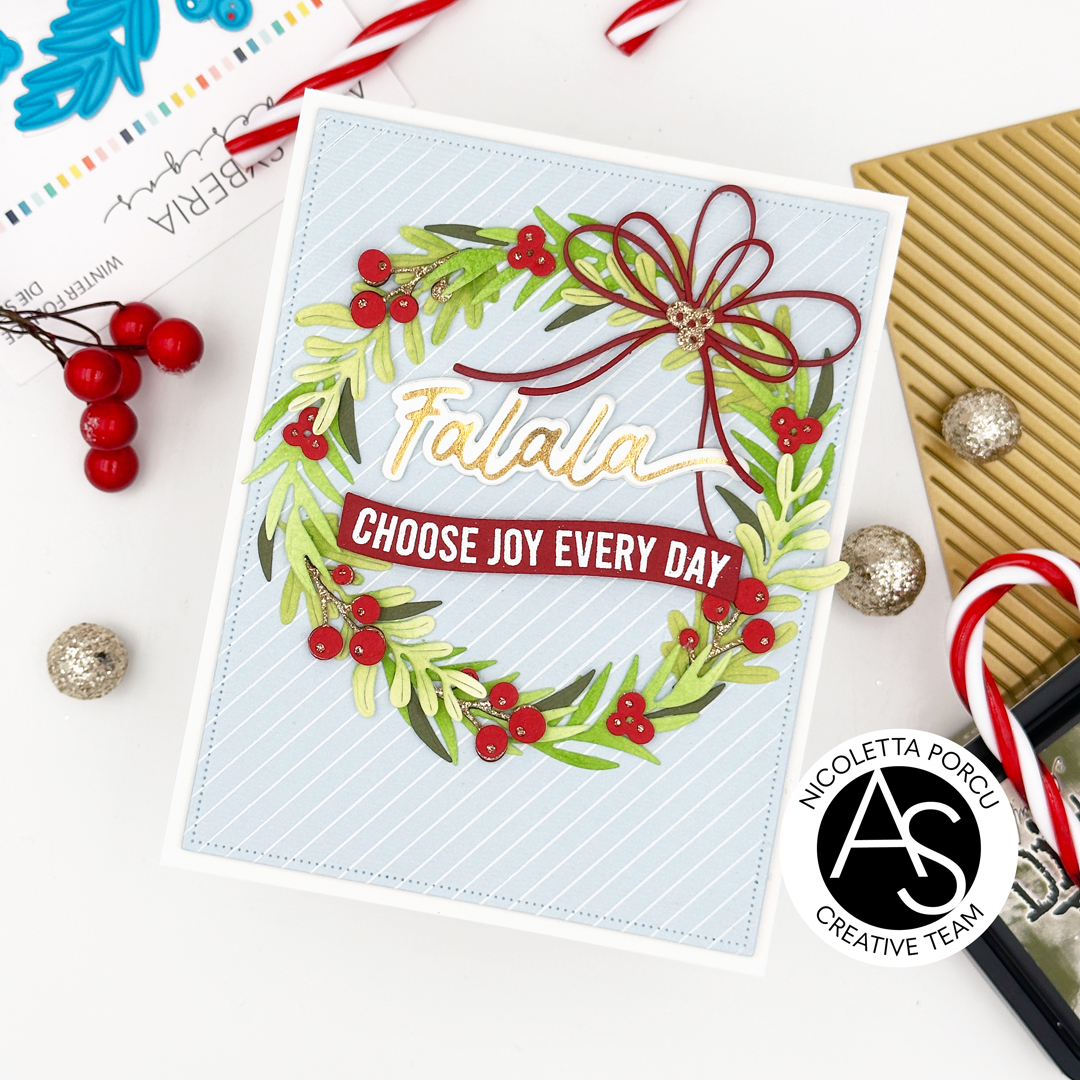
welcome back to our blog! Today I'm here with a new card featuring some products from the "Christmas in July" release.

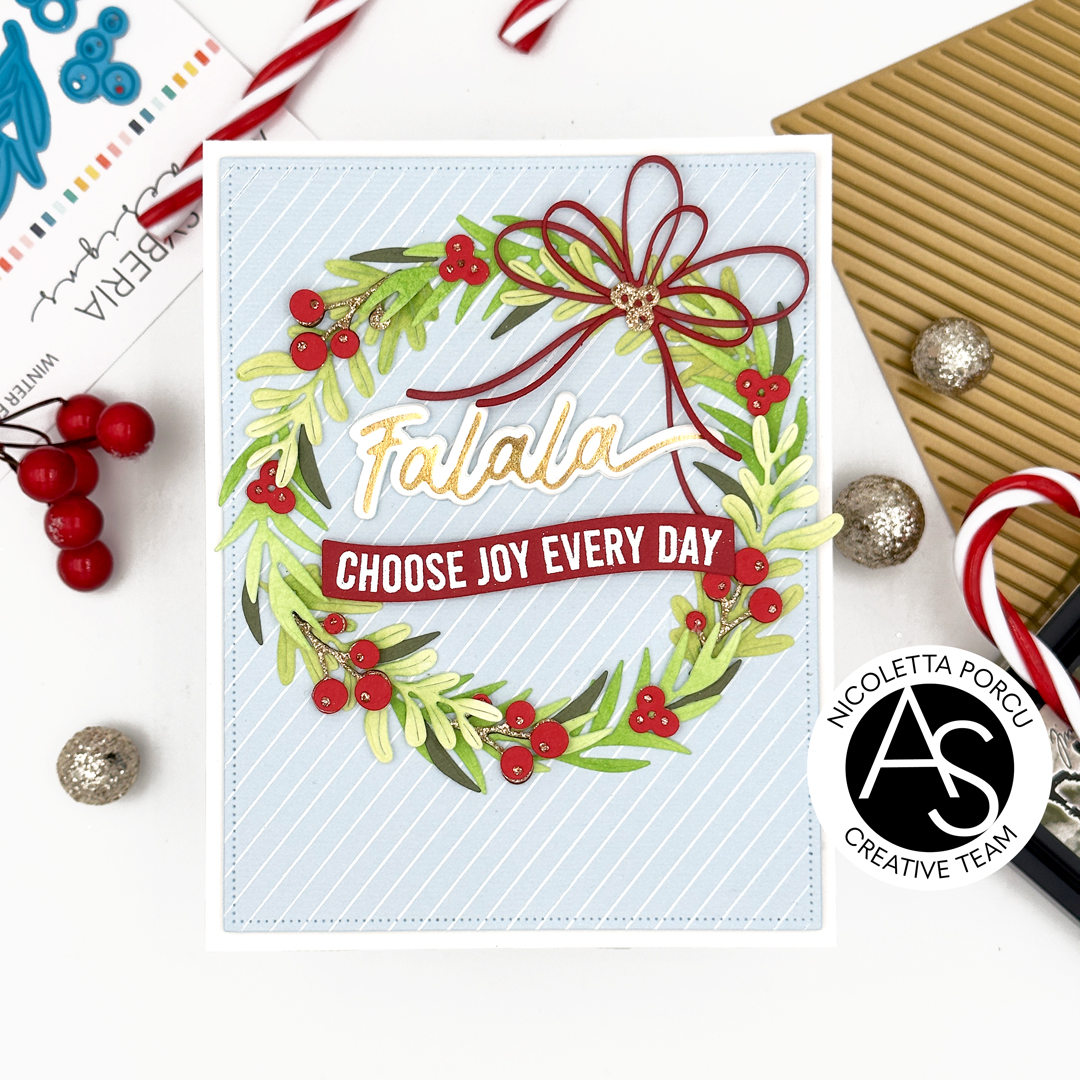
To make this card I started by foiling the "Elegant Stripes hot foil plate" on a light blue cardstock using  an opaque  white foil and die cutting it with the dotted rectangle die from the Nested Scalloped Frames die set. I absolutely love the result!!!

Next up I glued the foiled background on a white card base  and I continued by blending some Distress ink green shades on  a Neenah paper and die cutting from it the foliage by the "Winter Foliage" die set.

I glued all the foliage on the card  to create a Christmas wreath and over it I added the red berries and the glittered gold details.

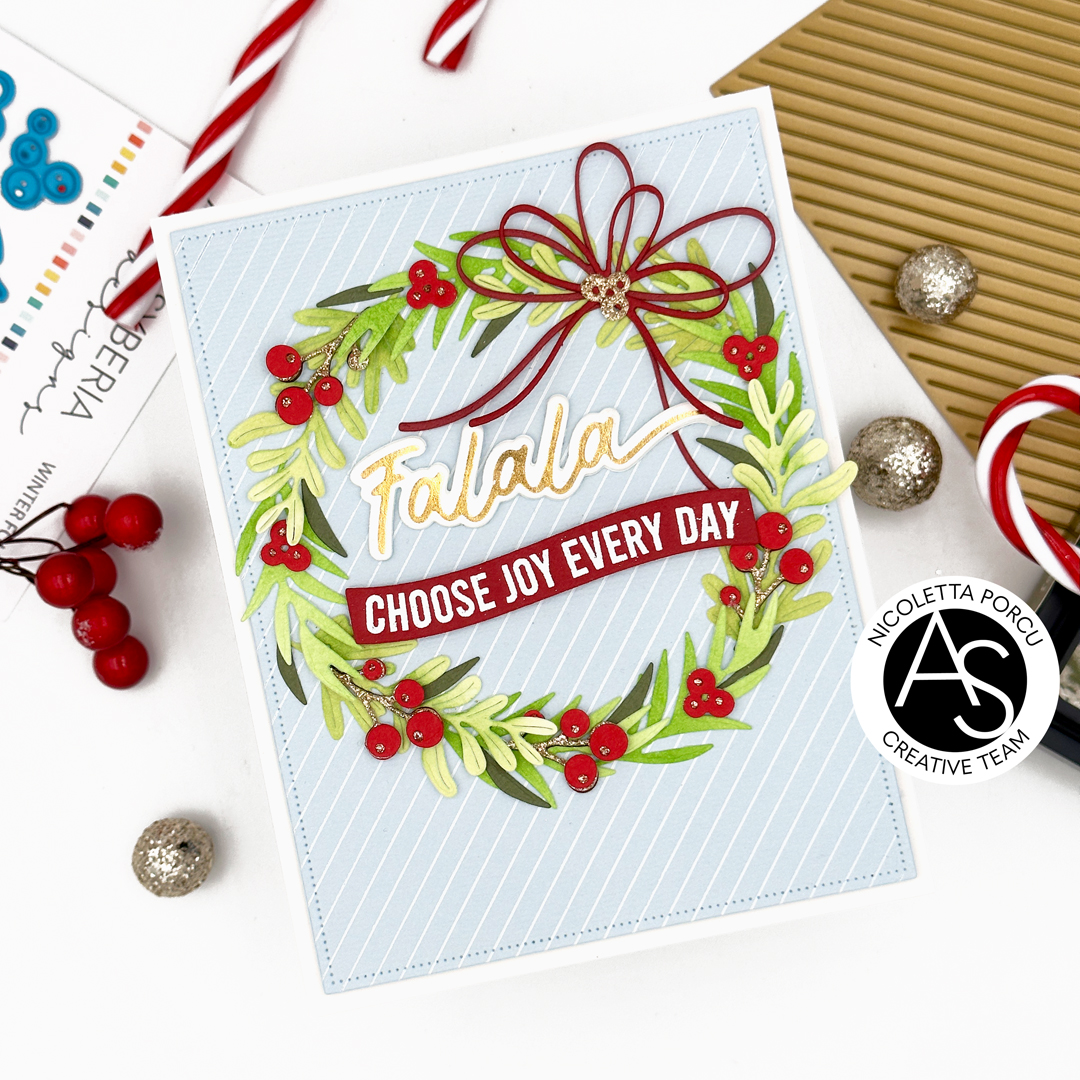
On the wreath's top I added the red "Pretty Bows"  die cut and as a last thing I added the sentiments.

The gold  foiled "Falala" using the "Falala Hot Foil plate" and the coordinate dies,  the red banner with the white embossed sentiment obtained using the  "Christmas Sentiments" stamps set and the coordinate dies.

And that's it!

hope you like this inspiration!

Take a look to the shop to find the products I used and many others.

Thank you for stopping by!

Ciao Ciao

mercoledì 23 agosto 2023

Soft and delicate hugs

Hi crafty friends!

I'm here today with a new card  featuring some beautiful ASD products!


To make the card I started by die hot foiling the Glowing Geometry hot foil plate over a soft pink cardstock. I used  a pearl rose foil to obtain a tone on tone effect! Unfortunately you can see it very well on the picture but I love the delicate result.

I adhered it over a green/gray carsick base using the adhesive foam to give a little bit of dimension.

Next up I stamped the various flower and leaves from the "Happy Blooms" stamps set and once  I embossed them in gold I die cut them using the coordinated dies. I colored them by blending with pink and green  Distress inks and using adhesive mouse pads I adhered it over the card.

As last thing I added the hot foiled sentiment I did using a pink foil and the Hugs plate from the "For Her Sentiments" hot foil plates and the coordinate dies,


And that's it!

I love the soft result and hope you like it too!

Thank you for stopping by!

Ciao Ciao


mercoledì 16 agosto 2023

Say it with flowers

Hi crafty friends!

I'm here today with a new inspiration card featuring the Alex Syberia Designs products. Some of these are on sale so don't missed them! you can save up to 40% !!! you have time until August 20th.


To make the card I started by stencilling  tulips in various colors. I used the Tulips Treasure stencil set and yellow, orange, red, pink and grey Distress inks. I started with the pink big tulip and after making it I continued whit the smallest ones.

Once I like  the stencilled composition I die cut the top panel using the Nested Scalloped Frames die set and I adhered it over a white cardstock base using adhesive foam to give dimension.


To finish it I simply added the "Sending Love" sentiment I made using "For Her Sentiments" stamp set, and die cutting it with the coordinate die---->For Her Sentiments die cuts.

Some rose pearls complete the card.

And that's it!

Hope you like the card ! I'd like to remember you take a look to the shop here to enjoy the amazing 40% discount on a handpicked collection featuring a variety of stunning stamps, intricate dies, and elegant hot foil plates. No code needed!


Thank you for stopping by!

xx


mercoledì 9 agosto 2023

Hello Gorgeous!

Hi crafty friends!

I'm  back today sharing with you  a new card!

It's time for some other  products by Alex Syberia Designs :

the Tiny Crosses Cover die, the Large Hello die set, The Gorgeous Peonies stamp set, the coordinate stencil set and the die set.

I started by die cutting the white cardstock card base and adding over it the  cover diecut obtained with the Tiny Crosses Cover die.

Next up I stencilled the lovely  peonies in various colors using Distress oxide inks, I embossed them in  white  and then I die cut them using the Peonies coordinate dies .

I placed all the images I needed on my card and once I've found the right position I adhered them on the card.


I continued by die cutting the Large Hello sentiment: the base in white and the top one using a metallic  gold cardstock.

I adhered it over the carstock and as a last touch I added some metallic gold pearls.

And that's it ... so simple!

Hope you like it! thank you for stopping by

Ciao Ciao

mercoledì 2 agosto 2023

Shaker card for the first Alex Syberia Designs Challenge

Hi crafty friends!

So excited today to share with you the card  I made for our first ever  monthly challenge at Alex Syberia Designs.

From  now on every month  we will have  a theme or technique prompt along with a colour palette to follow to create our cards or projects using the ASD products!

This is our month's prompt:

Inspiration-Challenge-August-Alex-Syberia-Designs

You could choose to make a shaker project or to follow the color palette or both as I do!!

To join us each month and to see all the beautiful inspirations, for the details and rules to follow please take a look at our Inspiration Challenge Post.

But now let me talk about my inspiration card!

As I said before I chose to follow both the palette and the technique prompt and my project is a trifold see-throght  shaker card inspired by a Jennifer Mcguire's viedo tutorial!

Firstly to make the shaker card I prepared the trifold structure by adhering together two card bases. I die cut the front window in the top fold to create a frame by using the Nested Scalloped Frames die set and I  stencilled  the inside fold with the Fancy Background Stencil and the Peacock Feathers Distress Oxide. Then I  closed the top window by adhering an acetate rectangle and on top of it I adhered a tree layers frame I die cut and glued together previously.

Next up I put some gold, yellow and turquoise sequins inside the frame and  closed It with another frame covered with a piece of acetate.

Once the shaker structure is completed I realised the floral decorations in the challange color combo by using the Petite Periwinkles die set.

I glued them over the acetate window and as last thing I glued the sentiment form the Spring Garden stamp set. It is stamped  on vellum, embossed in white , die cut with the coordinate dies,  and doubled with a rose cardstock layer.

And that's it!!

This is the card opened:

Hope you like my card and the challenge idea!

I can't wait to see all of your projects!

Thank you again for stopping by!

Ciao, Ciao

linktwin

Related Posts with Thumbnails

ShareThis