mercoledì 28 agosto 2024

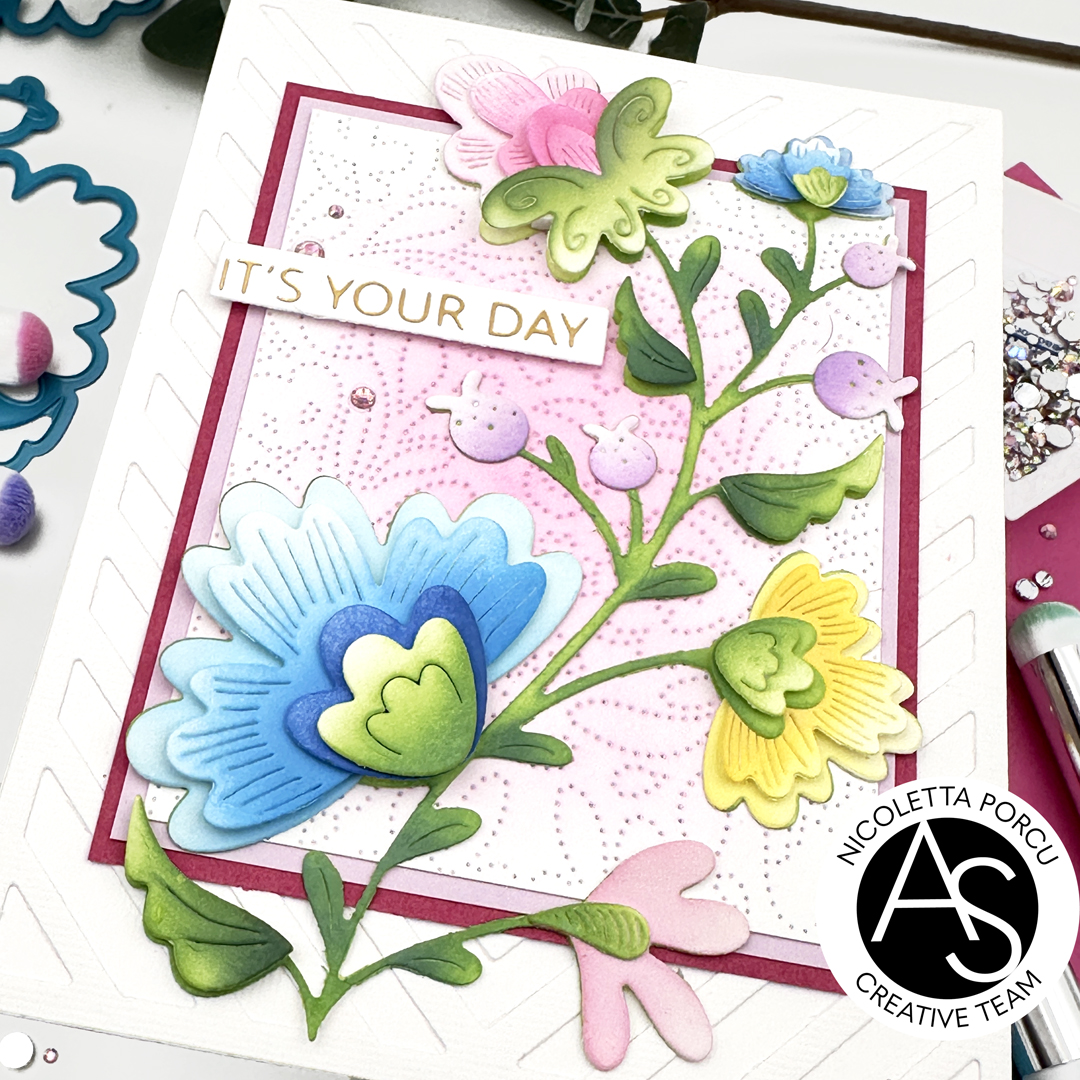
It's Your Day

Hi crafty friends!

here today with a new card featuring Alex Syberia Designs products.


This time I 'm focused on die set from the past release I love but I hadn't  used yet! Hope you like it!

Let me say something about the making process!

As a first thing I die cut the Mysterious Petals  on a white cardstock and after positioned every single part on my sticky mat I  colored all the pieces with Distress inks and Altenew inks. 

I put together the floral branch and then I start to work on the base card.
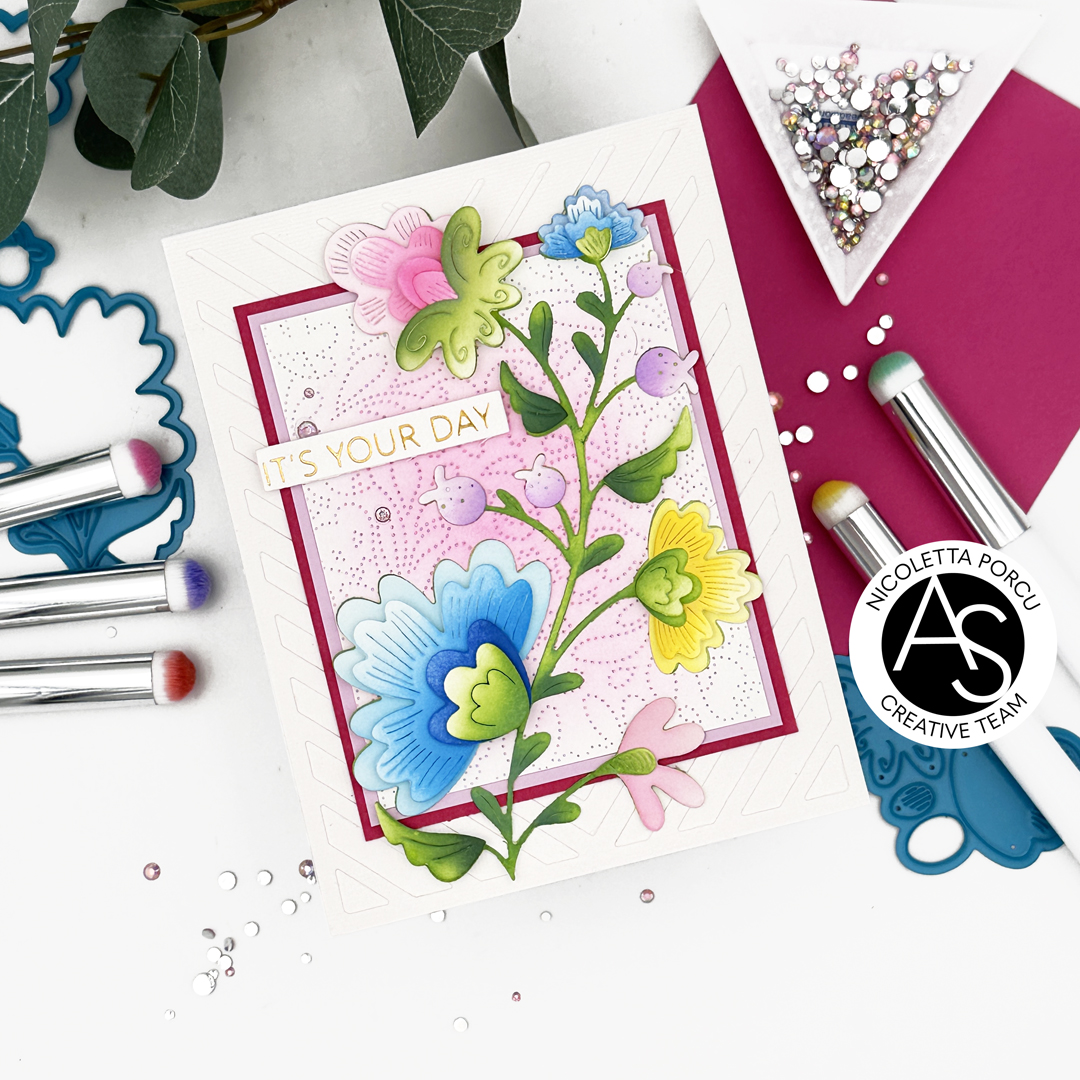
I die cut the Chevron Chic Cover die from a white cardstock and I glued it on a white card base.

Next up I used the Charming Flora Cover die on a white cardstock and I  lightly blended the center with a pink ink and from it I cut out a smallest rectangle and outlined  it with a lilac and fuchsia cardstock. 

I glued this rectangle on Chevron chic base and over I added the floral brach I previously arranged.

As a last thing I added he sentiment string I realised by using the  Just Because Hot Foil & die set, hot foiling it in gold, and some pink rhinestone.
And that's that for today too!

Thank you for stopping by!!

See you soon


giovedì 8 agosto 2024

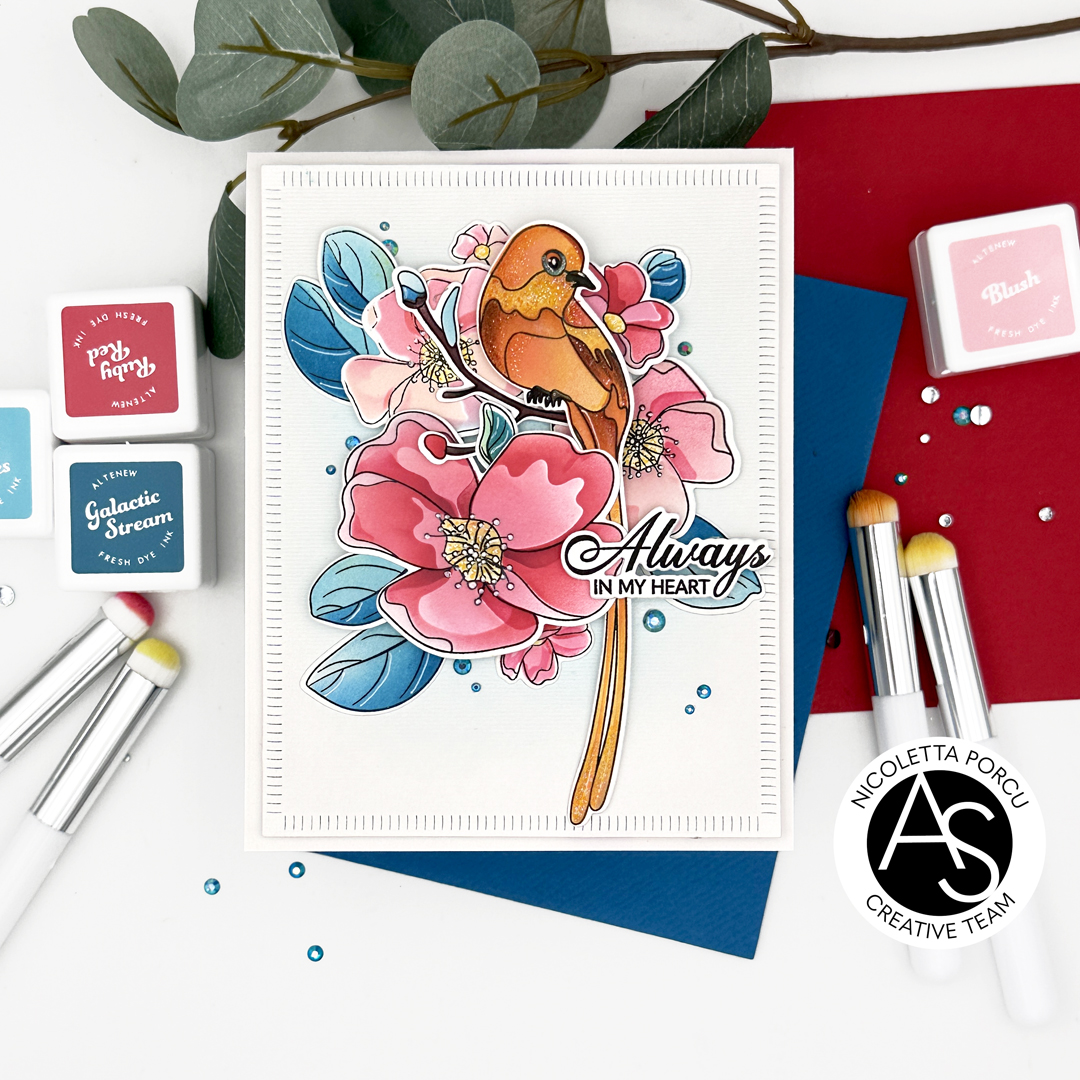
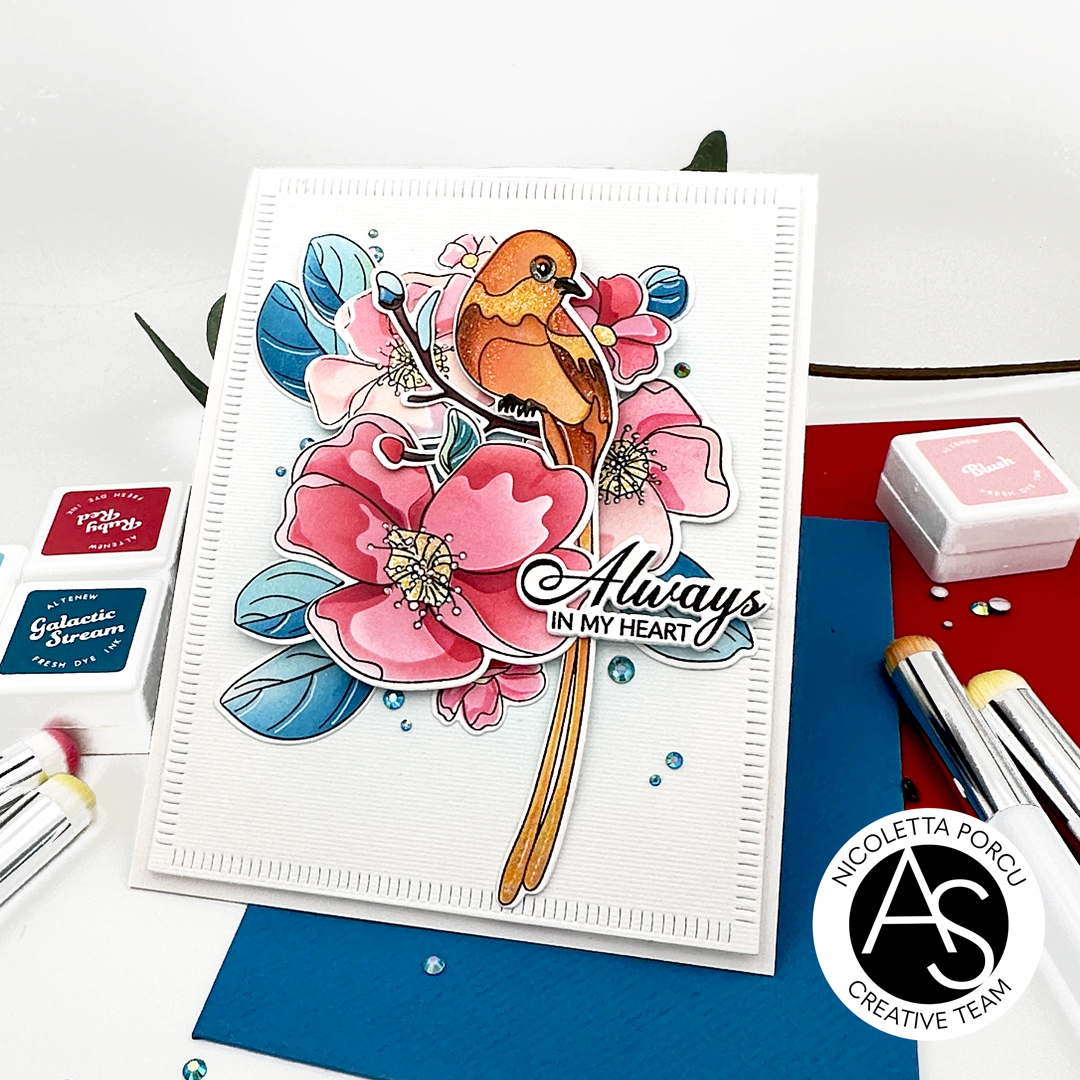
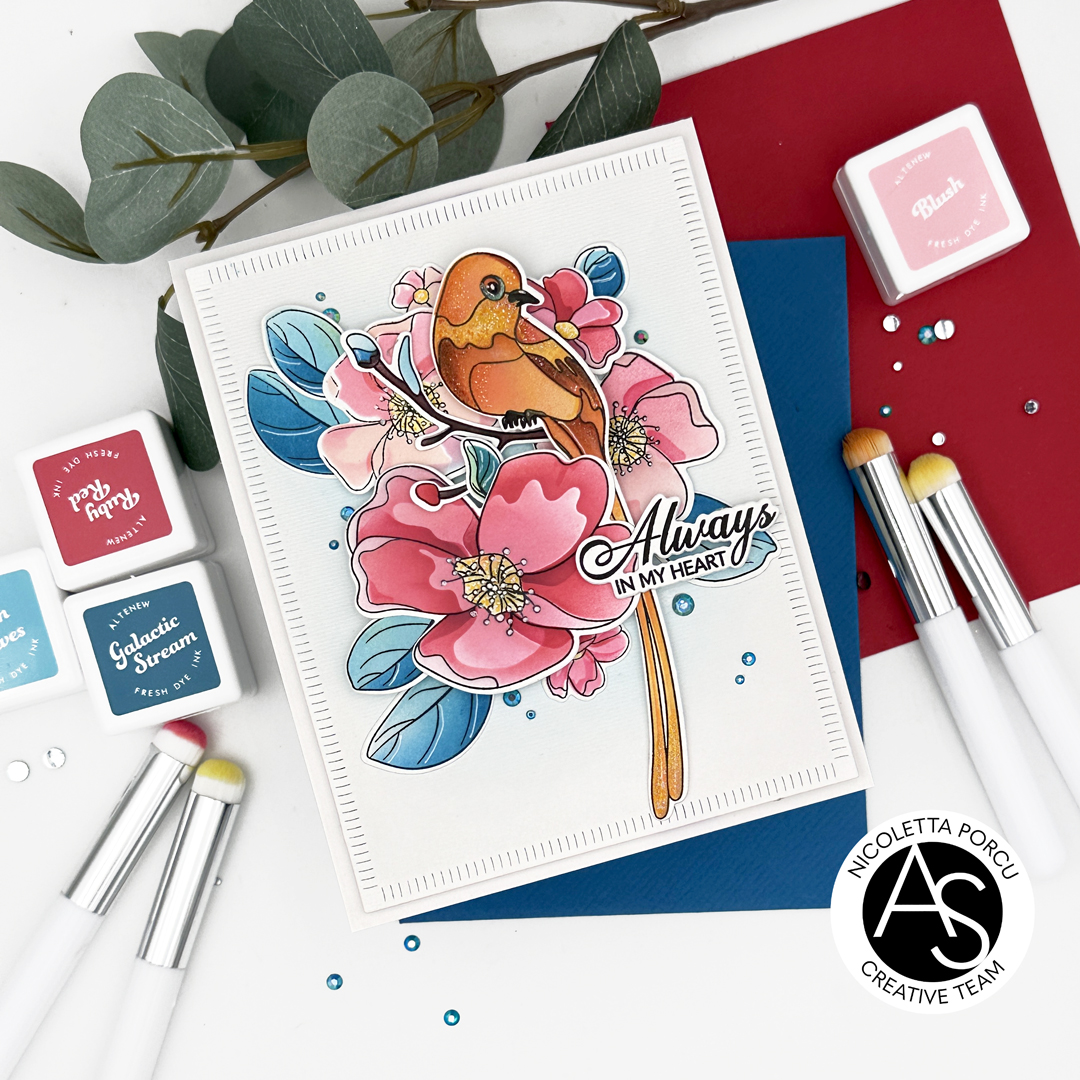
Always In My Heart

Hi crafty friends!

here Nicoletta to share with you the card I made for the Instagram hop we are having to  celebrate the new Alex Syberia Designs release: the  "Have A Good Day collection".

If you want to see all the inspirations of our talented team and for the chance to win fabulous prizes, visit our IG accounts @nicolettaporcu.design or @alexsyberiadesigns.

Now let me share something about the making process.

As a first thing I die cut a white rectangle from the Good Day Quilted Rectangles die set and after blending some light blue ink on the centre I glued it on a white card base using foam tape to add dimension.

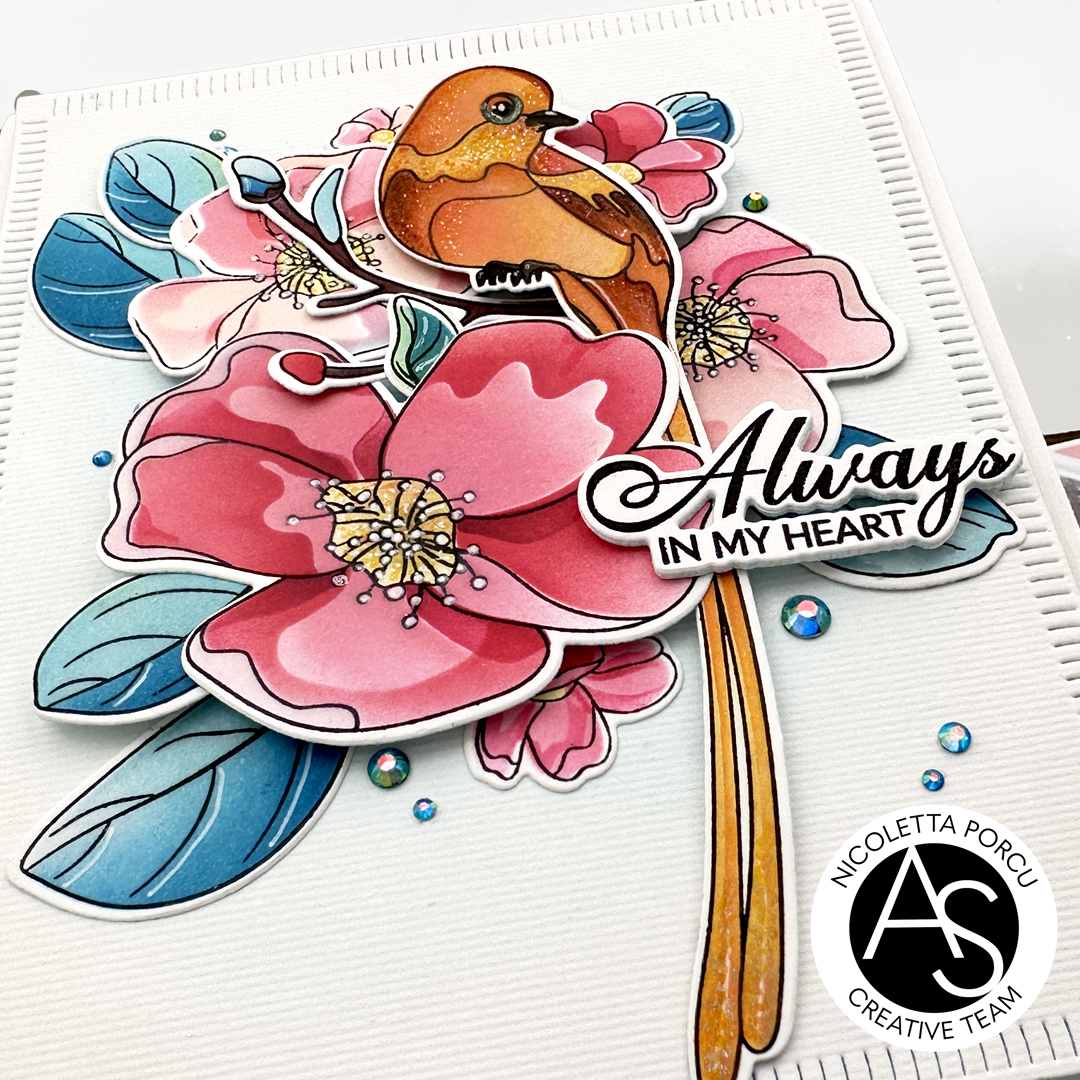
Next up I stamped the flowers , the leaves, the bird and the sentiment  from the Avian Allure stamp set on  Neenah paper  and I colored them using the  Avian Allure stencil set  and red, pink, light pink and teal  inks by Altenew.


I die cut all the elements using the coordinate dies and I glued them on the card's centre using foam tapeto add dimension.

At that point I added some white details on the flowers using a white gel pend and shiny detail o the bird using the Atyou Spica Glitter gel pens.

I completed adding the sentiment and some blue rhinestones.

I really love this set and I can't wait to see all the card you will create with it.

Now take a look at my IG account @nicolettaporcu.design to  join us to celebrate the new collection.

Thank you for stopping by.

Ciao Ciao 


giovedì 1 agosto 2024

Alex Syberia Designs August Release Blog Hop & Giveaway

Hello crafty friends!!!

The Have a Good Day August release  is amazing and includes  clear stamps,  dies and stencils.
I'm sure  there's something for everyone to love!
Joining with us  you will see many inspiration projects made by the AS design team in the ASD blog post so you could appreciate the amazing collection. 


Let me share with you the card I made for the occasion using the Floral Splendor Cover die,    the Good Day Quilted Rectangles die set and the Thank you & Hello die set.
 
I started by die cutting the Floral Splendor Cover die twice, one Neenah paper and the other one on vellum. I colored some flowers of the Neenah one using distress ink and ad I finished I doubled it with the vellum die cut.
Then I die cut a white rectangle background using the amazing Good Day Quilted Rectangles die set , I glued it over a white base card and over I added the Floral Splendor die cut .
Next up I doubled the white flowers of the Floral Splendor Cover white other single white flowers  (the flowers die cut are part of the Floral Splendor Cover die set too) using adhesive foam pads.


I  completed the card by adding the big Hello sentiment  I got from  the Thank you & Hello die set. ,  and the string sentiment that is part of the  Expressing Gratitude stamp set   die cut with the coordinate dies.


As a last touch I added some clear rhinestones on the white flowers. And that's that!

I  really love how it turned out and hope you could appreciate it too!


Alex Syberia Designs is giving away a $50 gift certificate to 1 winner and a $15 gift card to 3 lucky winners. To play along, simply leave a comment on each stop of the hop.


Open internationally. All 4 winners will be drawn from the entrants that have played along with this Blog hop by midnight BST August 10th, 2024. Winners will be announced on the Alex Syberia Designs blog 'Giveaway Winners' page on August 11th, 2024.


Have fun joining us with this blog hop
I'm sure you will love the entire collection and the DT inspirations as much as I do!

Ciao ciao
xx

giovedì 25 luglio 2024

Merry Christma to you

Hi crafty friends!

Here I am to share with you a new inpiration card for the theme "Christmas in July!

Despite the very hot weather here I get the Christmas atmosphere  to create this very clean and simple card! Actually it's never to early to start  thinking about Christmas, don't you think?


Now let me share some info about the making process.

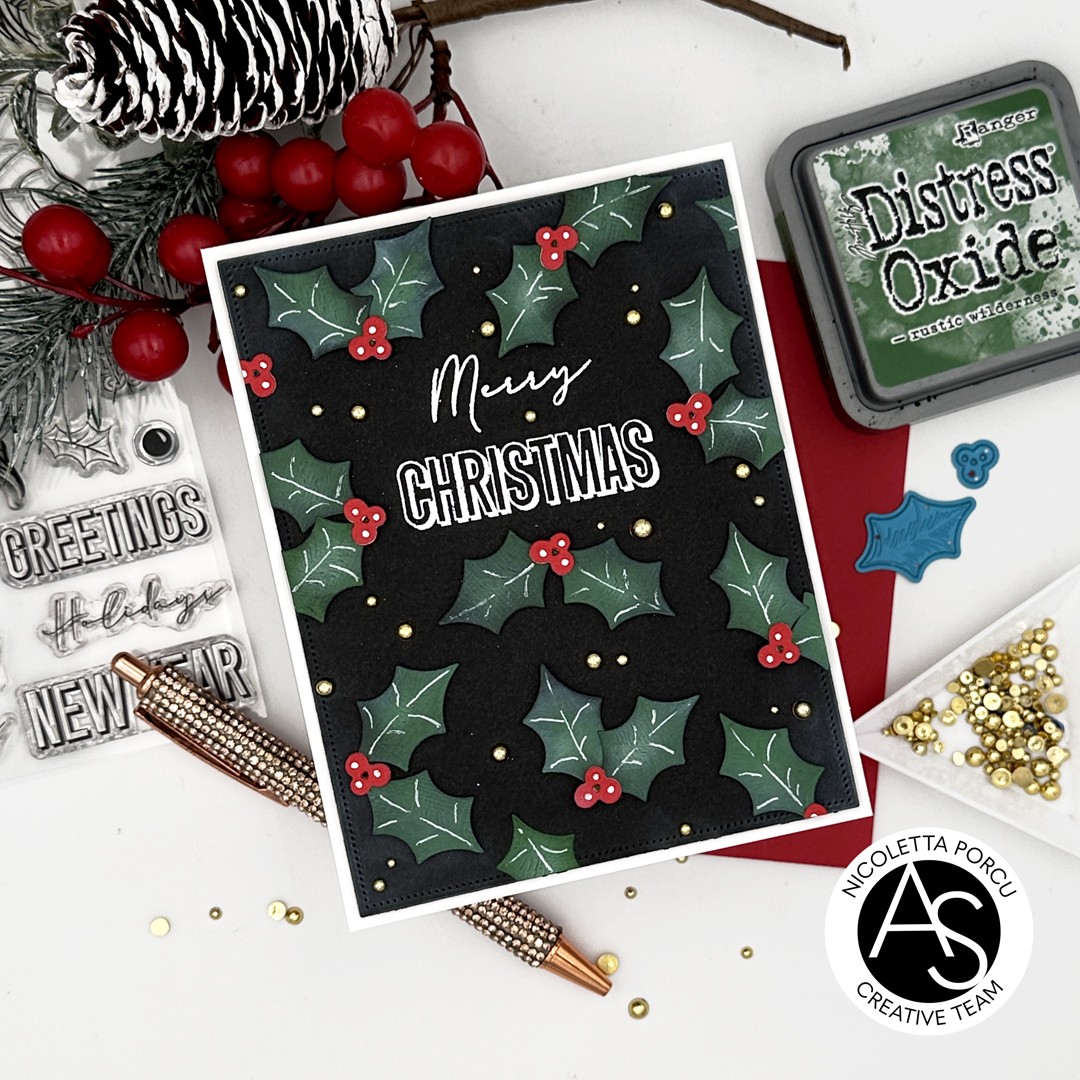
I started by die cutting the black background panel using the Nested Scalloped Frames die set  and stamping and embossing in white the "Merry Christmas" sentiment from the Festive Poinsettia stamp set ,  on it!

Next up I die cut the Holly leaves and berries using dies from the Jingle Bell Joy die set, and  the Winter Foliage die set,I blended the leaves using a white ink on the centre of every leave and green and black Distress Oxide ink in the edges; Then I added some white line in every leaves using a white gel pen.

I continued by gluing all the leaves ant berries on the black panel using thin foam pads to add a little bit of dimension and I cut out the protruding  parts with scissor.

At this point I glued the panel on a white card base and as a last touch I added many glold rhinestones.


And that's that !

Hope you like it!

Thank you for stopping by!

Ciao Ciao

venerdì 12 luglio 2024

Brilliant Merry Christmas

Hi crafty friends !
Here today sharing with you the inspiration card I made for  Alex Siberia Designs  Instagram hop  with the “Christmas in July” theme!

You could win fabulous prizes so don’t miss this chance and join with us visiting our Instagram accounts @nicolettaporcu.design  and @alexsyberiadesigns !
Here my card!


I chose to use non conventional holiday colors as I love to use pink for my Christmas paper crafts. Hope you like it too.

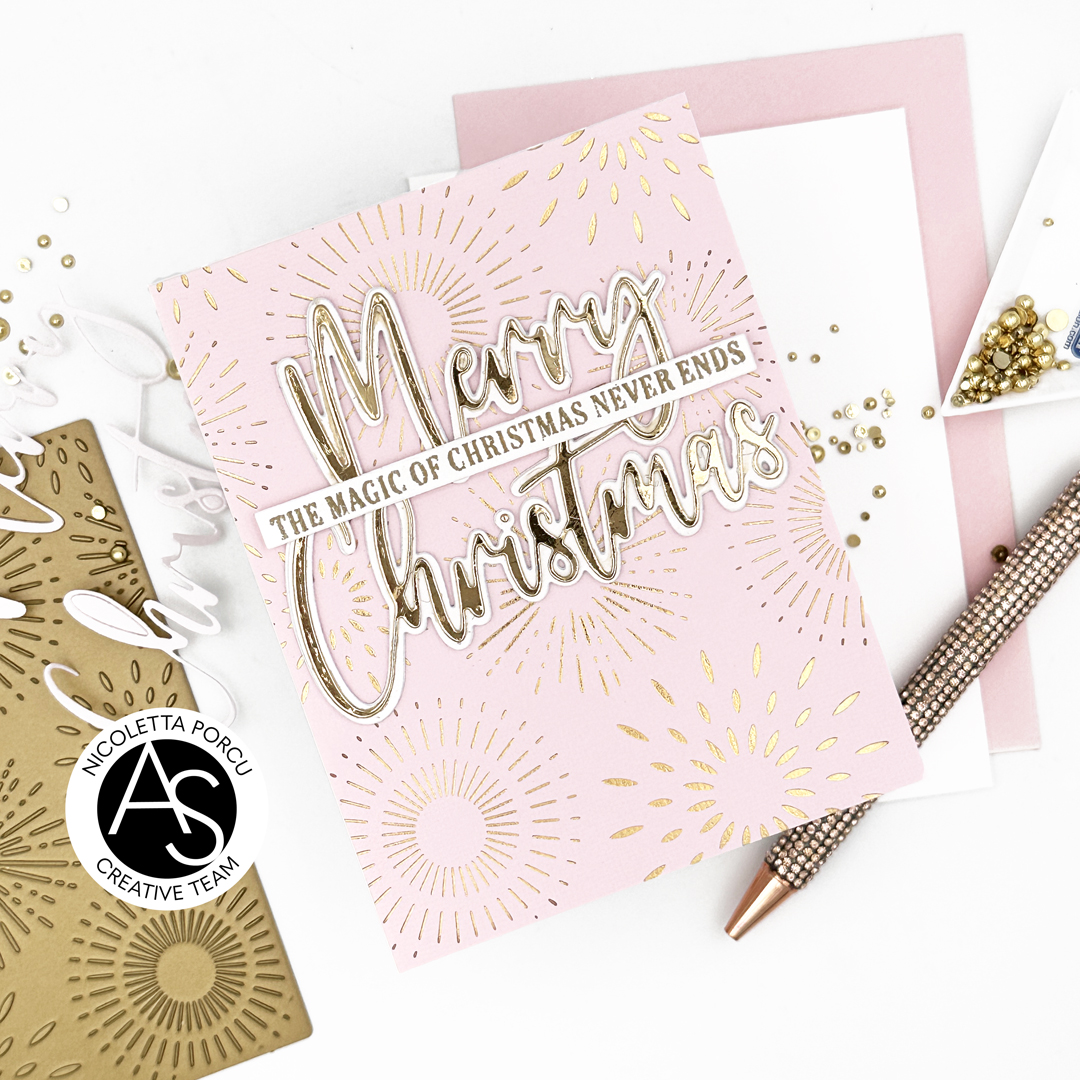
To make my card I started by hot foiling in gold the Brilliant Burst Hot Foil Cover die on a light pink cardstock.

I really love the soft pink and cold contrast!  I glued that background panel on a white card base.


Next up I used the Large Merry Christmas die to die cut  the large sentiment in metallic gold cardstock  outlined in white; I glued it on the card and as a last thing I added the string sentiment from discontinued Angel Bells set.


That’s that ! A very clean , simple and fast card!  Hope you  could appreciate it !
I can’t wait to se all of you joining  us at our Ig hop!
Thank you for stopping by!

Ciao ciao


mercoledì 3 luglio 2024

Blue Flowers for a friend

Hi crafty friends!

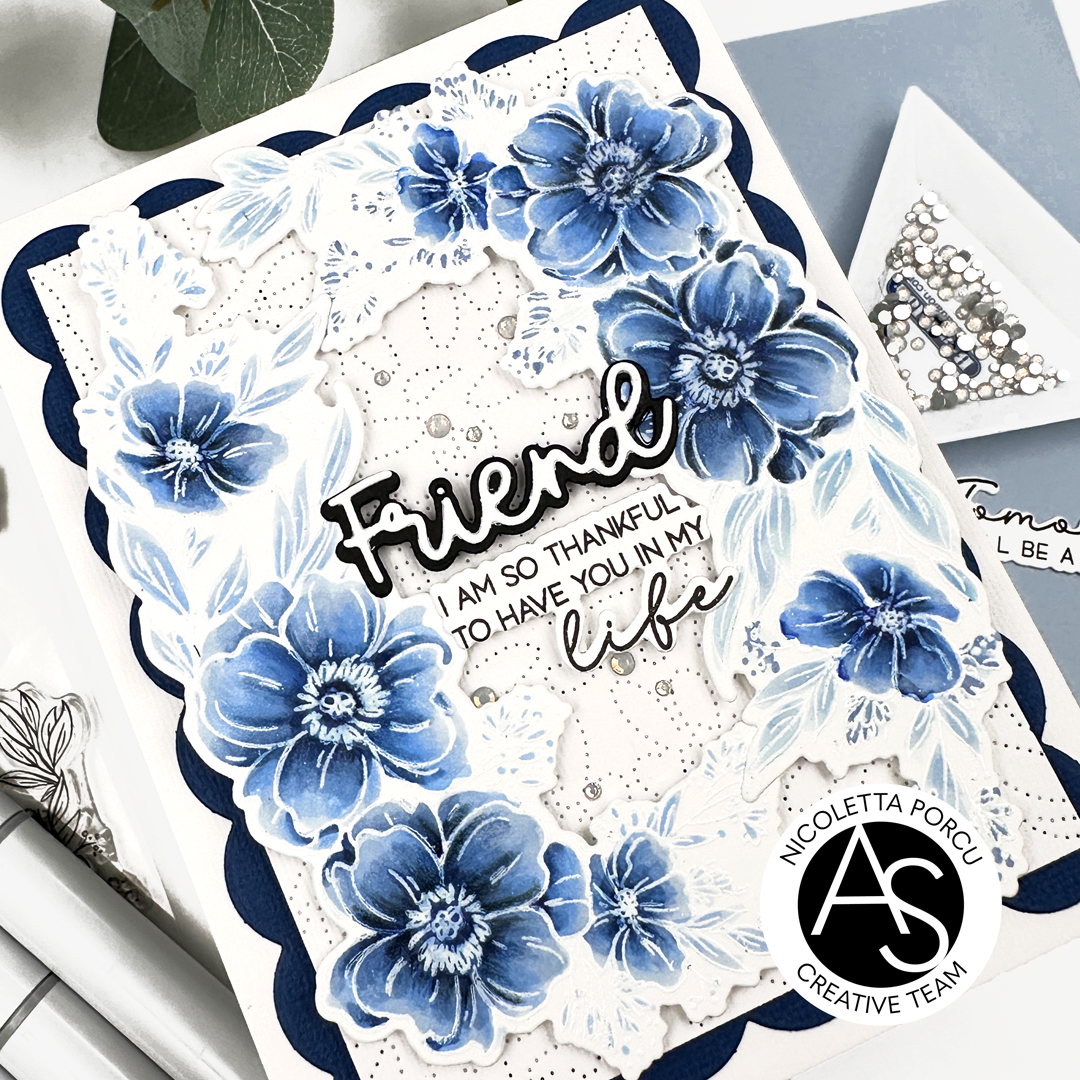
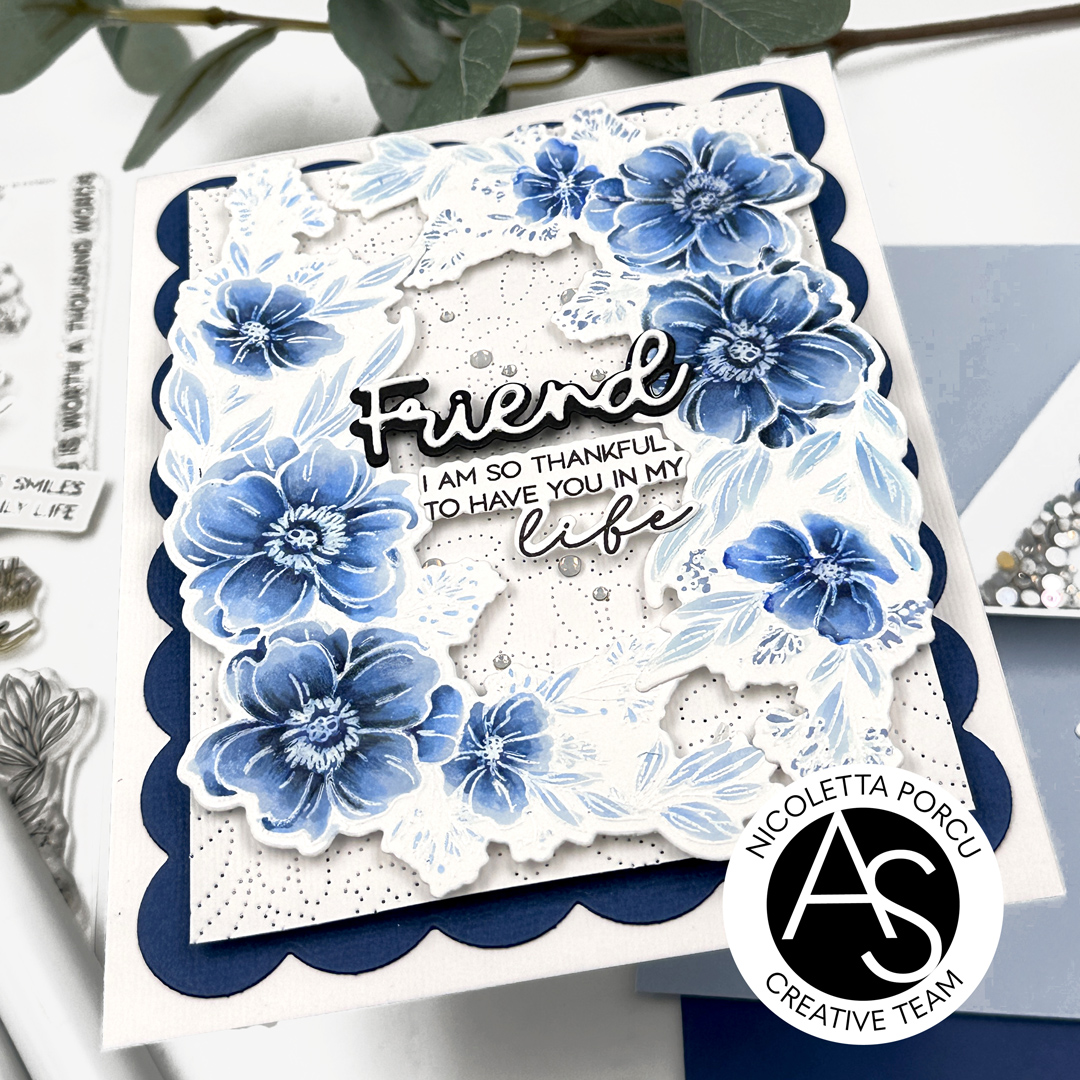
I'm  back today to share with you another floral card  featuring Alex Syberia Designs products ! this time I chose a  blue monochromatic style  for the Copic coloring ! I'm quite happy how it  turned out and hope you like it too.

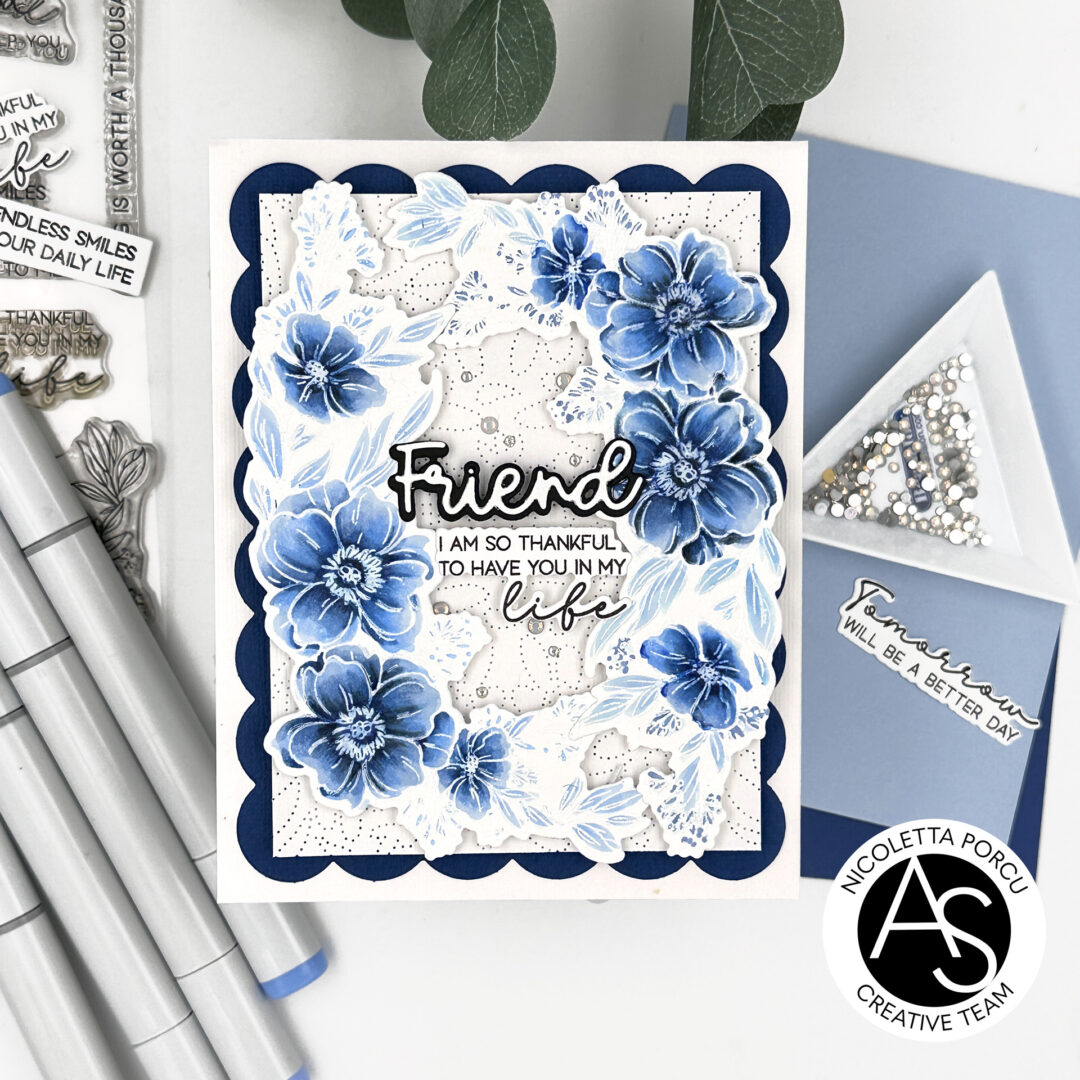
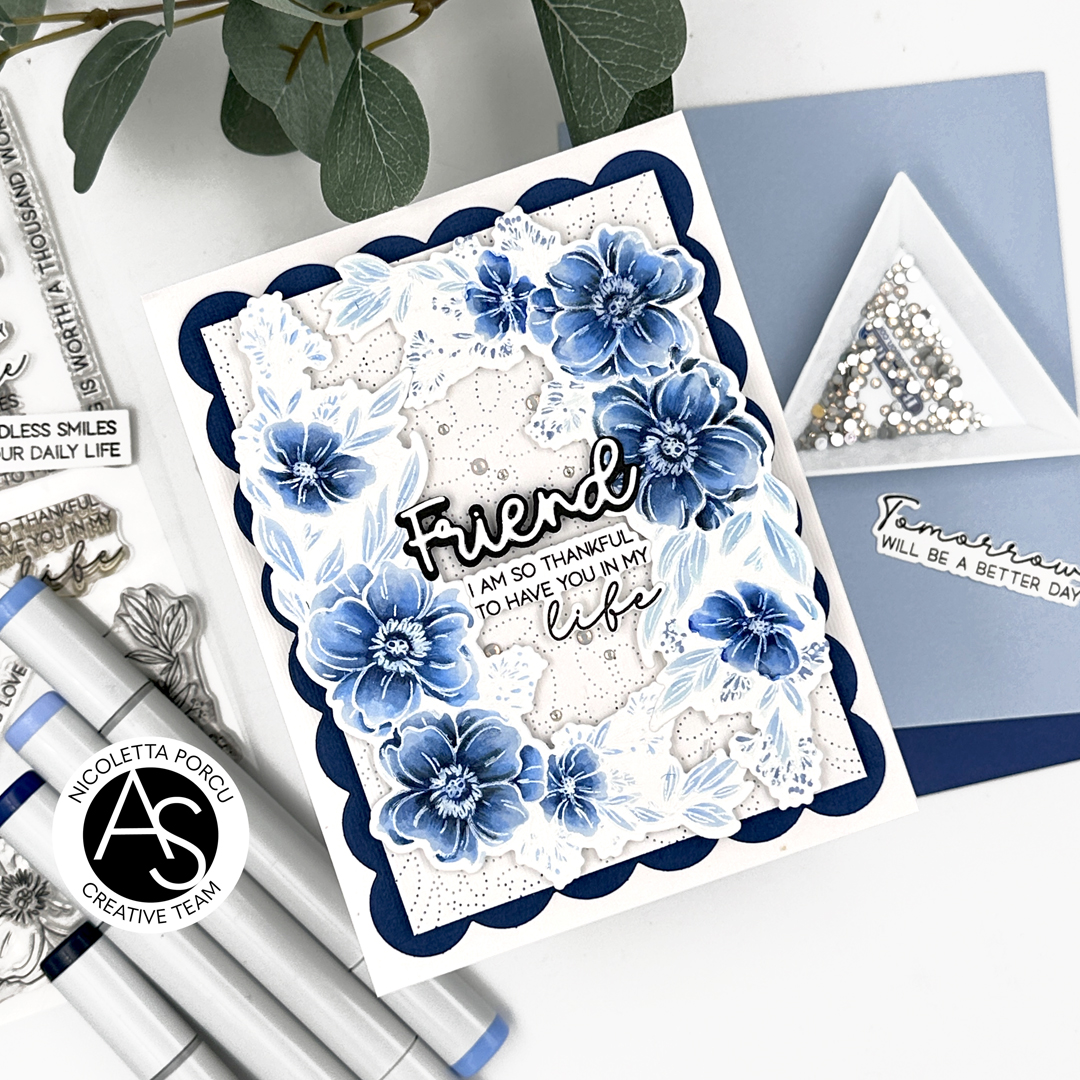
Let me say something about the making process. To start I die cut a scalloped blu rectangle using the Nested Scalloped Frames die set and I glued it over a white card base. 


Next up I used the Charming Flora Cover die on a white cardstock And I glued it over the blu scalloped background using adhesive foam tape to add dimension.

I continued by stamping and embossing in white the lovely flowers from the Bouquet of Blessing stamp set. I colored them using blue Copic markers and then I used prismacolor pencil to put the refinishing touches.

I die cut them using the Bouquet of Blessings coordinate dies and I glued on the card using foam pads.

The last thing was the sentiment; I used the Friend die set, to obtain a white sentiment outlined in black, and then I added the sentence which is a part of the Bouquet of Blessing  stamp set.

As a last touches I added some clear rhinestones.

And that's that.

Thank you for stopping by and reading me! Hope this card could inspire you!

See you soon!

Ciao Ciao!

mercoledì 26 giugno 2024

Delicate Heartfelt Blossom

Hi crafty friends!

Nicoletta here today sharing my latest card featuring the new collection by Alex Syberia Designs.

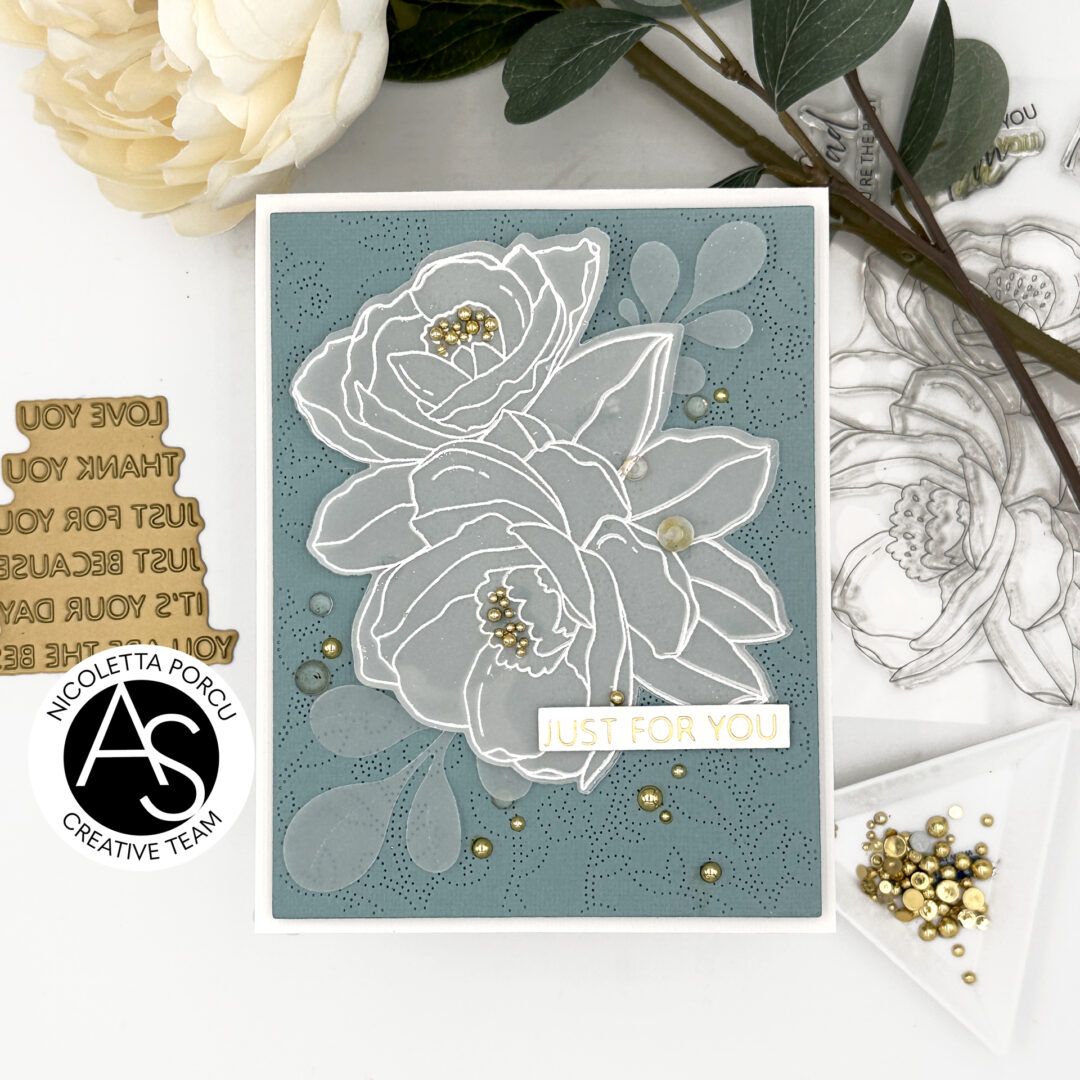
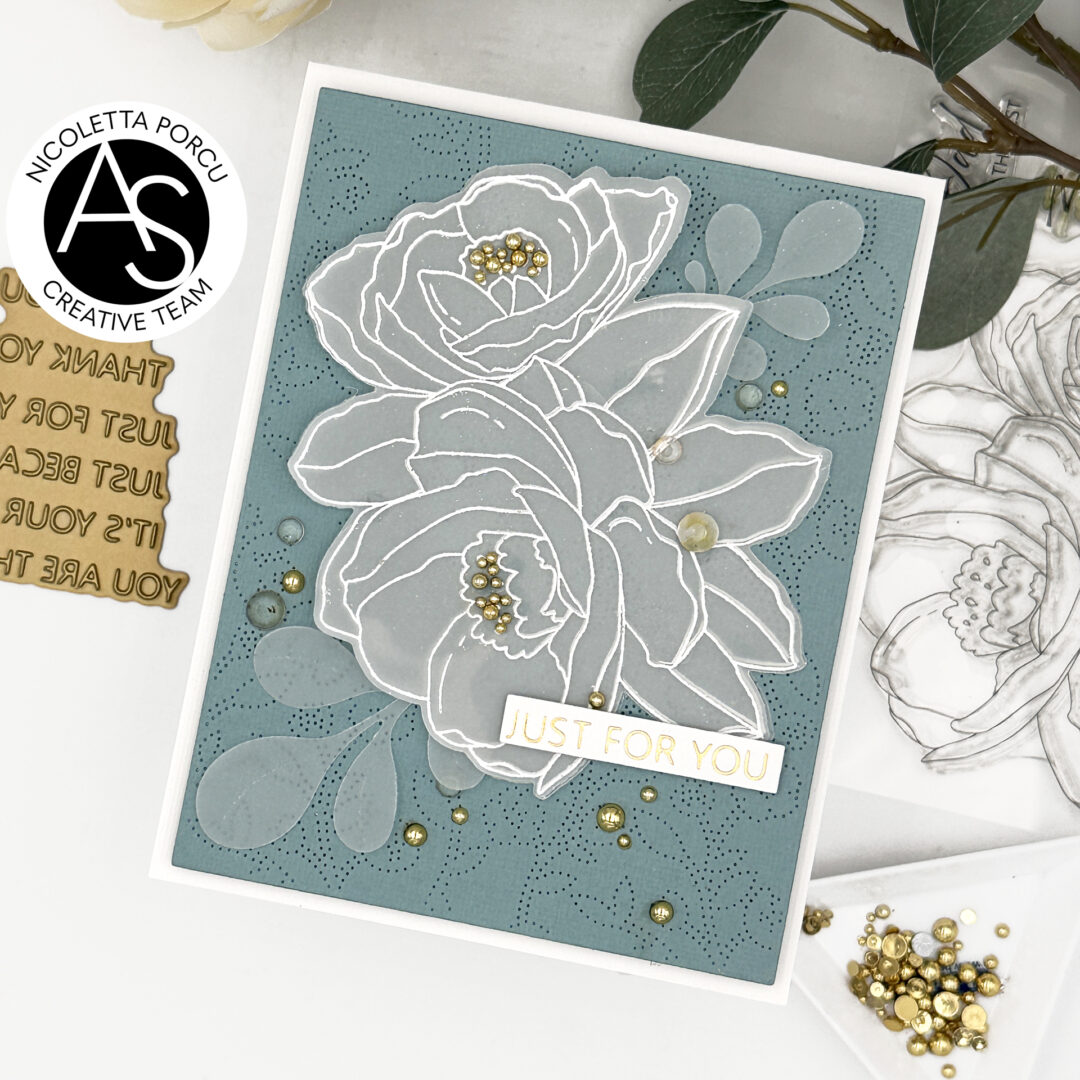
This time I tried to make a very delicate card using vellum for stamping and embossing! here is what came up!!


Let me say something about the making process!

As a first thing I used the Meadow Magic Cover die  on a colored sugar paper and then I glued it over a white base card using the foam tape to add dimension.

Next up I stamped on vellum the Heartfelt Blossom stamp set using Versamark ink and I embossed in white the flowers and I die cut them using the coordinate Heartfelt Blossom die set.


I stamped, embossed and die cute  the image twice and I glued them on my colored sugar paper background.

To avoid you don't see any glue I used clear glue dots.

 To complete my flower composition I added some leaves I die cut in vellum using the Leafy Duo die set and on the bottom right I added the gold hot foiled  string sentiment I made using the Just Because Hot foil and die set.
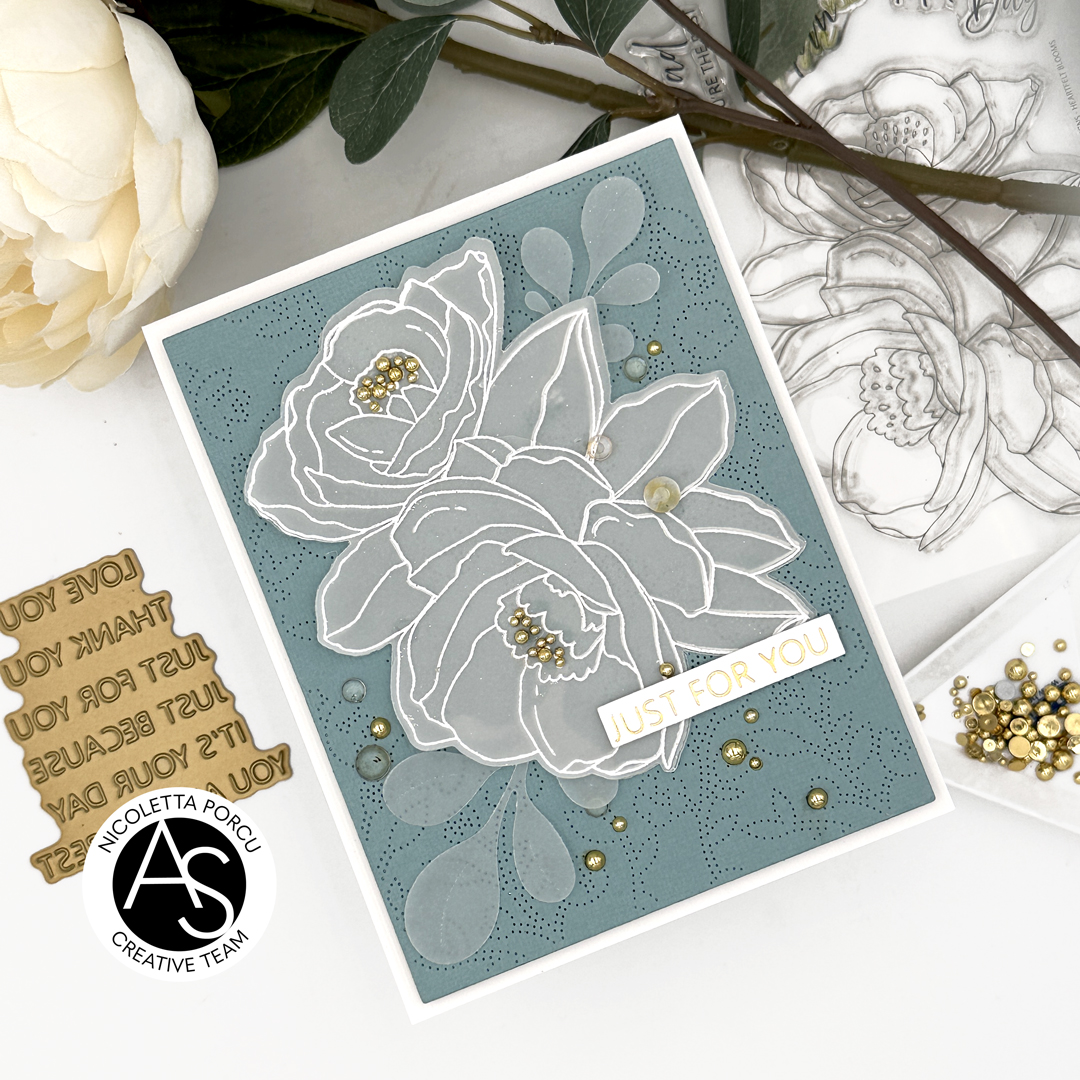
As a last thing I added gold and clear rhineshones.

Really so simple to make ! what do you think about?

hope you like it !

Thank you for stopping by!

Ciao ciao


venerdì 21 giugno 2024

Sweet Friend

Hi crafty friends!
I'm here with a new card featuring some new Alex Syberia Designs products.
Hope you like it!
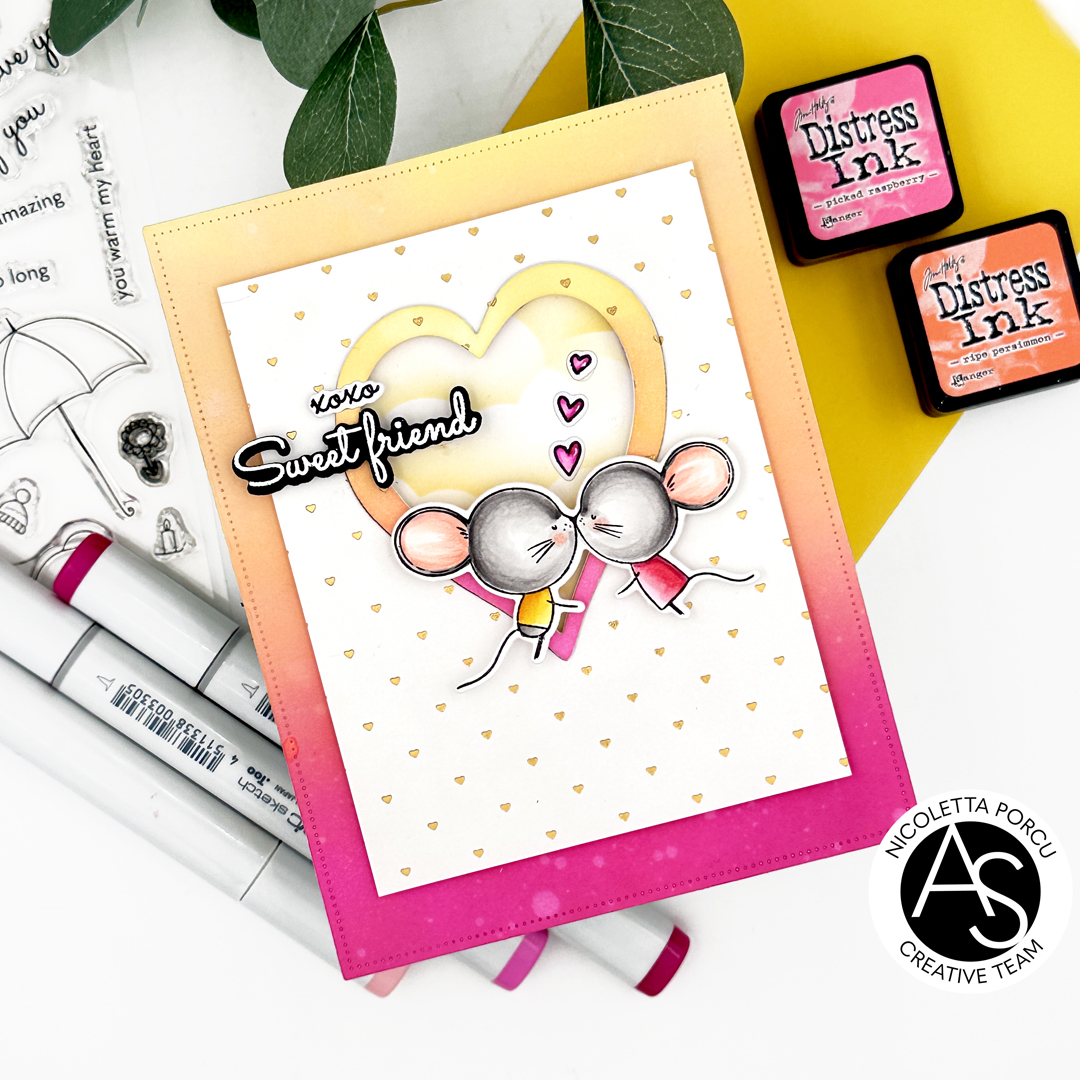
To make the card I started by preparing the base and background card.
As a first thing I die cut a white rectangle using the Nested Scalloped Frames die set  and I blended it using some Distress inks: Picked Raspberry, Dried Marigold , Ripe Parsimmon and Scattered Straw. After that I spayed some water on the paper!
The result is a very colourful background! I glued it on white card base and then I hot foiled in gold the Tiny Hearts Hot foil plate, I die cut a rectangle and I used the Quirky Hearts die set to cut out a rectangle.
I glued it on the colorful background using foam pads to add dimension and I glued in the heart space a  stencilled yellow clouds paper.
Next up I die cut many  heart shapes using the largest heart die from the Quirky Hearts die set,  I glued them all together putting on the top the one I  previously die cut  from the hot foiled rectangle and blended in the same colors I used for the background; with it I framed my cloudy heart.


At that moment all I needed to do was add the top elements to complete the card.
 
I stamped the lovely mices and the tiny trio harts from the Sweet Friend stamp set, I colored them with Copic markers , die cut them using the coordinate die , and glued them on the card.

 
As a last thing I added the little sentiments  who are a part of the Sweet Friend stamp set and that's that.
What do you think about? Aren't these mice so so cute?
I really love them!
 
Thank you for stopping by!
Ciao ciao

giovedì 13 giugno 2024

Sending you so much love

Hi crafty friends!

Nicoletta here today sharing my latest card featuring the new collection by Alex Syberia Designs.

I really can't say what is my favourite product but guys!! the Beautiful Day set is absolutely amazing!

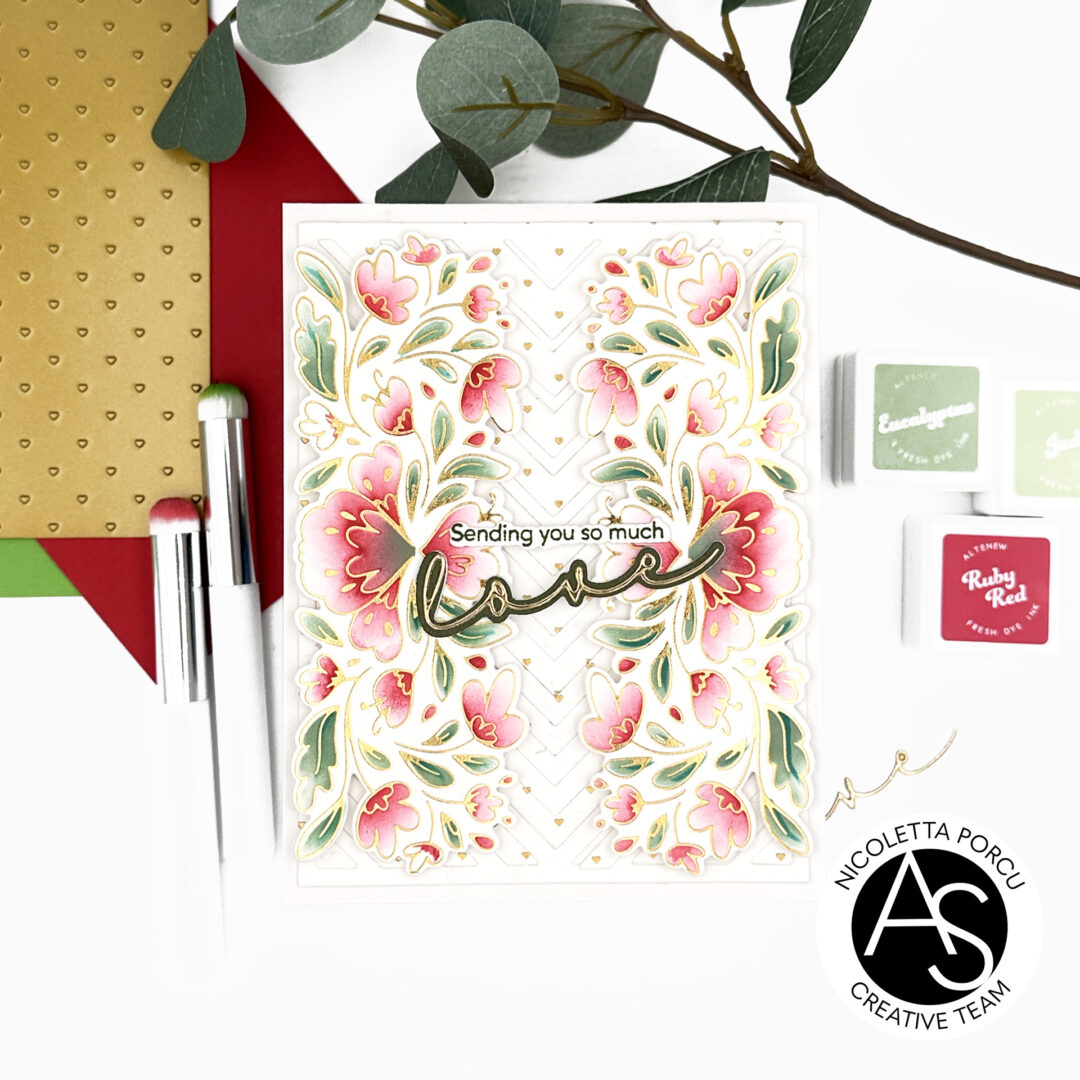
To make my card I started creating the background: I hot foiled in gold the Tiny Hearts hot foil plate on a white cardstock ,  then I die cut it using the Chevron chic Cover die and I glued the positive  and negative die cuts onto a white base card.

Next up I hot foiled  in gold the Beautiful Day Hot Foil Plate onto a White Neenah Paper , I stencilled them using the Beautiful Day Stencil set and I die cut them using the coordinate die.


At that point I glued the two floral die cuts on the background using foam tape to add dimension and as a last thing I added the sentiment : the string one is a stamp from the Beautiful Day stamp set die cut with the coordinate die and the love word is another  die cut.

That's that for today !

Hope you like my inspiration!

Thank you for stopping by!

Ciao Ciao

mercoledì 5 giugno 2024

Love you Mom

Hi crafty friends!

here today with a new inpiration to share with you! I'd t a clean and simple card I made using some products of the newest ASD release!

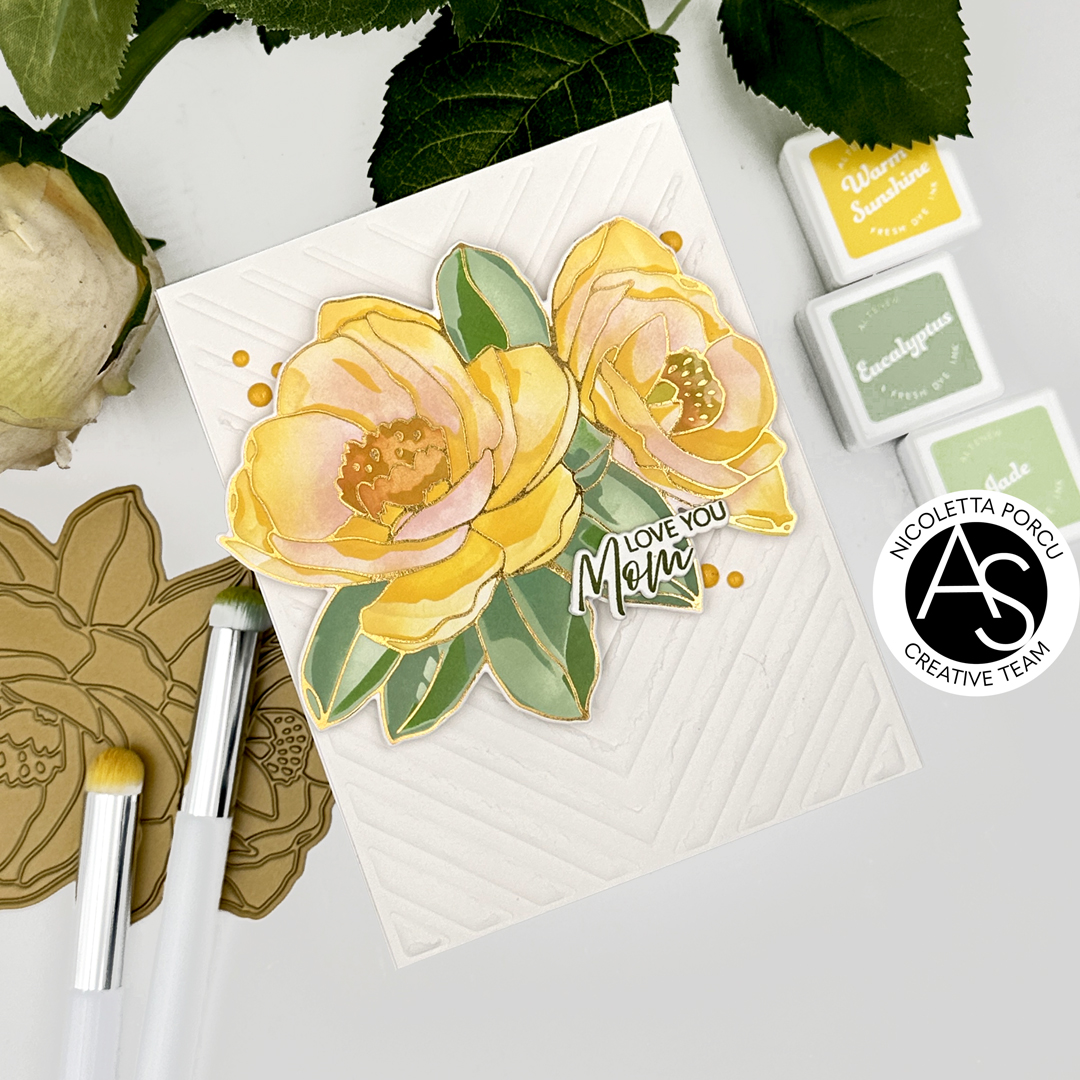
To make this card I started creating my background, I used the Chevron Chic Cover die as an embossing folder on a white paper.

To avoid the paper scratched I sprayed water on the paper before the embossing process.  I cut out a rectangle from the embossed paper and I glued it on  white card base,


Then I hot foil  in gold the Heartfelt Blooms Horfoil Plate and I stencilled it using the Heartfelt Blooms Stencil set.

I used many  shades of yellow  and pink inks   for petals and   green shades  for leaves.

At that point I die cut the flowers using the Heartfelt Blooms die set and I added the flowers on the embossed background using foam pads to add dimension.

To make the little sentiment I used the quote from the Heartfelt Blooms stamps set; I stamped it  in green and die cutting it using the coordinate die 

I glued the little sentiment on the  right bottom of the booms and as a last touch I added some yellow enamel dots.


And that's that for today!

thanks for stopping by !


linktwin

Related Posts with Thumbnails

ShareThis