Visualizzazione post con etichetta cardmakingitalia. Mostra tutti i post

martedì 25 marzo 2025

Trendy Hugs

Hi crafty friends !
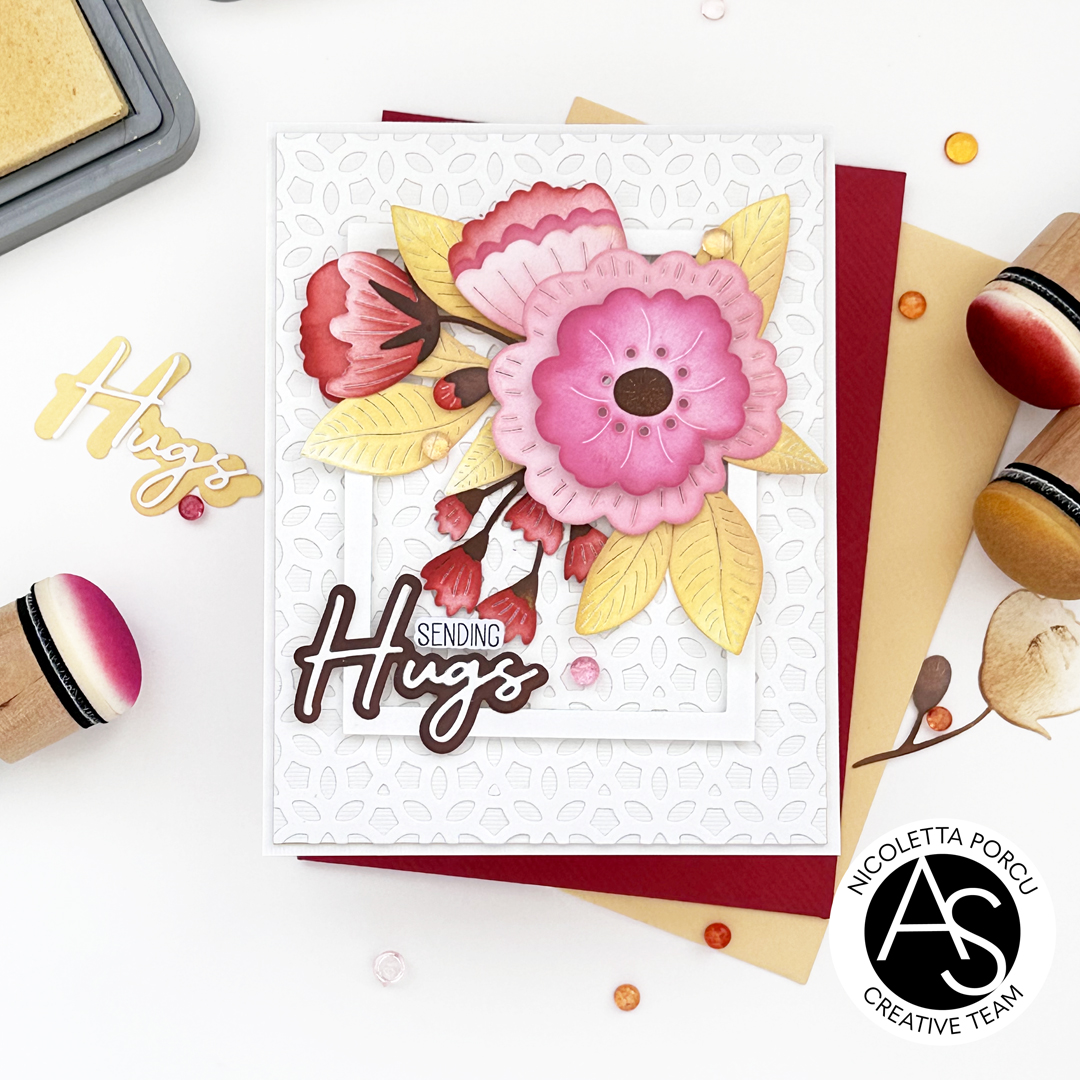
here Nicoletta is,  to share with you a new card made using the products of the latest Alex Syberia Designs release.mixing with something"old".
You could check the online shop to take a look :-) I remember you and especially the European friends, that you could find all products on the ASD UK shop too. 
But now let me show you mu card:

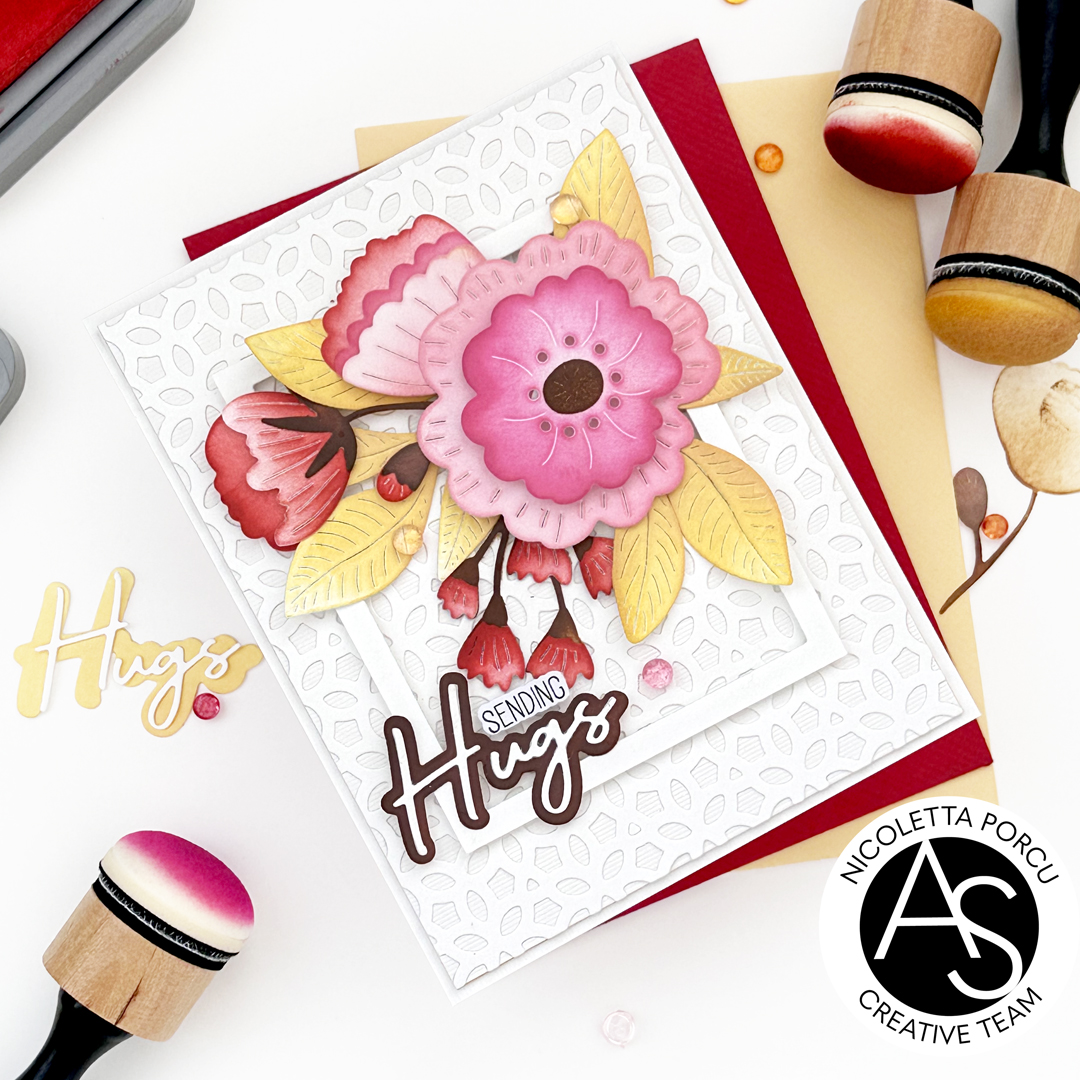
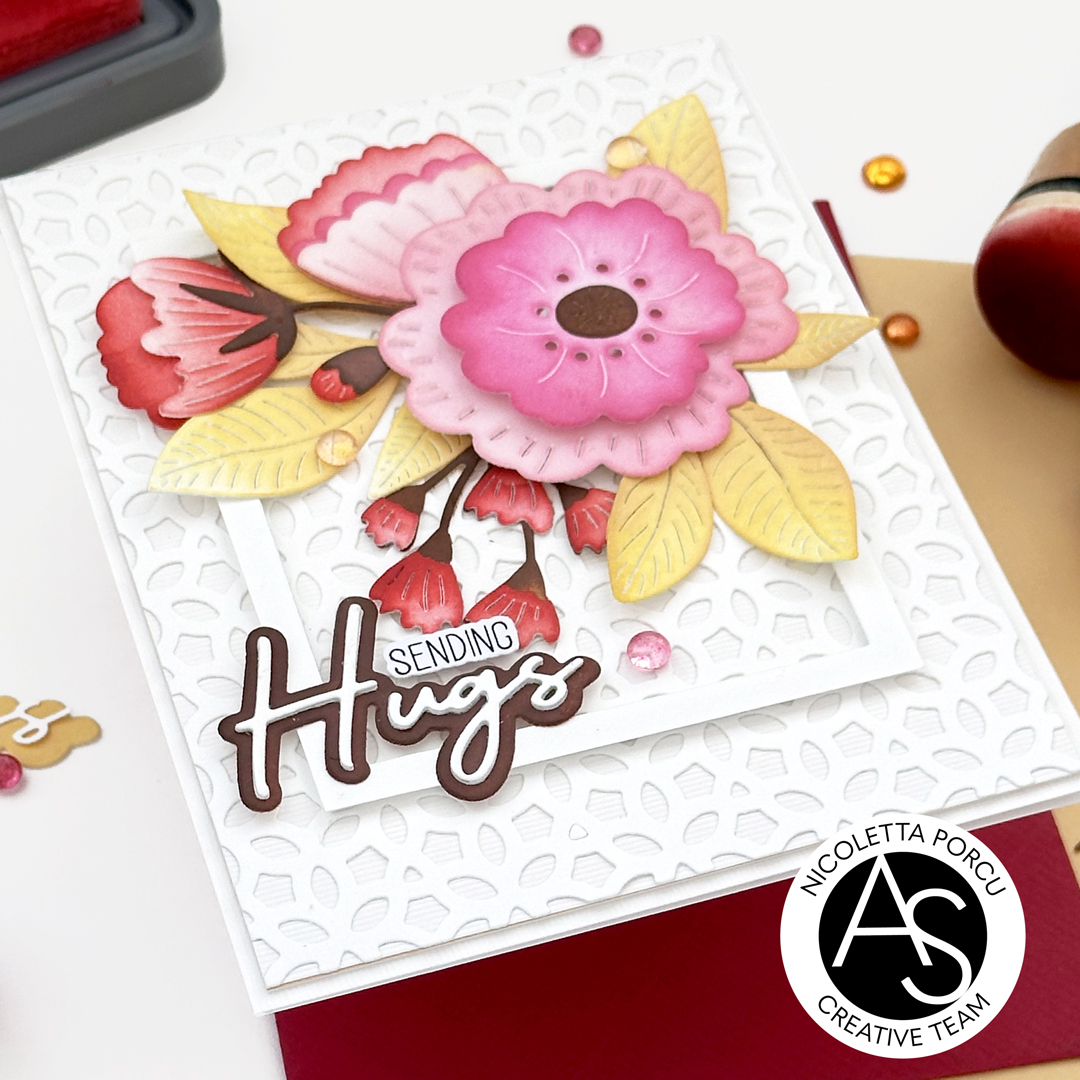
To make my card I started by die cutting  the background using the Alhambra Arabesque cover die on a white cardstock, I glued it on a whit card base and next up I die cut a little frame using the Nested Scalloped Frames die set and I glued it on the card's center using foam tape.

At that point I die  cut in white all the elements from the Trendy Botanicals die set  and I colored them using Distress Oxide inks.

Specifically I used the Scattered Straw, the Fossilised Amber, the Candied Apple, the Picked Raspberry, the Kitsch Flamingo and the Vintage Photo.

I assembled my bouquet and using the Press'n Seal I glued it on the little frame.


Next up I die cut the sentiment using the Thanks & Hugs die set; I die cut all in white and I colored the base layer using the Vintage Photo Distress Oxide ink ,  and I glued it at the bottom left of the frame.  I added a little "sending" string made using a sentiment from "From Our Hearts" stamp set.

As a last thing I added some dew drops and that's it!!

Hope you like it!

Thank you for stopping by!

Ciao , ciao!


venerdì 23 luglio 2021

Grazie di cuore

Ciao a tutti!!
Ogni tanto faccio un salto sul mio amato blog! 
qualche problemuccio  mi sta tenendo lontana dai miei colori ma io non mollo e anche se con grandi pause qualcosina riesco a mostrarvela:-P
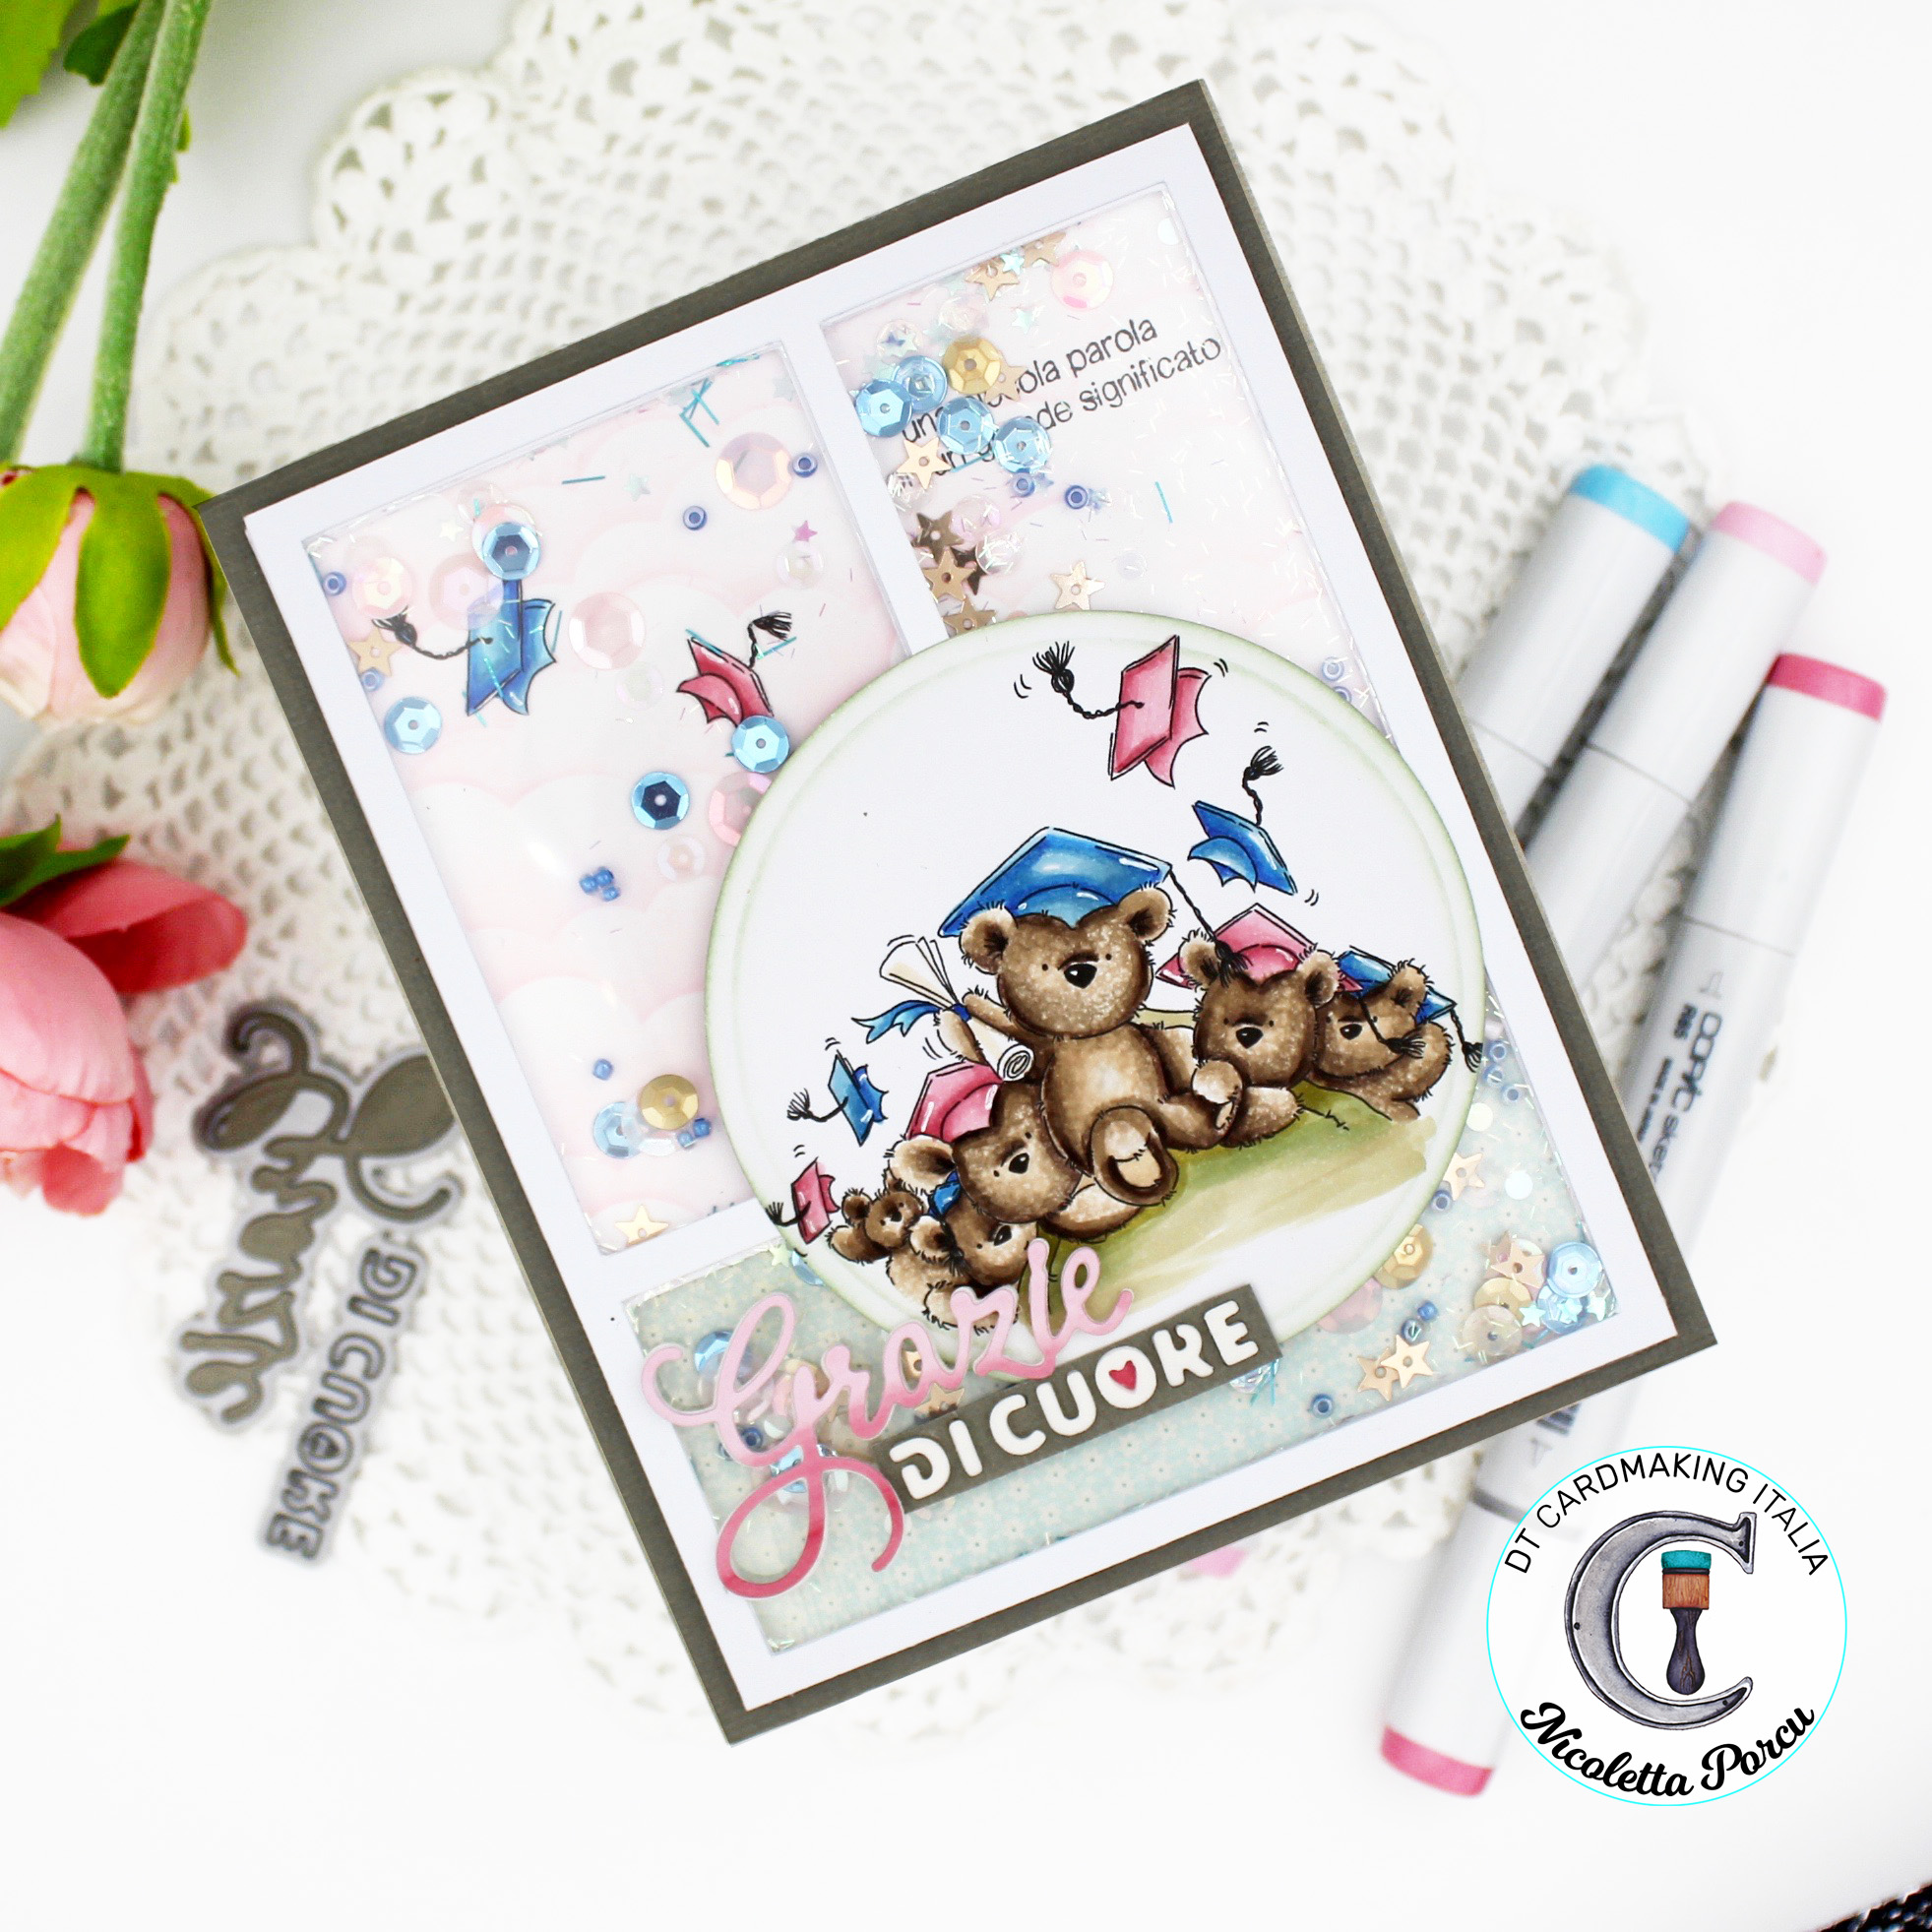
Oggi vi voglio mostrare la card che ho creato come ispirazione per il challenge di luglio per Cardmaking Italia.
Questo mese si é deciso di seguire uno sketch semplice semplice ed é davvero curioso vedere come ciascuno lo interpreta  creando delle card completamente differenti.
Avete ancora qualche giorno per partecipare e per mostrarci il vostro lavoro pubblicandolo sul gruppo FB CARDMAKING ITALIA.
Questa é la mia interpretazione:

E questo lo sketch da seguire:


Ve lo dicevo che era davvero semplice no?
Come avrete capito é una card di ringraziamento per una maestra regalata dai bimbi che quest'anno hanno terminato la materna e si apprestano a iniziare il percorso della scuola "dei grandi".
Ho cercato un timbro che facesse al caso e questo Digi stamp di Lily of the Valley é caduto proprio a pennello perché la classe dei bimbi in questione era chiamata "Orsetti"!!
Seguendo lo sketch in questione ho realizzato una shaker card con i tre pannelli rettangolari. sono partita dallo sfondo realizzando,  con un clouds stencil e il distress oxide spun sugar e bundled sage, uno sfondo rosato leggero e delicato.
In corrispondenza del riquadro in alto a sinistra del riquadro in alto a a destra,ho timbrato un piccolo sentimento un piccolo sentiment e o poi iniziato a realizzare il top per la mia shaker card.
All'interno ho inserito varie sequins di forme, dimensioni e colori diversi.


Una volta terminata la struttura, ho colorato l'immagine degli orsetti con i Copic markers, l'ho ritagliata con una dies circolare e l'ho incollata sulla card.
Ho rifinito il tutto con il sentiment realizzato con le dies de "La Coppia Creativa".

Eccovi una foto dei dettagli e della colorazione:


Spero tanto vi sia piaciuta! la maestra che l'ha ricevuta l'ha apprezzata tantissimo e sono certa che porterà nel cuore i "suoi orsetti".

Vi ringrazio di avermi letto e spero di poter tornare presto con una nuova card.
Buon fine settimana!

giovedì 10 giugno 2021

Popsicle time

Hi crafty friends!
Today I share with you the card I made as a DT member  for the current  challenge at Cardmaking Italia FB group.

Here is my card:

This month the  challenge to follow an amazing moodboard I'm sure you are going to love as much as I do!  

Isn't it just gorgeous and perfect for your summer cards?
I simply love it and give me the chance to try to watercolor popsicles I seen time ago in a video by the super talented Fantasvale.  It isn't absolutely perfect but I'm so happy about the result of my first try!
and you what do you think about?

To make the card I drawn by myself the popsicles on a watercolor paper and then I colored them using the 
Schmincke Watercolors.
I die cut the coloring using a stichted rectangle die and I glued it on my white cardstock base card.
At the end I simply added the sentiment and some sequins.


that's that my friends!
Hope you like my card and I can't wait to see your cards!

Ciao ciao
 

martedì 25 maggio 2021

Si! viaggiare!!

Ciao a tutti !

oggi condivido con voi la card realizzata per il blog di  Cardmaking Italia  per presentare il progetto realizzato per lo shop amico ImmagineLab di Rita Rapaccinini. che oltre a vendere tutto ciò che vi occorre per il cardmaking e lo scrapbooking, ha realizzato il proprio brand "ImamgineLab".

Per il mio progetto ho utilizzato proprio uno dei bellissimi TimbroLINE by  ImmagineLab, e ho realizzato una card allegra e colorata che a tema viaggio!, Immagino che come me, siate in tanti a desiderare di ricominciare a viaggiare per esplorare il mondo! e perché  no! anche per gli eventi e fiere riguardanti il nostro hobby!

Ma bando alle ciance! ecco la card:


Ho usato il set TimbroLINE Insieme by Laura Ranuzzi ed ho iniziato con il  il timbrare l'immagine scelta su X-press blending paper utilizzando l'inchiostro Memento e poi colorandola con i Copic markers. Dopodiché l'ho ritagliata, messa da parte e iniziato a pensare allo sfondo.


Su una carta da acquerello ho spennellato in modo veloce il Distress Oxide Salty Ocean e una volta asciutto ho tagliato il mio sfondo,  con una fustella rettangolare. 

Sempre con i Distress Oxide, ho poi acquarellato un' altro pezzetto di carta usando varie colori;una volta asciutto l'ho usato per fustellare il planisfero  utilizzando la fustella Planiphere die by Diy&Cie e l'ho incollato sullo sfondo precedentemente acquerellato.


Per dare dare un po ' di risalto il planisfero é composto di tre strati di cartoncino incollati uno sull'altro.

Stessa cosa ho fatto per la scritta "Viaggiare", ma qui per fargli un tocco in più ( anche se in foto non si nota) lo strato strato di base é realizzato con cartoncino metallizzato argento, mentre il top é colorato con i Copic markers.


In basso sul lato sinistra ho inserito una piccola timbrata facente sempre parte della placca TimbroLINE Insieme e sopra ho aggiunto un piccolo aereo in cartoncino, colorato con i Copic e tagliato con la Silhouette Cameo.


 Prodotti utilizzati:

Distress Oxide

TimbroLINE Insieme by Laura Ranuzzi

Planiphere die by Diy & Cie 


Spero che la card vi sia piaciuta !

Vi auguro una buona settimana e vi do appuntamento al prossimo post!

Ciao Ciao

domenica 16 maggio 2021

Do what you love

Hi crafty friends!
hope you're having a lovely and sunny Sunday!
Today I share with you the card I made as a DT member  for the current  challenge at Cardmaking Italia FB group.
This month we have a very simple challenge : "focus on background and sentiment" so I can't wait to see your cards.
This is mine:

Let me talk about it! I love so much "The Stamp Market" and the "Pinkfresh Studio" design so I thought to mix some their products I bought some time ago. The Cardmaking Italia challenge was the right occasion.
I started using the "Seamless Starburst Circles"  stamp set  by Pinkfresh Studio to create my colorful background; I used many shades of the same color to create the circles and on the top I stamped and embossed in gold the rays.
Then I put it on a withe base Cardstock and I framed all with a Stitched rectangle frame I die cut in many layers to add dimension.


For the sentiment I used "Do What You Love" dies by The Stamp Market; the white cardstock for the base and the metallic gold one for the top.
To complete the card I added some  enamel dots all around.


What do you think about?
I had so much fun in the making and for once again I didn'color with Copics, watercolors or pencils but anyway I found the way to made a very colorful card.

Hope many of you would like to join us with  the Cardmaking Italia challenge.

Ciao Ciao

giovedì 1 aprile 2021

Cardmaking Italia - challenge di Aprile

Ciao a tutti !
oggi sono molto emozionata perché pubblico la prima card per il dt di Cardmaking Italia!
Il primo challenge del mese di Aprile consiste nel seguire la moodboard che vedete sotto;  potrete partecipare creando una card o tag o segnalibro, con almeno due colori di quelli presenti ,ma potrete inserire o lasciarvi ispirare anche dagli altri elementi nella foto.

Hi everyone!
Today I'm very excited because I'm publishing the first card for the Cardmaking Italia dt!
The first challenge of April's month consists in following the moodboard that you see; you can participate by creating a card or tag or a bookmarker, with at least two of the colors that
you found, but you can also insert or get inspired by other elements of the photo too. 
Vi devo dire che uno dei miei colori preferiti é il giallo, quindi
ho giocato facile! Per la mia card ho usato tutti i colori della palette prescelta, usando i vari toni del giallo, il nero e il grigio e per emulare la trasparenza della foto presente nella moodboard ho usato il vellum.
Inoltre, l'ha fatta da padrona la parola "change": il mio cambiamento é stato quello di non fare nessuna colorazione!! cosa davvero insolita per me:-)
Ora ditemi cosa ne pensate:

I admit that on of my favorite colors is yellow, so for me has been a pleasure doing it! For my card I used all the colors from the palette, using some shades of yellow, black and gray, and to imitate the transparence of the picture of the moodboard I've used vellum.
Moreover, the word "change" played a big role in my work: my change has been to not do any coloration!! A very unusual thing for me :-)
Now tell me what you think about it:  

Come vi dicevo, questa volta nessuna colorazione ma solo timbrate, e cartoncino colorato.
Per lo sfondo ho semplicemente timbrato il bellissimo background della My favorite Things e per realizzare foglie e fiori ho usato il set "Rose Furries 3D die " della Altenew.
Anche il sentiment é della Altenew ed é semplicemente timbrato su cartoncino nero ed embossato in bianco.
Ho incollato tutto su una base nera e ho rifinito aggiungendo qualche piccola paillette dorata e qualche puntino nero qua e la-

As I was saying, this time non coloring but only stamps, and colored cardstock.
For  background I've simply stamped the beautiful background from My favorite Things and to create leaves and flowers I used the Altenew's "Rose Furries 3D die" set.
also the sentiment is from Altenew and it's simply stamped on a black cardstock and embossed in white.
I've glued everything on a black base and I finished by adding some golden paillette and some black dot.


Spero che la mia card vi sia piaciuta e che  vogliate seguirmi anche in questa nuova avventura!
r chi ancora non lo conoscesse vi invito a seguire il gruppo FB di Cardmaking Italia  per mostrarci i vostri lavori e lasciarvi ispirare dai nostri challenges.

Aspettando di vedere i vostri lavori vi mando gli auguri  per una buona e serena Pasqua.
Noi ci ritroveremo presto
Ciao Ciao 

I hope you liked my card and that you'd like to follow me in this new adventure!
For those who don't know the FB Cardmaking Italia yet, I invite you to follow it to show us your works and become inspired by our challenges.

Waiting to see your works I send you greetings and I wish you a happy and peaceful Easter.
Se you soon
Bye Bye
linktwin

Related Posts with Thumbnails

ShareThis