sabato 21 settembre 2024

Hugs & Kisses

Hi crafty friends!

Nicoletta here today sharing a new card featuring the  amazing Crafty Meraky Peony Artisan Flora Para-dies and the Crafty Meraki Daimond Dazzle Hot Foil Plate.


To make my card I started by hot foiling in blue on white using the Crafty Meraki Daimond Dazzle Hot Foil Plate.

I really love to use hot foil plates and peel off the foil from the cardstock  amaze me every time.

Next up I doubled the hot foiled rectangle with a blue cardstock and I glued it on a white base card.


I continued by die cutting all floral parts of the Crafty Meraky Peony Artisan Flora Para-dies using many blue shades of cardstock for the peony and green for the leaves. After assembling the flowers and made the composition I pick up them using a Press'n seal sheet and I glued them over the hot foiled background.


I continued by  adding the big "Hugs" sentiment made by die cutting the Meraki Moments Hugs Para-Dies, on white cardstock for the base (  to add dimesnionI die cut an glued together 4 layers) and on metallic rose gold cardstock for the top.


I added the" & kisses" string sentiment who is a part of the Meraki Moments Hugs  stamp setI stamped it on a black cardstock using Versamark embossing ink and I embossed it using the WoW! embossing glitter  Fool's gold.

As a last thing I added some Meraki Sparkle Gold rhinestones  and rose gold sequins, using the amazing Twinke  Tray and Bling Buddy Embellishment Wand Tool.


And that's it!

Hope you like it!

See you in a week for my next post!

Have a great weekend

Ciao Ciao


martedì 17 settembre 2024

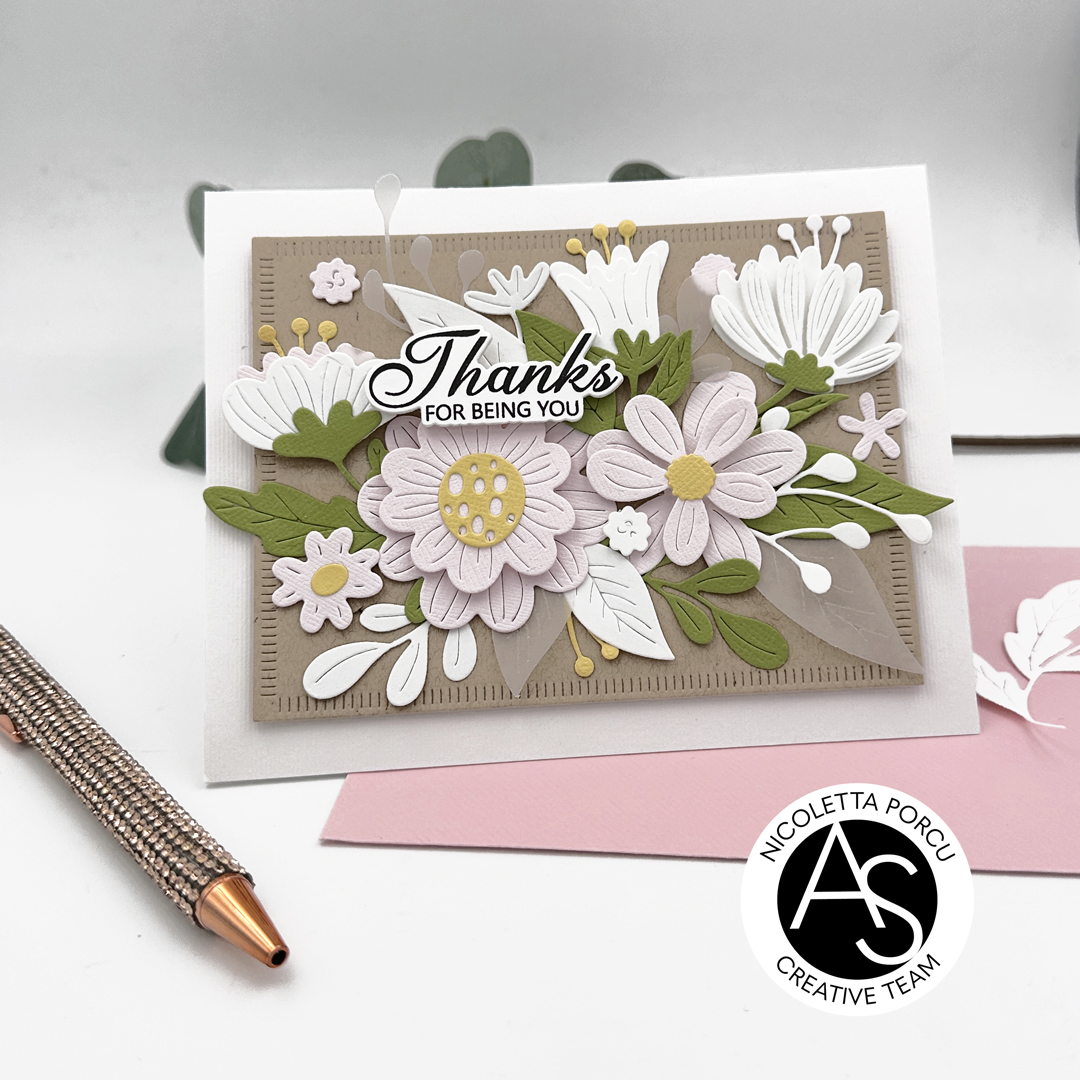
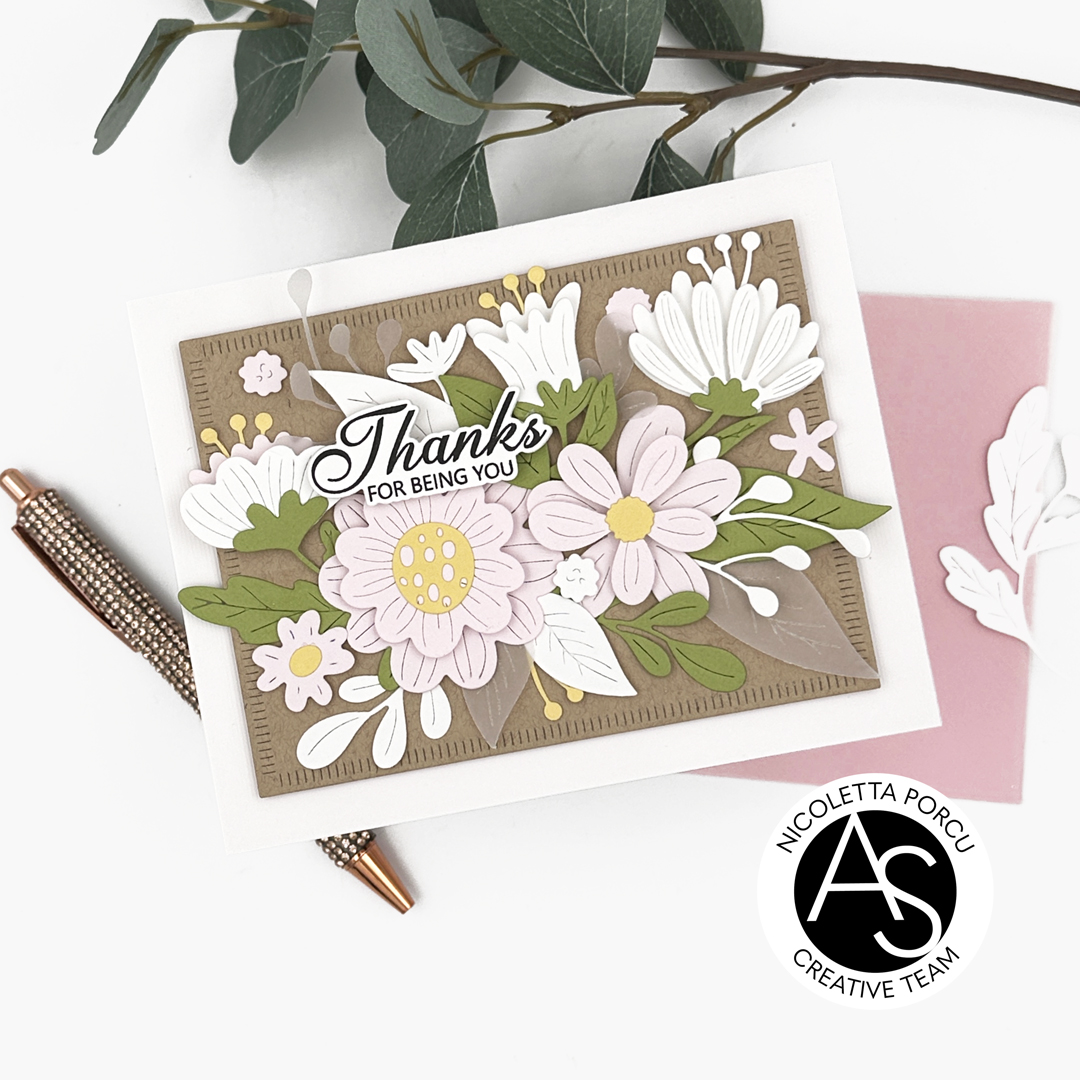
Thanks For Being You

Hi crafty friends!

here I am t with a new card to share with you!

One of the things I loves and learned in the last few years  about cardmaking is to make cards using only die cuts! I really love their versatility and  the change to make great cards in a very short time!

So you could understand how much I love the new Andalusia Wildflowers die set and here is my card using this set


This time I had a clear idea of how I wanted my card to be so I started by preparing the base and background.


 I die cute a craft rectangle using the smallest rectangle from the set Good Day Quilted Rectangles dies set and and I glued  it over a white card base using a thick cardboard to add a little bit of dimension.


Next up I die cut all the piece from the  in white, light pink a in green for the leaves. After assembling the flowers and made the composition I pick up them using a Press'n seal sheet and I glued them over the craft rectangle. I added the flowers details in yellow, the little flowers and some vellum leaves.

As a last thing I added the sentiment from the Avian Allure stamp set  die cut with the coordinate dies.

And that's it for today too!

Hope you like my card 

Thank you for stopping by.

Ciao Ciao

sabato 14 settembre 2024

Balloons For A Friend

Hi crafty friends! 

I'm here today sharing with you my second card as Crafty Meraki guest designer for September.

This wee the them is "shaker card/shaker elements" so I found the Party Ballons Mini Slimline  Para-dies was perfect for the occasion.


I started by die cutting 7 time the  Party Ballons Mini Slimline  Para-dies on a Neenah Solar White paper and after glued the first 6 layers together I glued them on a white card base.

Next up I colored the balloons die cut (the negative parts of my previus die cutting) using Distress inks; I chose  Carved Pumpkin, Savaged Patina and Spun Sugar. At that point I glued them in the relative spaces and when all is dried I brushed   them with antistatic powder.


I added the stars shaker elements on some ballons' spaces and then I close the card  by gluing  last Party  Balloons die cut  and a clear acetate rectangle.

I continued by the Big Hi sentiment made by die cutting the Meraki Moments Hi Para-Dies, on black, orange, pink and white cardstock.


And as a last thing I added the Happy birthday string sentiment who is a part of the Meraki Moments Hello stamp set and that'it!

Hope you like it!

Thank you for stopping by!

Ciao, ciao


martedì 10 settembre 2024

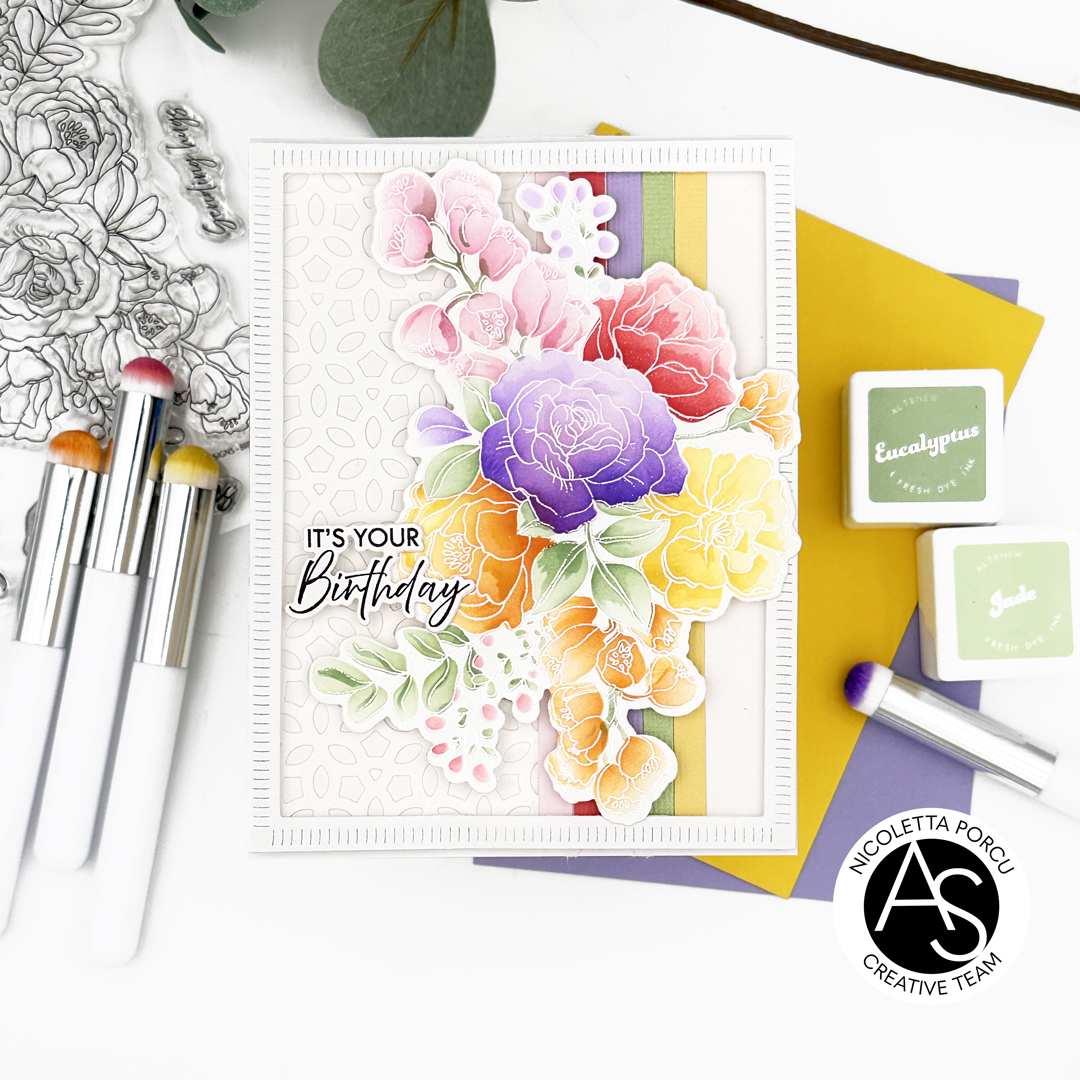
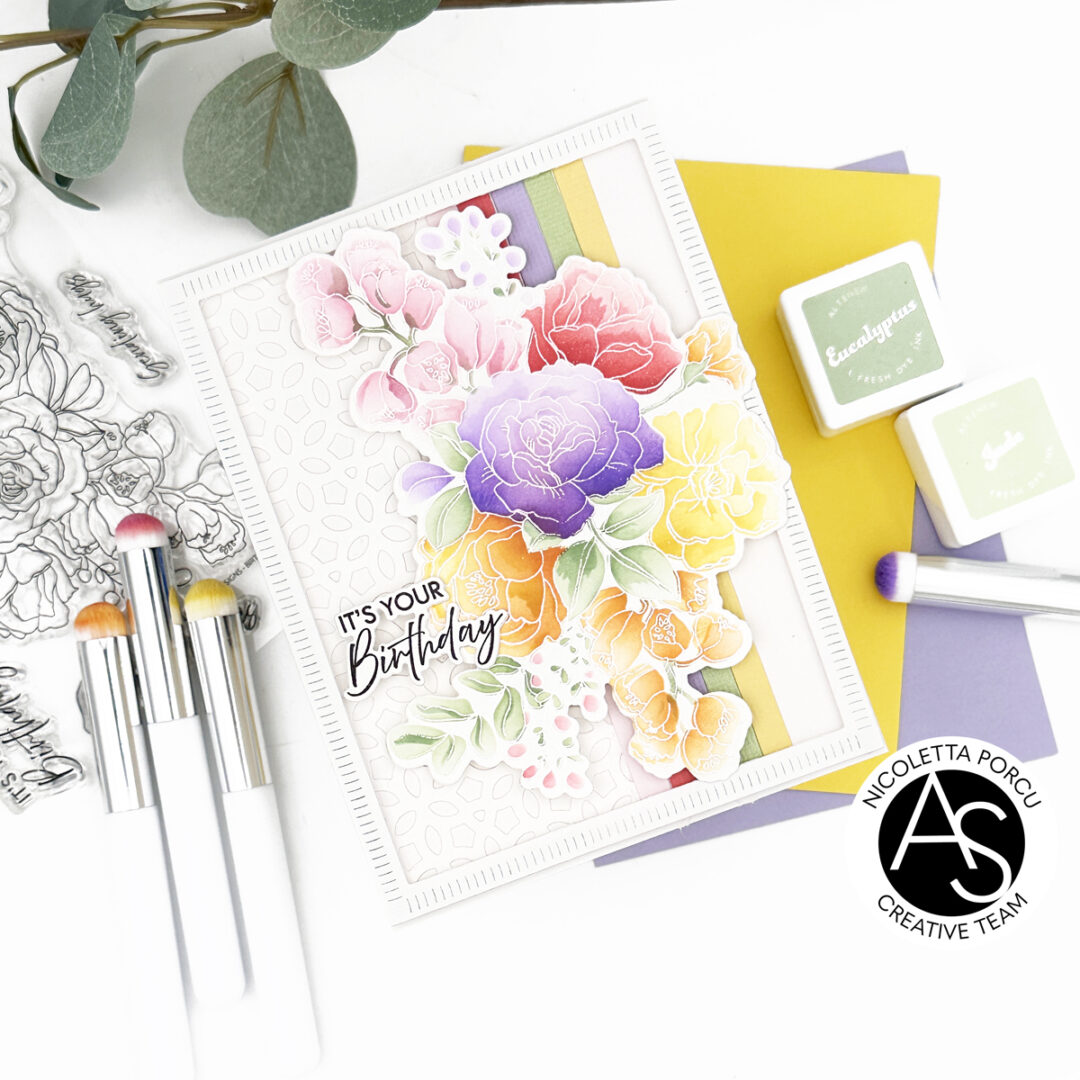
Birthday Bouquet

Hi crafty friends! here I am with a new card to share with you featuring Alex Syberia Designs products.

I've already said how much I love the floral stencil set and I was so happy when I find I'll have soon a new one to play with.

I combined some products of the new release and hope you could appreciate the result.

And now some info about the making process.

As a first thing I stamped the Birthday Bouquet stamp set on a piece of Neenah paper using Versamark ink and then I heat embossed the image in white using the Lawn Fawn white embossing powder.

Next up I used the Birthday Bouquet stencil set  and the Altenew inks to color the image, and as I finished I die cut it using the Birthday Bouquet die set. 

I put it aside and I prepared the card structure.

I  used  the Alhambra Arabesque cover die  over a white cardstock and the Thin Stripes cover die on cardstocks in the same colors I used to color the bouquet image.

I continued by cutting the Alhambra Arabesque  die  cut, vertically in half and by  glueing it over a white card base; beside I glued the colored stripes.

At that point I realised a frame, using the Good Day Quilted Rectangles die set  (once I put in place the 2 rectangle  dies  I taped and run  them through  my die cutting machine) aand I glued it over the card using foam tape to make the frame pops out.

Next up I added the floral bouquet I previously colored and as a last thing the little sentiment wiho is part of the Birthday Bouquet stamp set.

And that's it!

I hope you llke my card !

Thank you for reading me.

Ciao ciao 

sabato 7 settembre 2024

Grateful For You

Hello crafty friends!

I'm here today sharing my first card as Crafty Meraki guest designer for September!

I'm so excited to be a part of the  the Crafty Meraki family this month and to play with their amazing products!

Hope you could like my inspiration projects!

This week the theme will be "Focus on sentiment"  and I enjoy so much the time spent making my colorful  card!


To make the card I started by stamping the Enchanting Hugs stamps set on a piece of Neenah Solar white cardstock  using the Angel Pink Memento ink and my Misti stamping tool.

I wanted to color the image using the no lines coloring technique so once I applied the ink I first stamped on scrap of paper to remove a little bit of ink and then on the Neenah cardstock.

At that point the fun began!!

I decided to color the Hugs letters as a teal foil balloons, the flowers in red, the leaves in gold/yellow shades and the berries in violet.

I colored everything with Copic Markers refining the details with Prismacolor pencils and at the end some touch of white gel pen.

Here the   colors I used:

Teal letters

Copic:BG78/BG75/BG72/BG13/BG11/BG10

Prismacolor pencils :Black, Cobalt Turquoise, Aquamarine, Parrot Green, Light Aqua, Light Green , White)

Flowers

Copic: R27/R24/R17/R22/R21/R20/R00

Prismacolor pencils:Tuscan Red, Crimson Red, Scarlet Red, Carmine Red, Permanet Red,  Salmon Pink, white

Leaves 

Copic: Y28/Y26/Y23/Y21/YR24/YR000

Prismacolor pencils : Sepia

Berries

Copic: V09/V06/V05/V04/V01/V000

Prismacolor pencils: Dioxazine Purple Hub,Parma Violet, Lilac, Lavender, Greyed Lavender, White


Next up I die cut the coloring using the Enchanting Hugs coordinate dies, and I glued it on a white card base using foam dots to add dimension,

In the card center I added a string sentiment from the Meraki Moments Hugs stamp set, stamped in black using Versafine ink and outlined whit a teal string cardstock.

As a last thing I added some Meraki Sparkle Gold rhinestones using the amazing Twinke  Tray and Bling Buddy Embellishment Wand Tool.

And that's it!

Hope you like it!

See you in a week for my next post!

Have a great weekend

Ciao Ciao


venerdì 6 settembre 2024

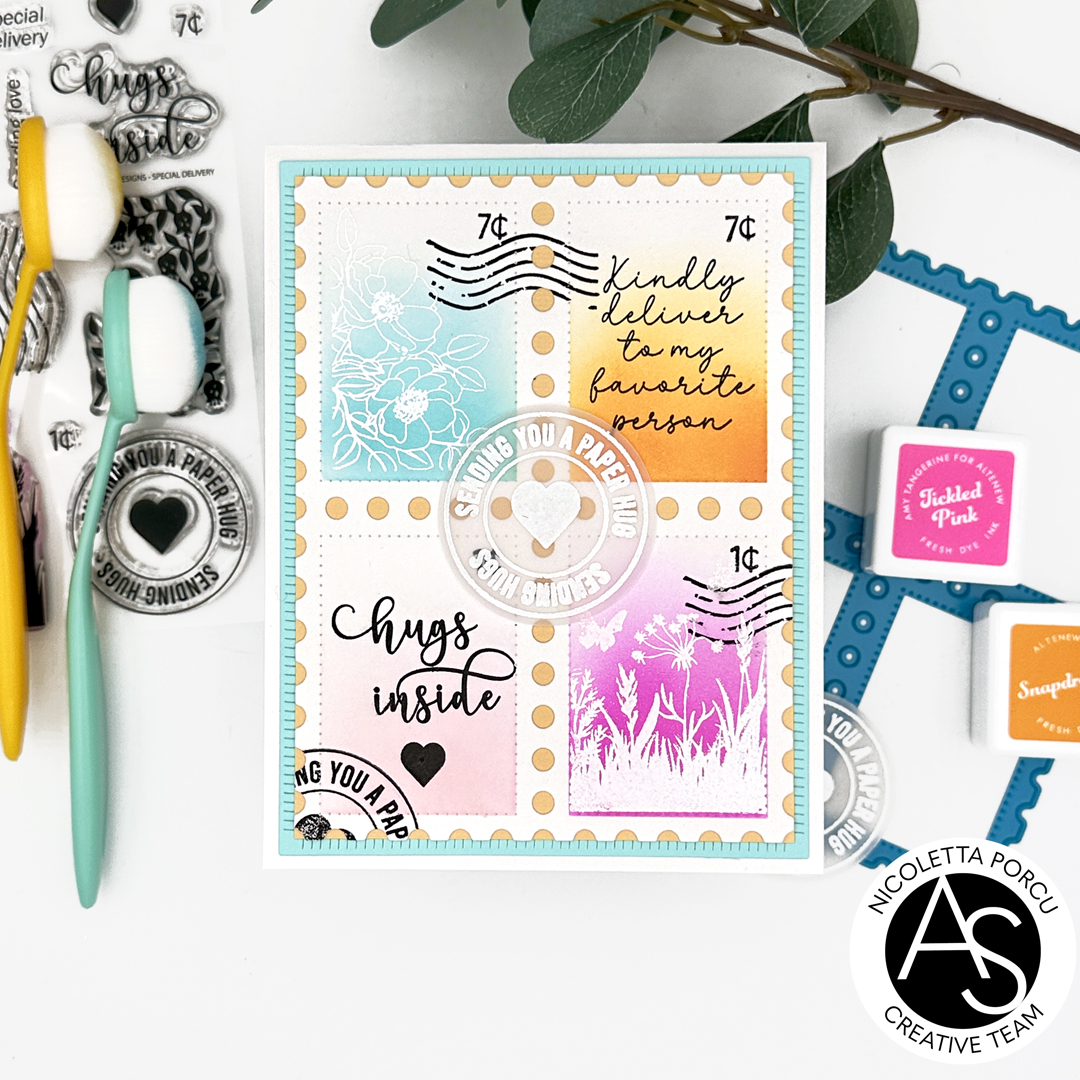
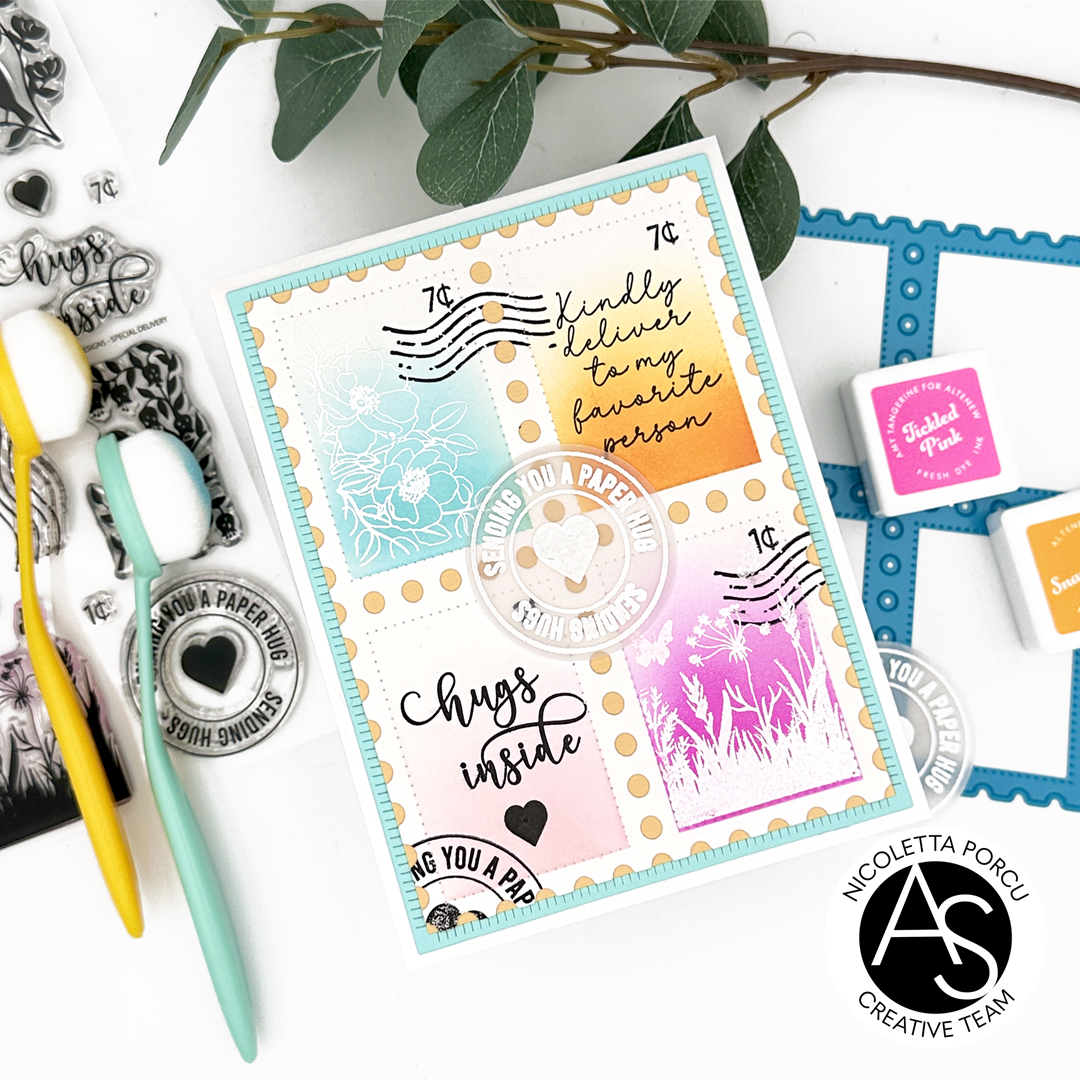
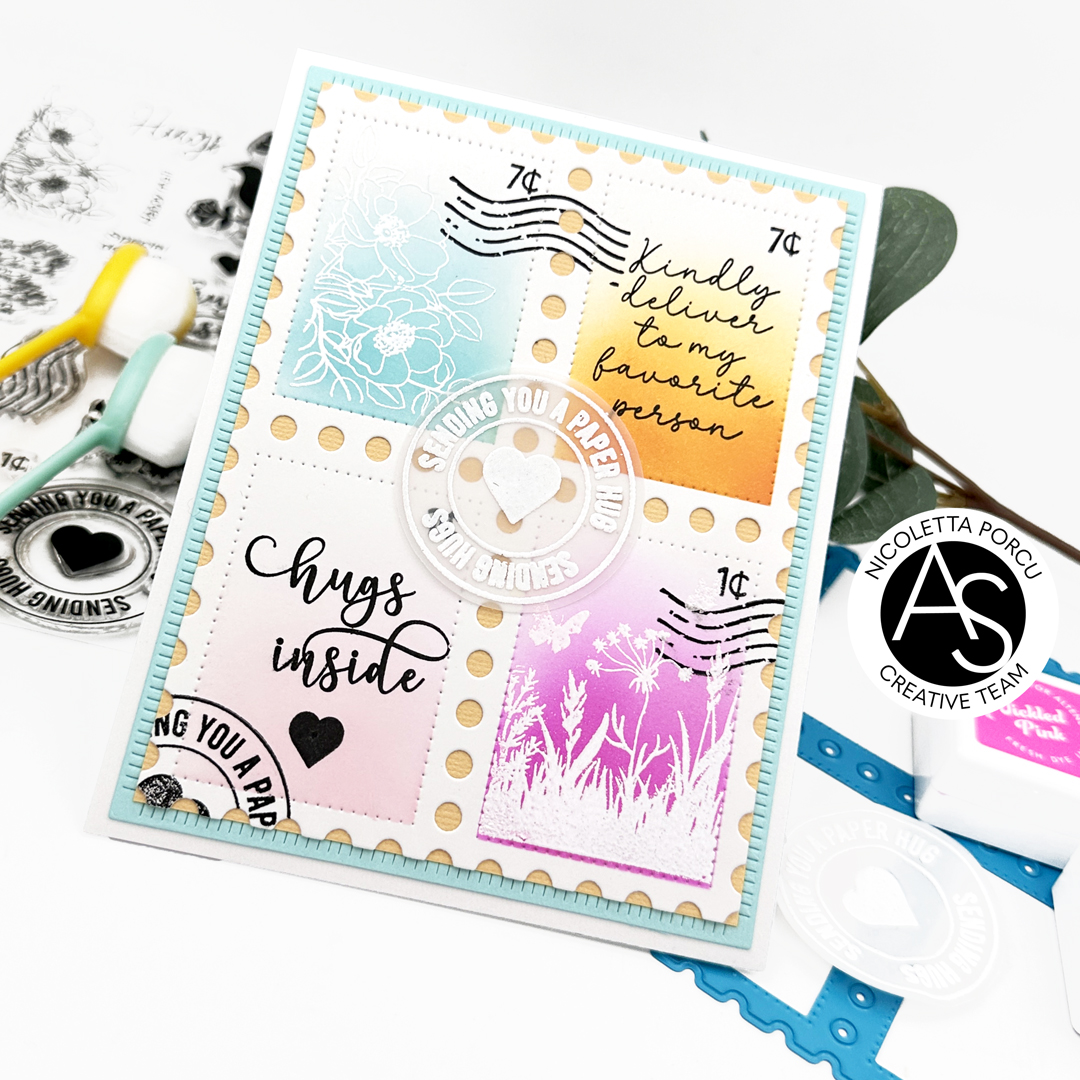
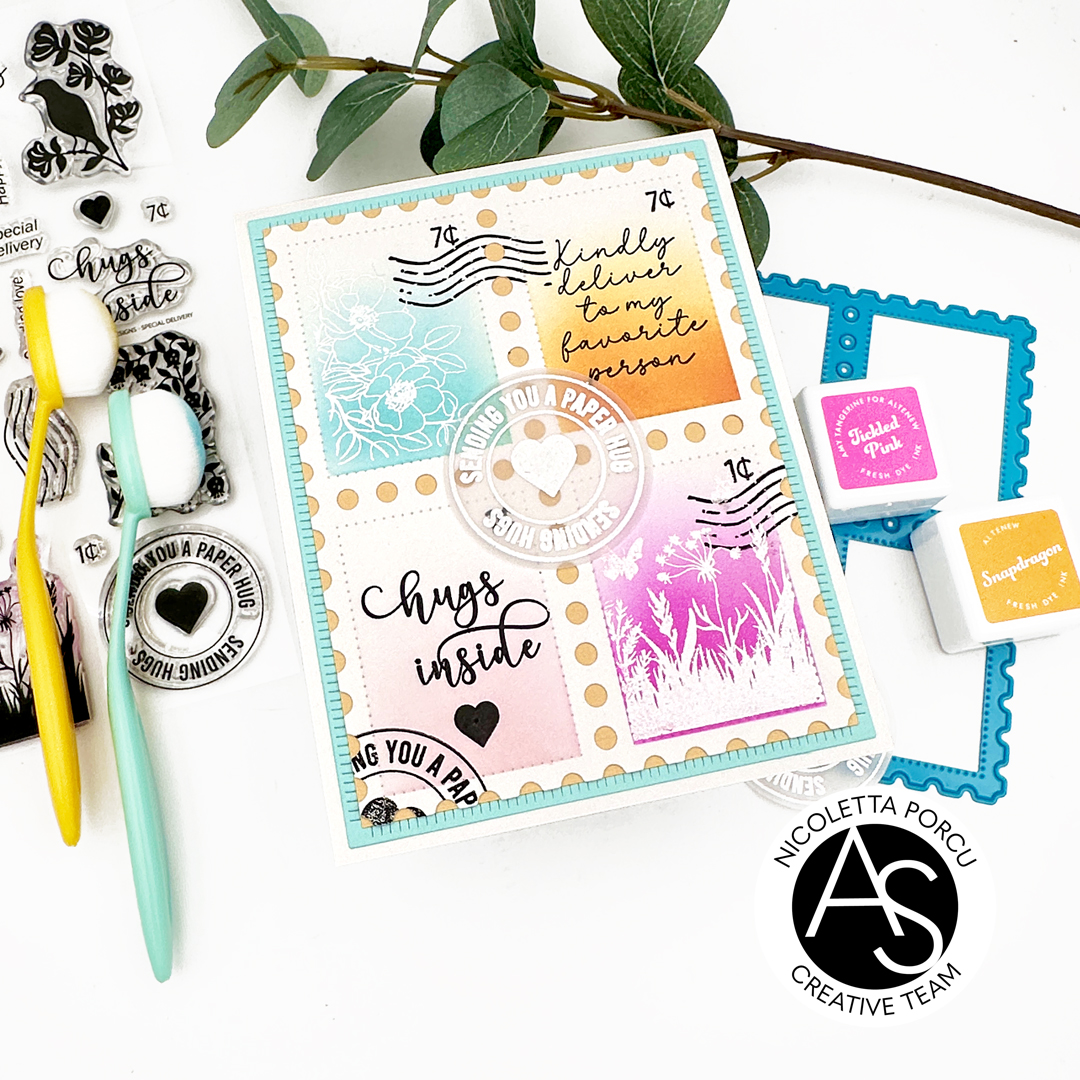
Sending you a paper hug

Hi crafty friends!

today I share with a new card featuring the new "Have A Good Day" release!

For this card I chose some of my favorite products! It was love  at the first sight  so I was really inspired to play with them.

Let me show it and share with you details about the making process:

To male it I started by die cutting the Postage Stamp cover  from a white Neenah cardstock and using the Postage Stamp stencil, I blended the 4 stamp backgrounds using Altenew inks: I chose light pink , pink , orange and blue green shades.

Next up I started to use the Special Delivery stamp set,

I stamped and heat embossed in white  two floral imaged and I stamped in black the sentiments and other details.


I continued by die cutting an orange rectangle to doubled the postage cover die and then another  rectangle from a blue green cardstock using the Good Day Quiltled Rectangles die set  and I glued all layers together over a white card base.

As a last thing I stamped and  heat embossed in white the circle sentiment on vellum I I glued it in the card .

Hope I give you some inspirations about these beautiful products.

Thank you for stopping by!!

Ciao ciao 


venerdì 30 agosto 2024

Crafty Meraki IG hop - Happy Day box card

Hi crafty friends!!
Today I share with you a new card made with the new Crafty Meraki release! 
So so happy to be a part of this event we are celebrating with a fun Instagram hop !
Hope you could join us to see the amazing project of the @Crafty_Meraki design team and have the chance to win  fabulous prizes.
For all details please visit our IG accounts : mine @nicolettaporcu.design
But now let me share something about my card:
As you could see is an interactive card made featuring the follow products:


To make the card, as a first thing I stamped the Humming Harmony stamp set on a X-Press Copic paper,  using my Misty and black Memento ink.
Next up I colored everything with Copic markers, adding little dots of Atyou Spica glitter gel pens on hummingbirds.
It's really hard to capture the shine effect with the camera but I assure you the hummingbirds are iridescent.
Once everything was colored I die cut the images using the Humming Harmony die set, and I put them aside .


I continued by die cutting my base card using the Magic Maker box die; the base in white and the scalloped top part from a blue green paper.
I assembled the card and then I added the colored images using foam glue dots and plastic strings to help the birds and flowers to stay in place.


Once all the images and sentiment are glued I added some Sparkly Sunny Illusion Rhinestones  as a last touch.
To apply the rhinestones I used the amazing Crafty Meraki  tools: 

This card fold down completely flat so you can mail it  too!!
And that's that!


Below some other pictures:


Thank you for stopping by!
Hope you like my card and hope many of you would participate at our IG Hop @nicolettaporcu.design


mercoledì 28 agosto 2024

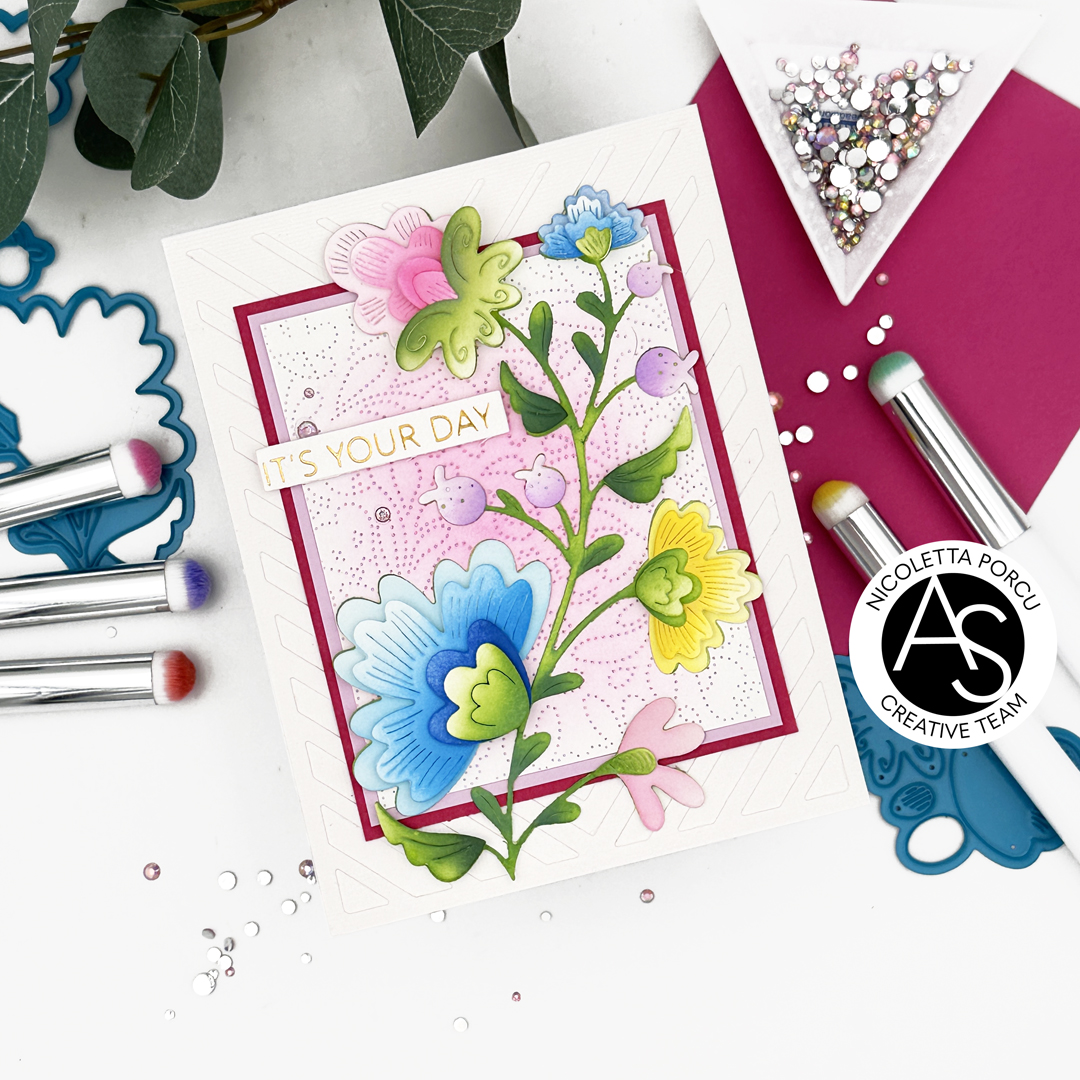
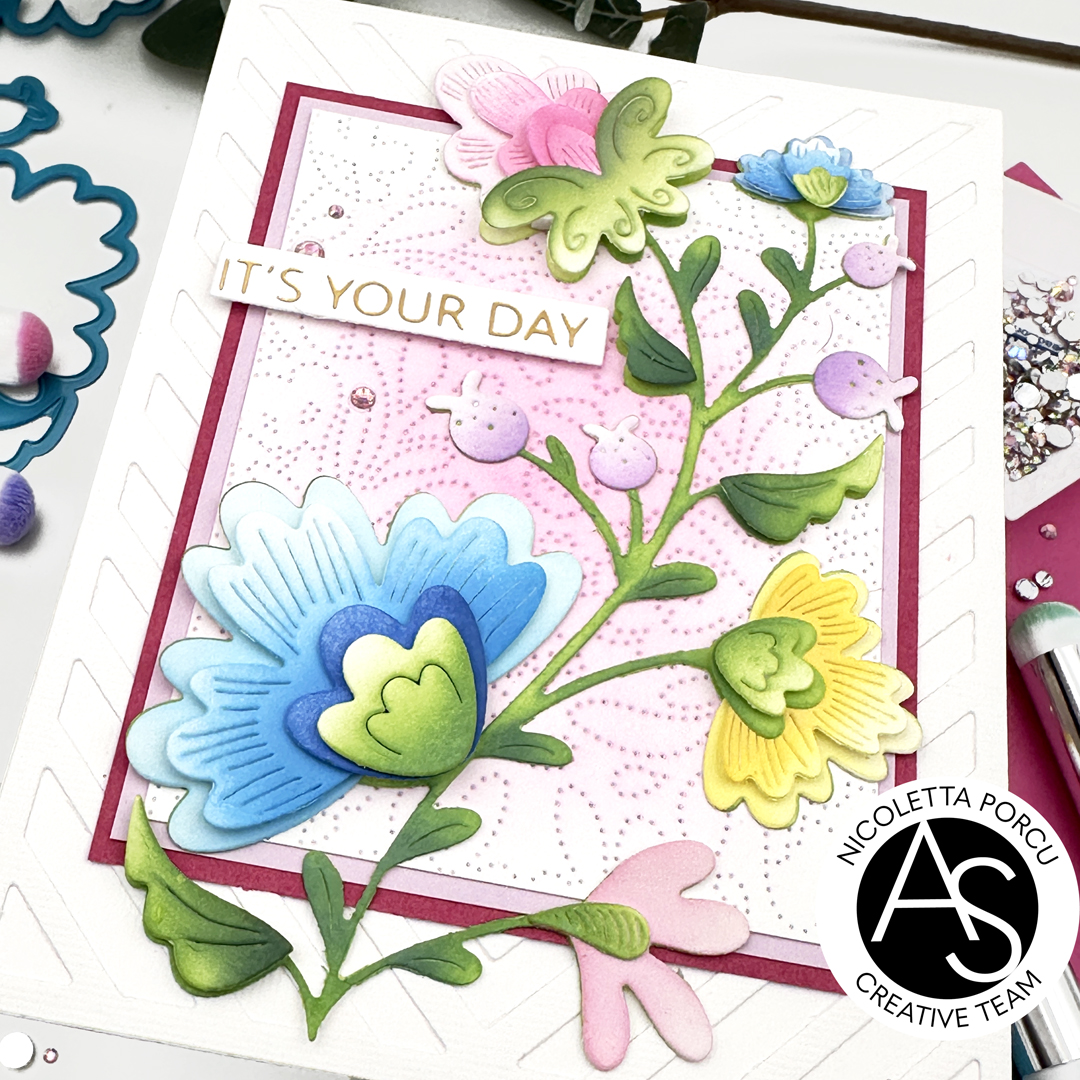
It's Your Day

Hi crafty friends!

here today with a new card featuring Alex Syberia Designs products.


This time I 'm focused on die set from the past release I love but I hadn't  used yet! Hope you like it!

Let me say something about the making process!

As a first thing I die cut the Mysterious Petals  on a white cardstock and after positioned every single part on my sticky mat I  colored all the pieces with Distress inks and Altenew inks. 

I put together the floral branch and then I start to work on the base card.

I die cut the Chevron Chic Cover die from a white cardstock and I glued it on a white card base.

Next up I used the Charming Flora Cover die on a white cardstock and I  lightly blended the center with a pink ink and from it I cut out a smallest rectangle and outlined  it with a lilac and fuchsia cardstock. 

I glued this rectangle on Chevron chic base and over I added the floral brach I previously arranged.

As a last thing I added he sentiment string I realised by using the  Just Because Hot Foil & die set, hot foiling it in gold, and some pink rhinestone.

And that's that for today too!

Thank you for stopping by!!

See you soon


giovedì 8 agosto 2024

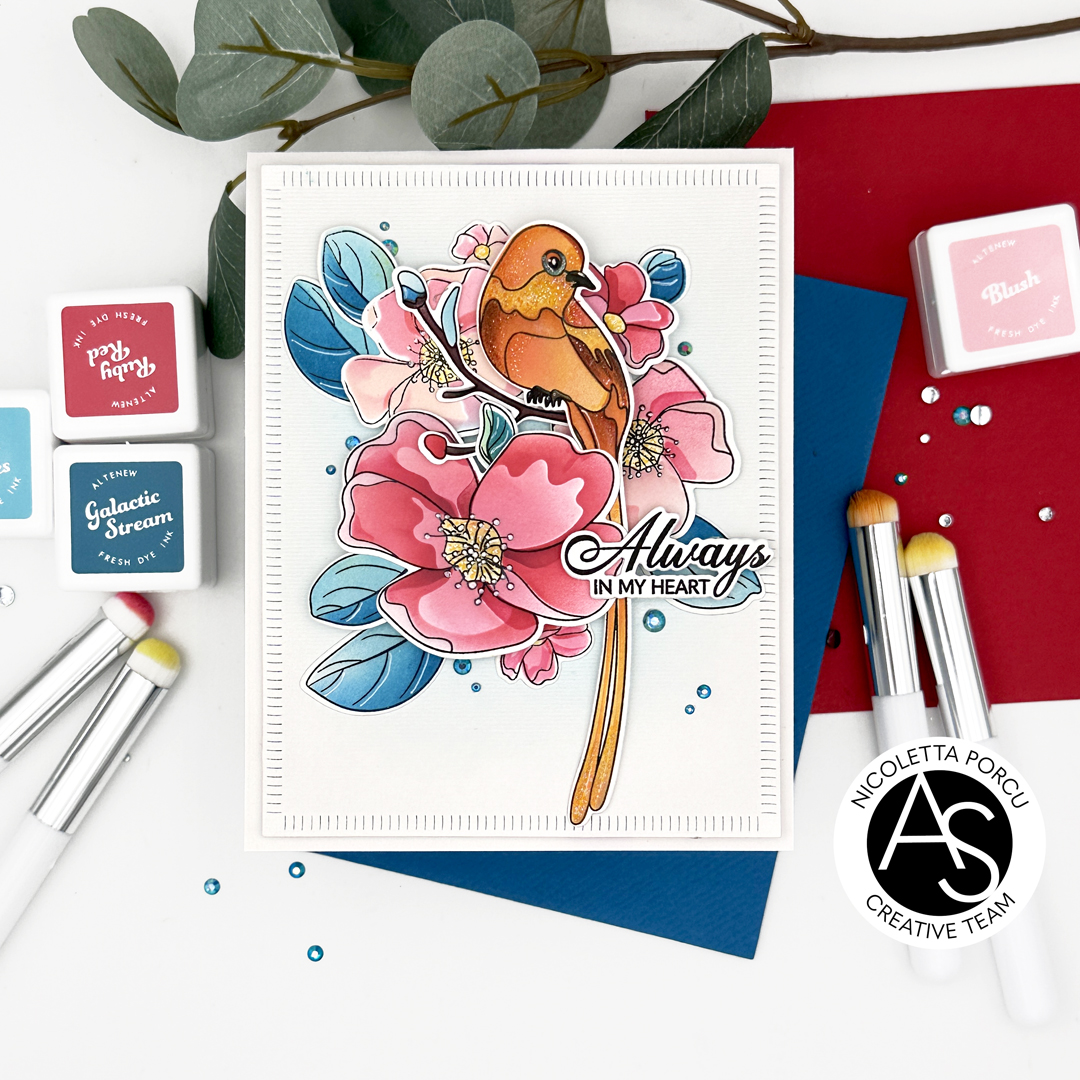
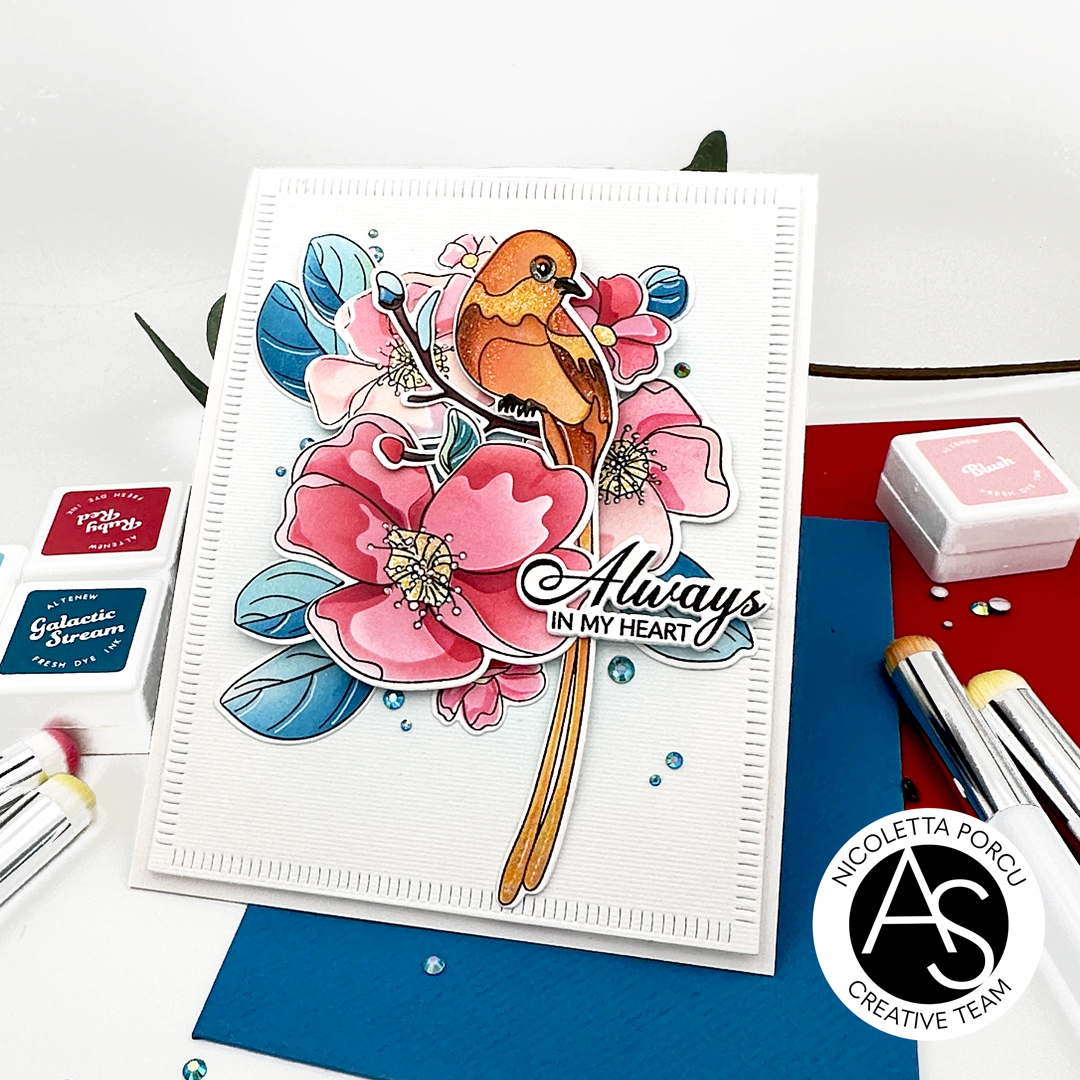
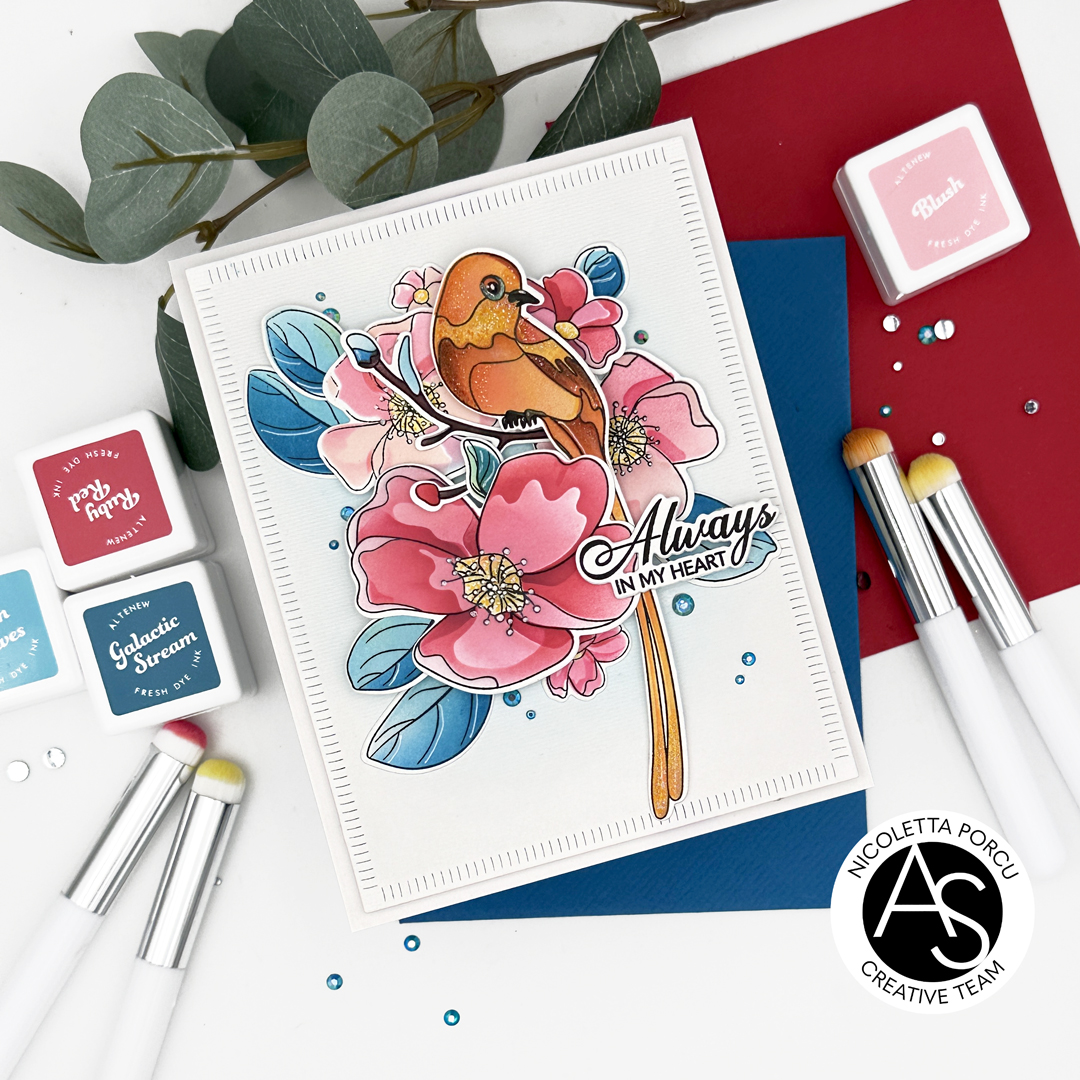
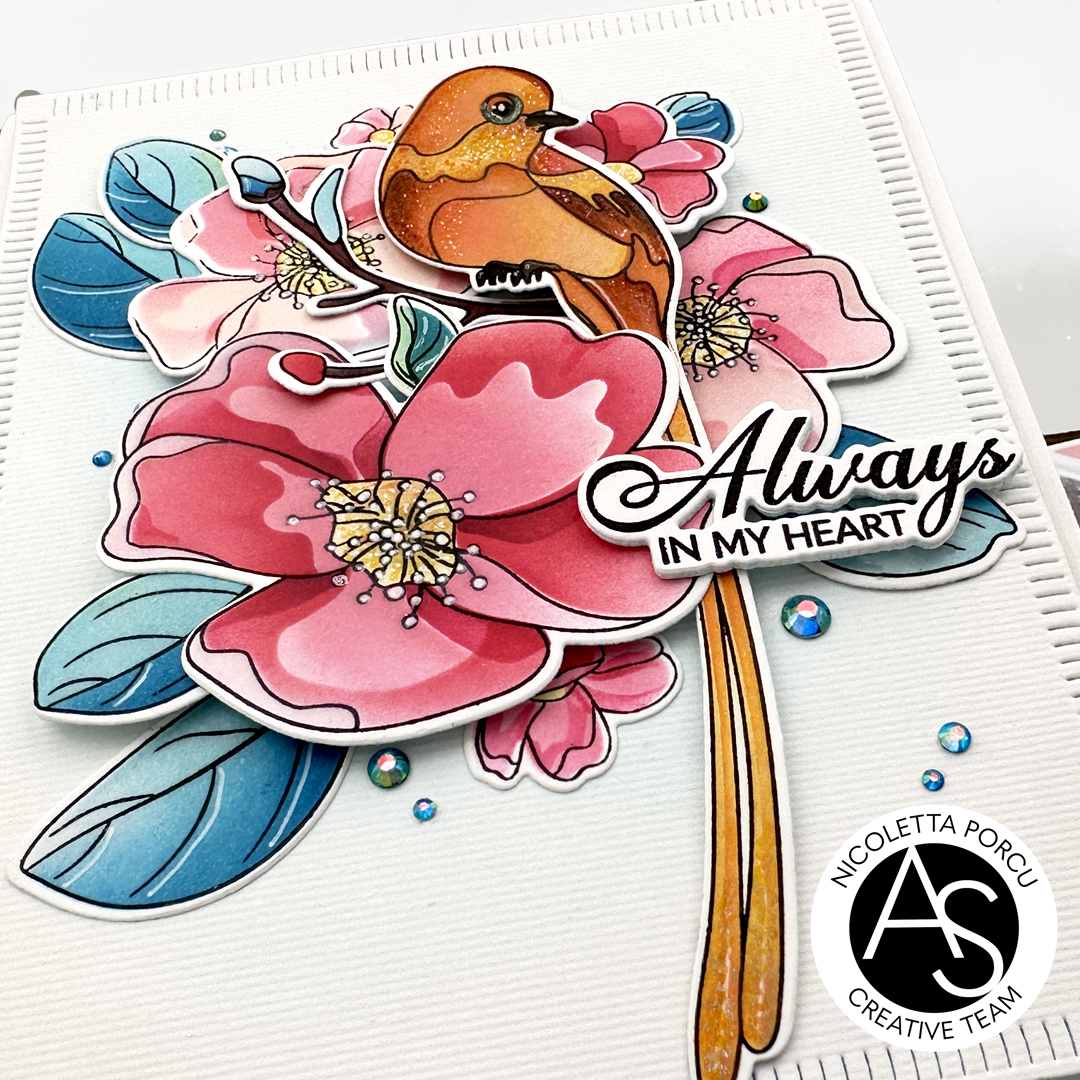
Always In My Heart

Hi crafty friends!

here Nicoletta to share with you the card I made for the Instagram hop we are having to  celebrate the new Alex Syberia Designs release: the  "Have A Good Day collection".

If you want to see all the inspirations of our talented team and for the chance to win fabulous prizes, visit our IG accounts @nicolettaporcu.design or @alexsyberiadesigns.

Now let me share something about the making process.

As a first thing I die cut a white rectangle from the Good Day Quilted Rectangles die set and after blending some light blue ink on the centre I glued it on a white card base using foam tape to add dimension.

Next up I stamped the flowers , the leaves, the bird and the sentiment  from the Avian Allure stamp set on  Neenah paper  and I colored them using the  Avian Allure stencil set  and red, pink, light pink and teal  inks by Altenew.


I die cut all the elements using the coordinate dies and I glued them on the card's centre using foam tapeto add dimension.

At that point I added some white details on the flowers using a white gel pend and shiny detail o the bird using the Atyou Spica Glitter gel pens.

I completed adding the sentiment and some blue rhinestones.

I really love this set and I can't wait to see all the card you will create with it.

Now take a look at my IG account @nicolettaporcu.design to  join us to celebrate the new collection.

Thank you for stopping by.

Ciao Ciao 


giovedì 1 agosto 2024

Alex Syberia Designs August Release Blog Hop & Giveaway

Hello crafty friends!!!

The Have a Good Day August release  is amazing and includes  clear stamps,  dies and stencils.
I'm sure  there's something for everyone to love!
Joining with us  you will see many inspiration projects made by the AS design team in the ASD blog post so you could appreciate the amazing collection. 


Let me share with you the card I made for the occasion using the Floral Splendor Cover die,    the Good Day Quilted Rectangles die set and the Thank you & Hello die set.
 
I started by die cutting the Floral Splendor Cover die twice, one Neenah paper and the other one on vellum. I colored some flowers of the Neenah one using distress ink and ad I finished I doubled it with the vellum die cut.
Then I die cut a white rectangle background using the amazing Good Day Quilted Rectangles die set , I glued it over a white base card and over I added the Floral Splendor die cut .
Next up I doubled the white flowers of the Floral Splendor Cover white other single white flowers  (the flowers die cut are part of the Floral Splendor Cover die set too) using adhesive foam pads.


I  completed the card by adding the big Hello sentiment  I got from  the Thank you & Hello die set. ,  and the string sentiment that is part of the  Expressing Gratitude stamp set   die cut with the coordinate dies.


As a last touch I added some clear rhinestones on the white flowers. And that's that!

I  really love how it turned out and hope you could appreciate it too!


Alex Syberia Designs is giving away a $50 gift certificate to 1 winner and a $15 gift card to 3 lucky winners. To play along, simply leave a comment on each stop of the hop.


Open internationally. All 4 winners will be drawn from the entrants that have played along with this Blog hop by midnight BST August 10th, 2024. Winners will be announced on the Alex Syberia Designs blog 'Giveaway Winners' page on August 11th, 2024.


Have fun joining us with this blog hop
I'm sure you will love the entire collection and the DT inspirations as much as I do!

Ciao ciao
xx

linktwin

Related Posts with Thumbnails

ShareThis