lunedì 24 marzo 2025
Birthday Hugs
martedì 18 marzo 2025
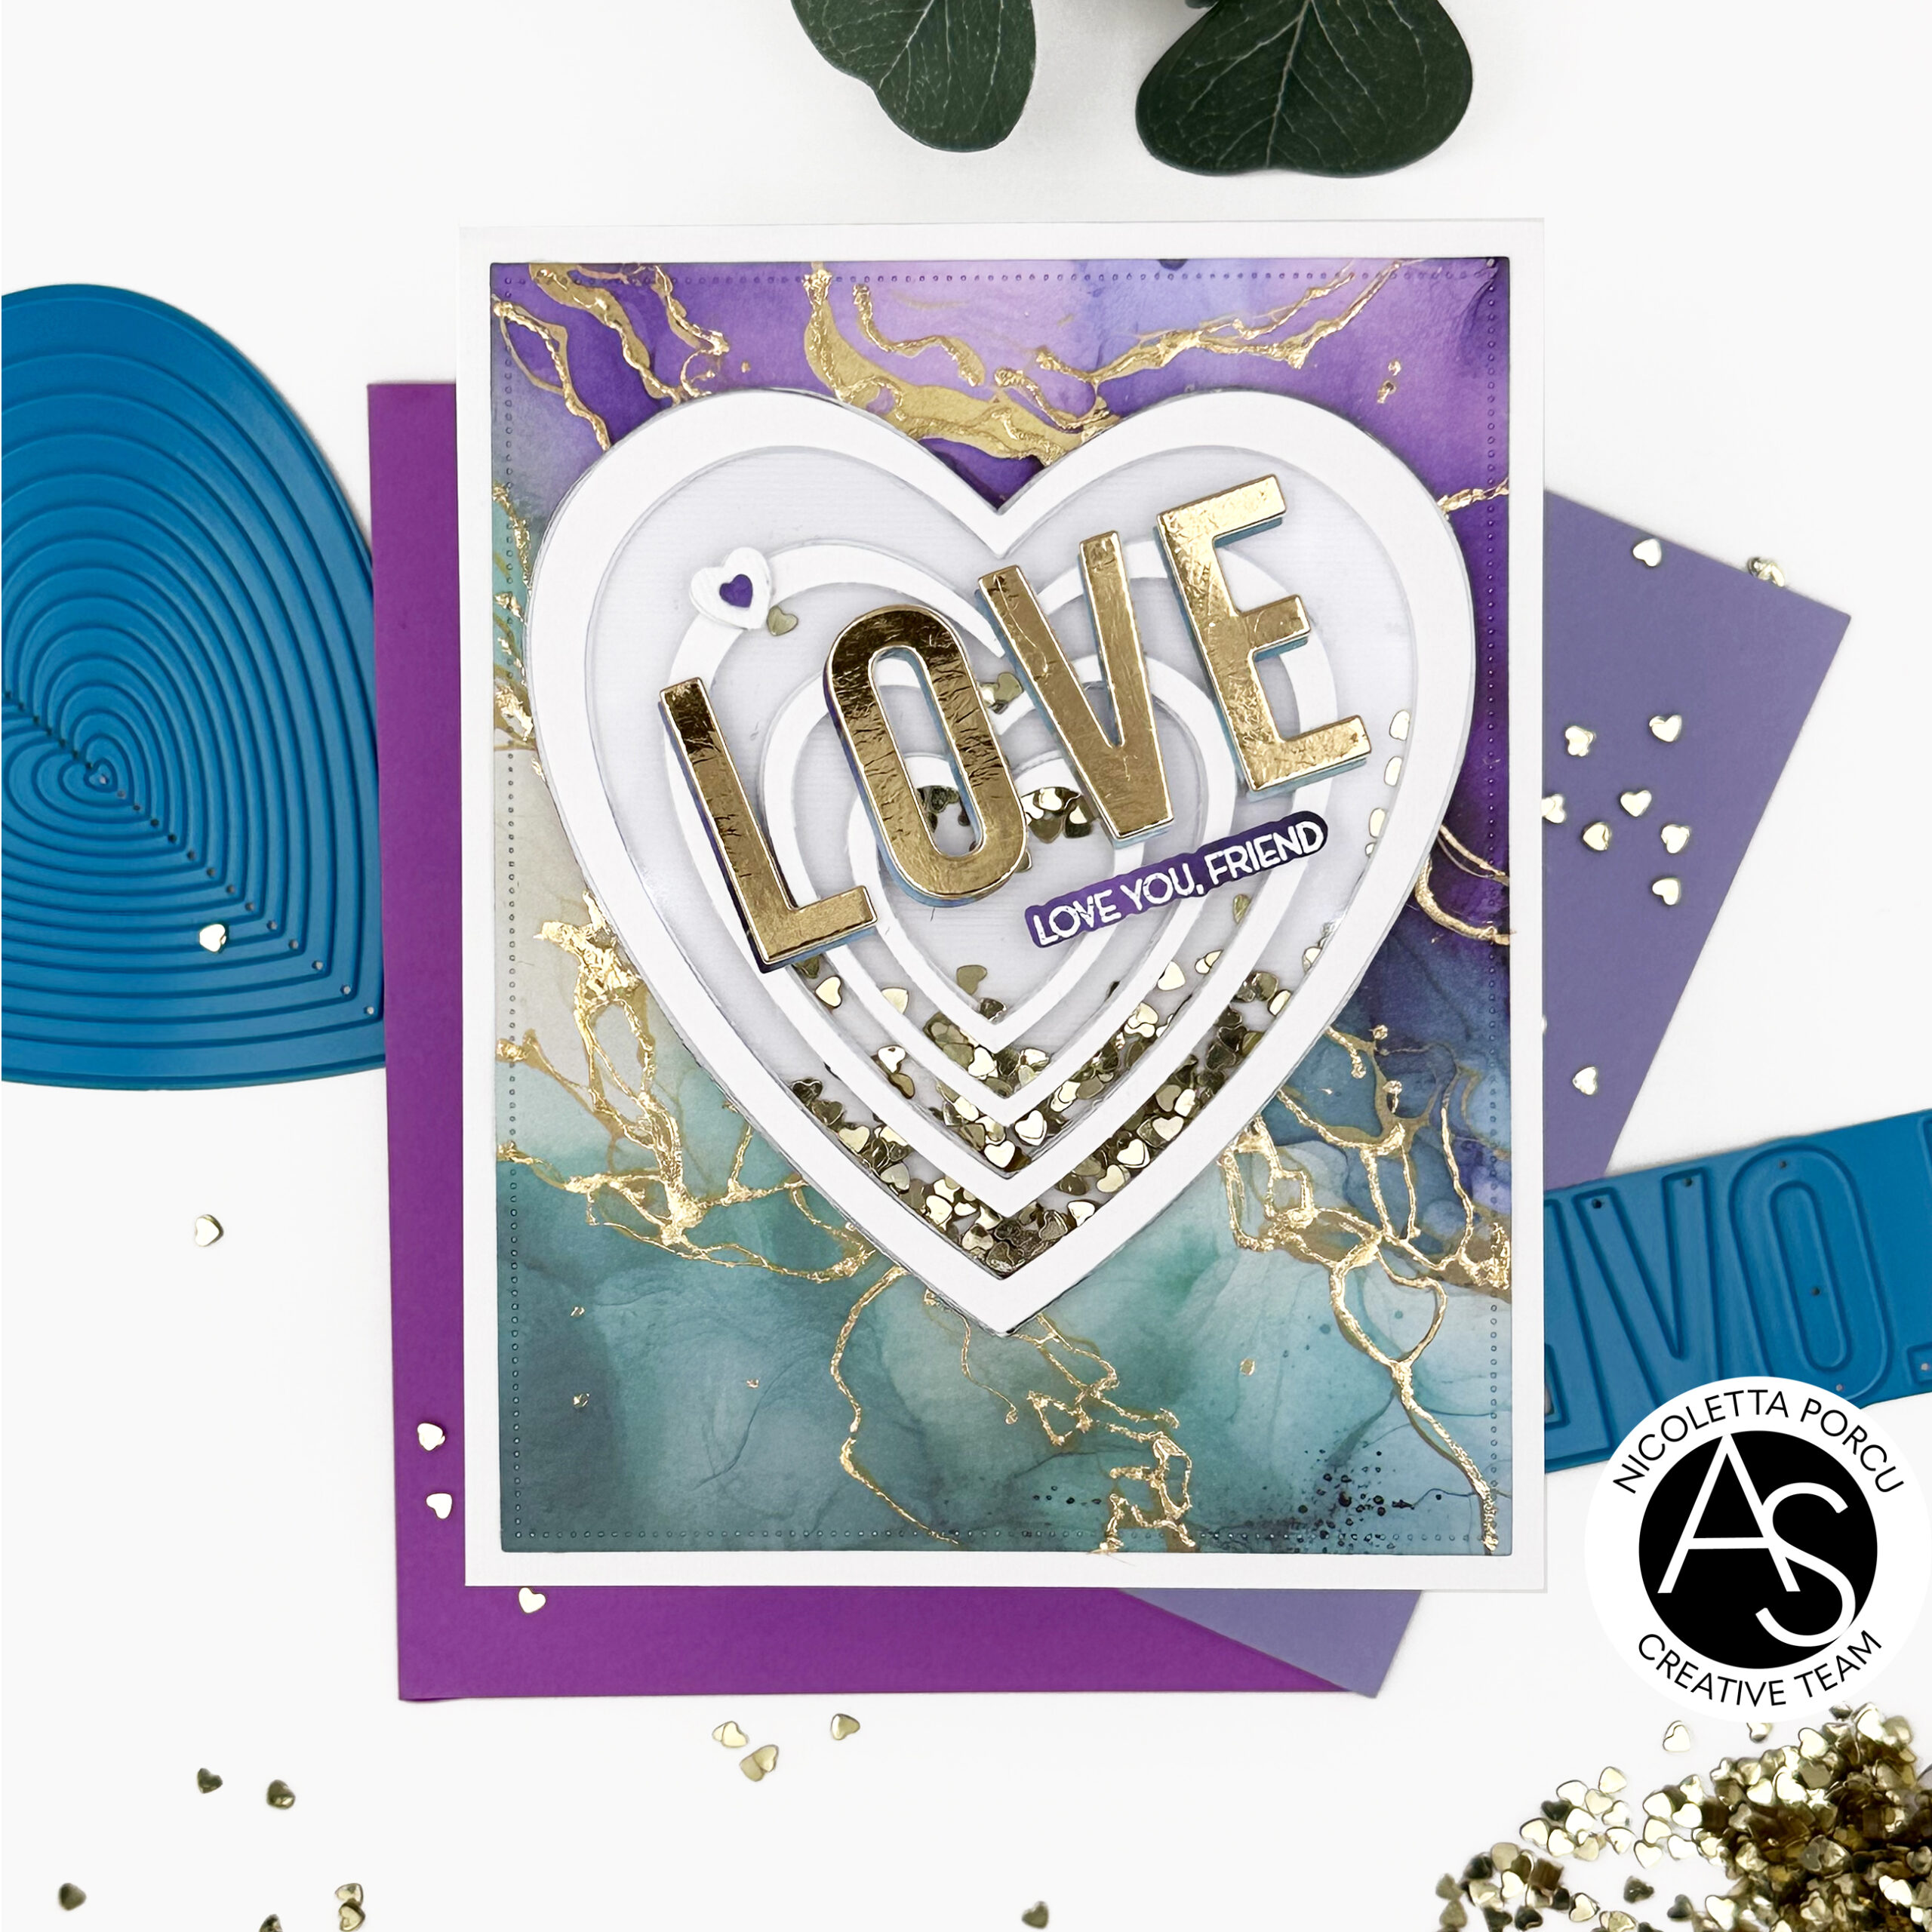
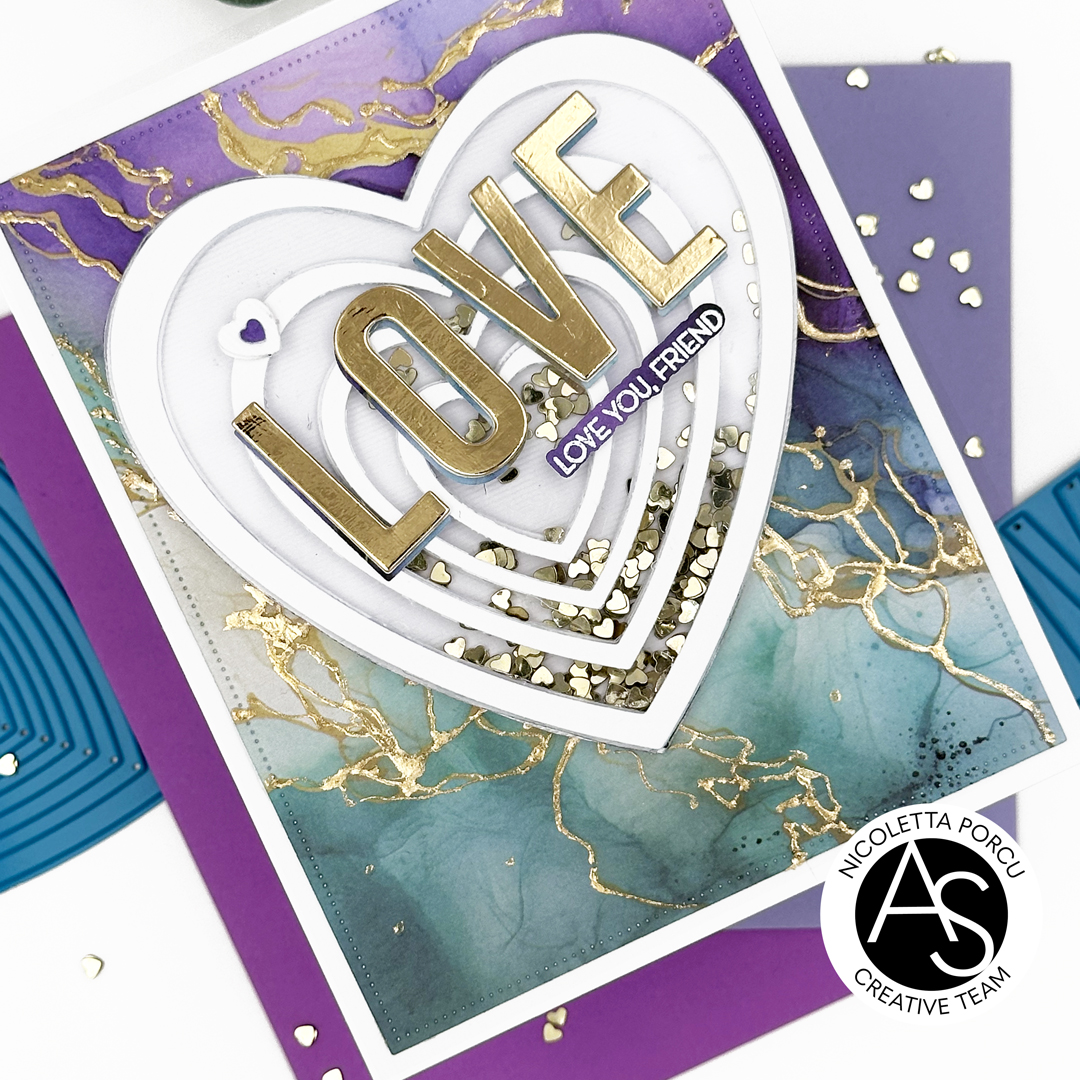
Love You, Friend
Hi crafty friends!
I'm here today with a new card to share with you! this is the time for featuring the lovely Endless Hearts die from the last ASD collection.
This die is very fun to use and you could create infinite designs,,, I decided for a shaker card!
Let me show it to you!

To make my card I started by die cutting a rectangle from a a marble patterned paper using the biggest rectangle die from the Nested Scalloped Frames die set. I emphasised the gold streaks using liquid glue and the gold foil flakes by Heidi Swapp.. I let it dry and then I glued the marble rectangle over aa white base card .

At this point I started to create my Hear shaker card. Using the Endless Hearts dies I die cute the hearts in seven layers ì. I chose che hearts I needed to creat my card ah I glued the rest 6 layers all together over a white heart base. Once I placed the little gold hearts on the various spaces between the die cut hearts I cover the shaker with a clear plastic heart and over the virus white heart shapes.
Next up I die cut the big Love sentiment using the Love & Xoxo die set, I die cut the top layer from a gold metallic cardstock, the base layers from the same marbled paper I used for the background. and others 2 layers from a white cardstock. I glued all together and I placed it diagonally on the shaker heart.
To complete the card I added a little heart and an embossed sentiment from Our Hearts stamp set die cut with the coordinate dies.
And that's it!
Hope you like my card and the products I used !
Yu could find them on the Alex Syberia Designs shop and for the European friends on the ASD shop based in Uk.
Thank you for your time!
Ciao ciao
lunedì 10 marzo 2025
Hi Tweet Friend - Crafty Meraki IG hop and New Release
martedì 4 marzo 2025
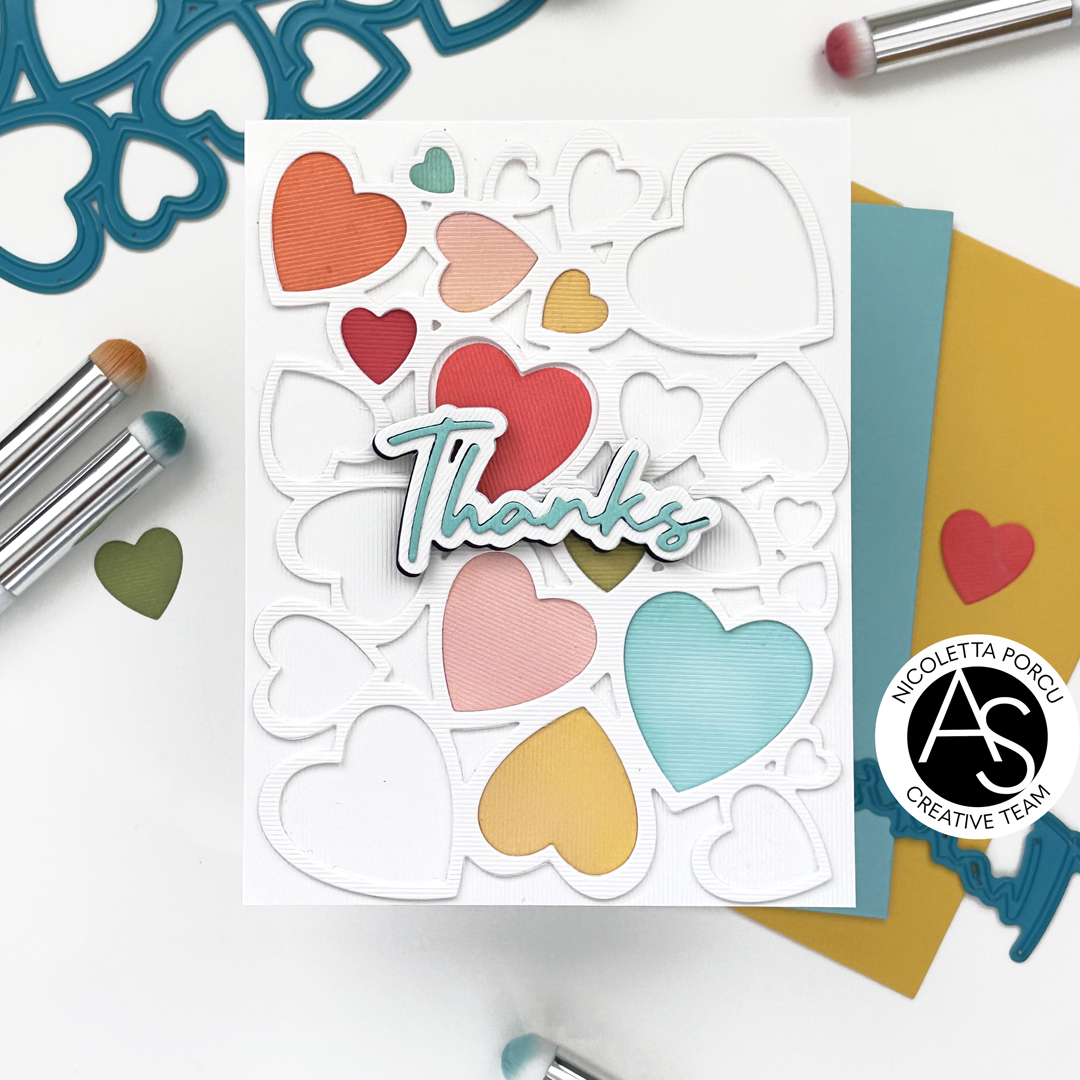
Thank You From My Heart
Hi crafty friends!
I'm here today, to share with you a new card featuring the new products from the February release!
Today I'm focused on the Heart Collage die and the Thanks & Hugs die set.

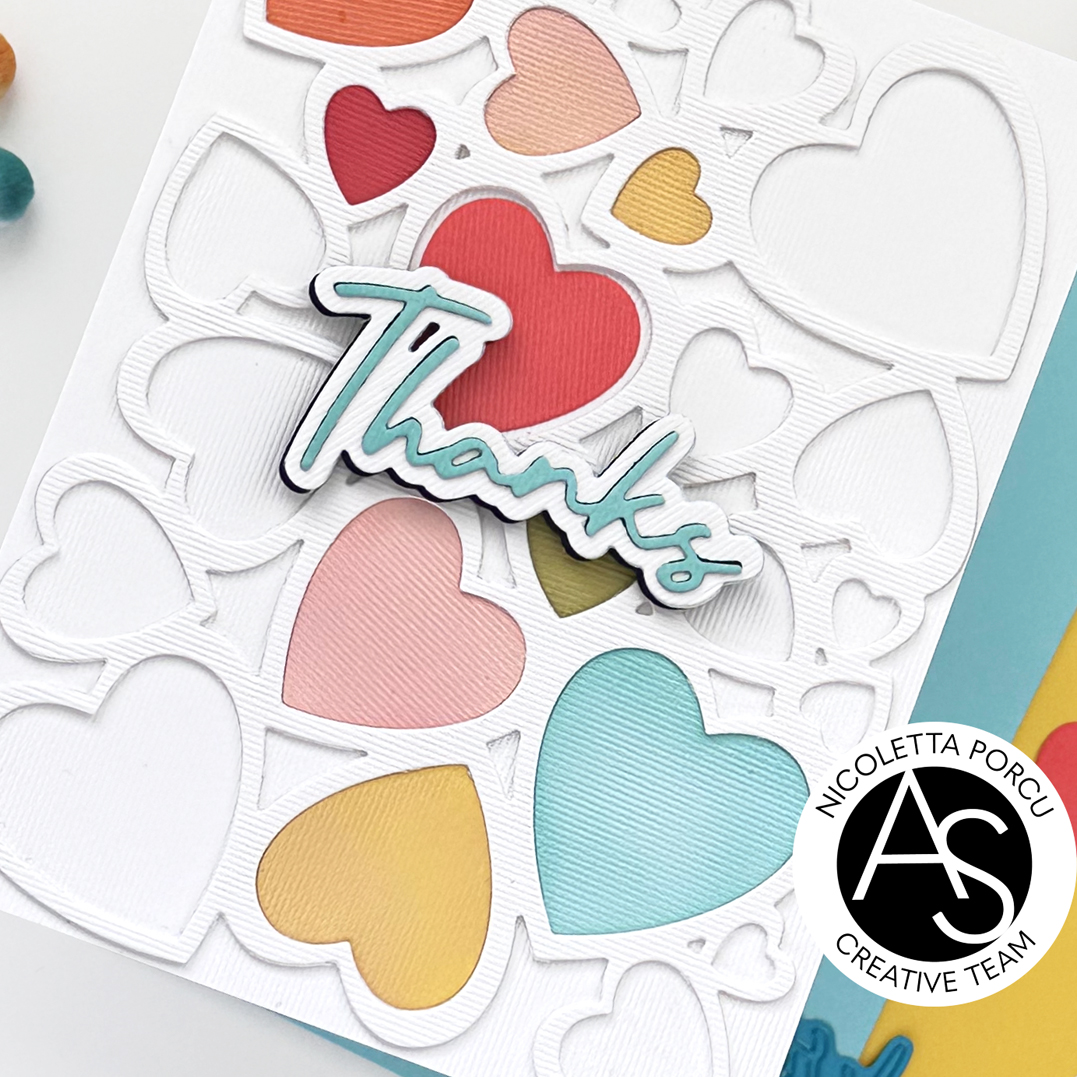
To make my card I start by die cutting the Heart Collage from a white cardstock in five layers and after glued all layers together I glued it on a white base card.
Next up I colored some die cut heart using Distress Oxide inks and I glued them on the their own spaces in the Heart College die cut.
and I die cut the outlined part in three layers: two in black and one in white; I die cut the top part in two layers : one in black and the second one from a cardstock blanded using Savage Patina Distress Oxide inks.
I assembled all the pieces together and I glued the resulting sentiment in the center of the card.
And that's it

Hope you like my inspiration card!
Thanks for stopping by.
Ciao, ciao
venerdì 28 febbraio 2025
XOXO - Alex Syberia Designs Instagram Hop
mercoledì 26 febbraio 2025
Alex Syberia Designs February Release Blog Hop & Giveaway
I really love how it turned out and hope you could appreciate it too!
And I hope you would join us I this fun blog hop to see all the beautiful creation of our design team and for the chance to win fabulous prizes.
As I said before fabulous prizes are waiting for you:
Open internationally. All 4 winners will be drawn from the entrants that have played along with this Blog hop by midnight GMT March 8th, 2025. Winners will be announced on the Alex Syberia Designs blog 'Giveaway Winners' page on March 9th, 2025.
martedì 18 febbraio 2025
Thanks For Being You
Hi crafty friends!
A new card today with my weekly inspiration for Alex Syberia Designs.
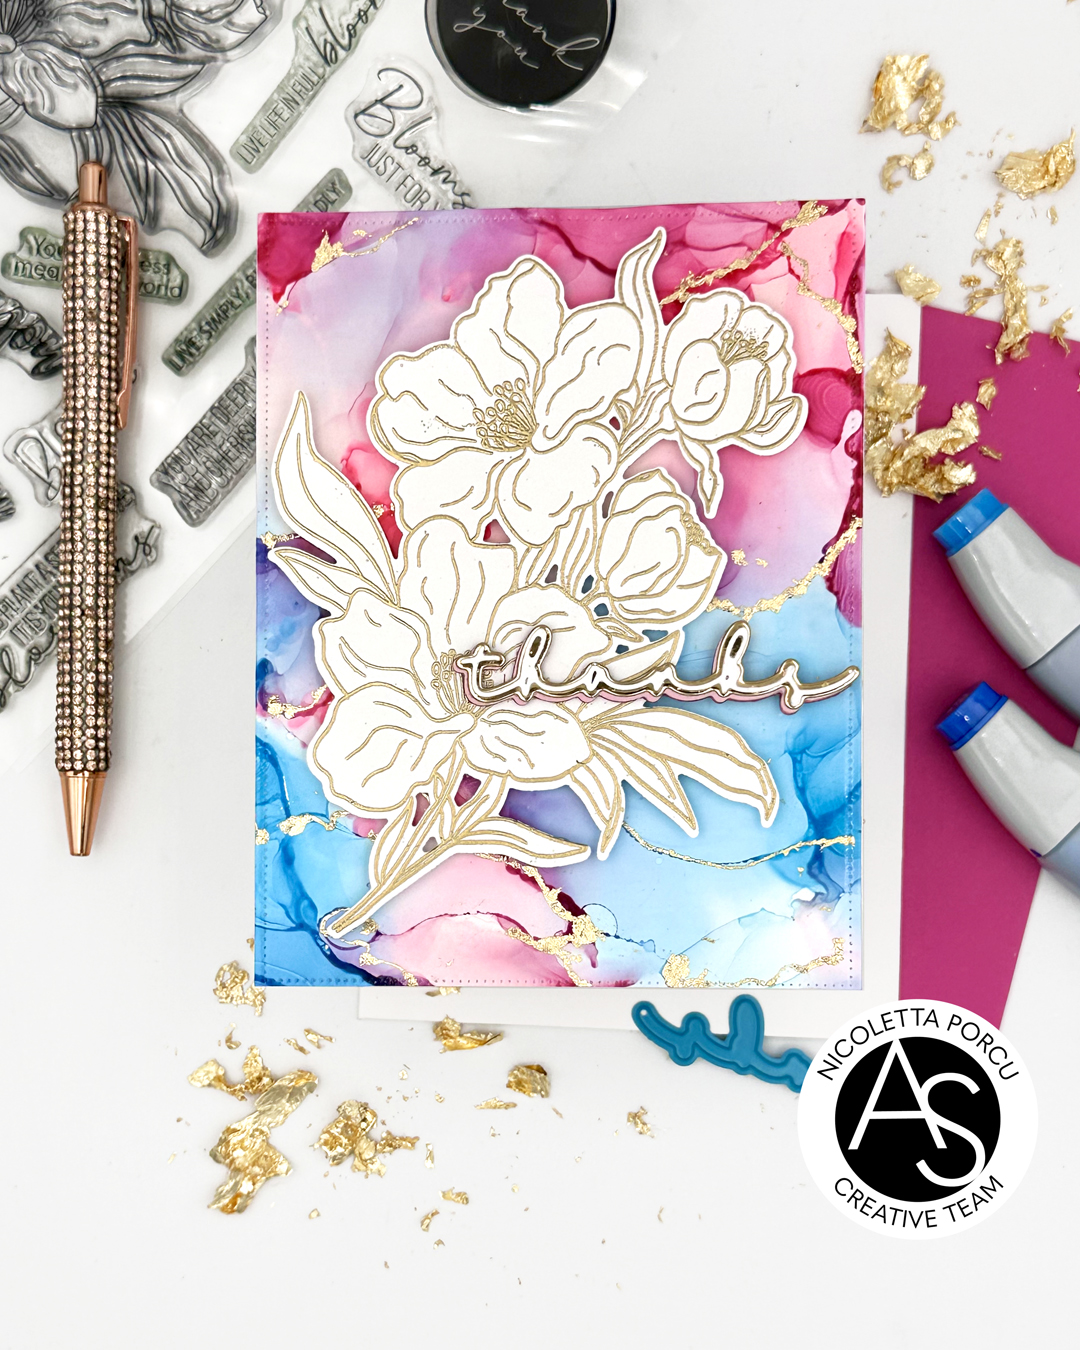
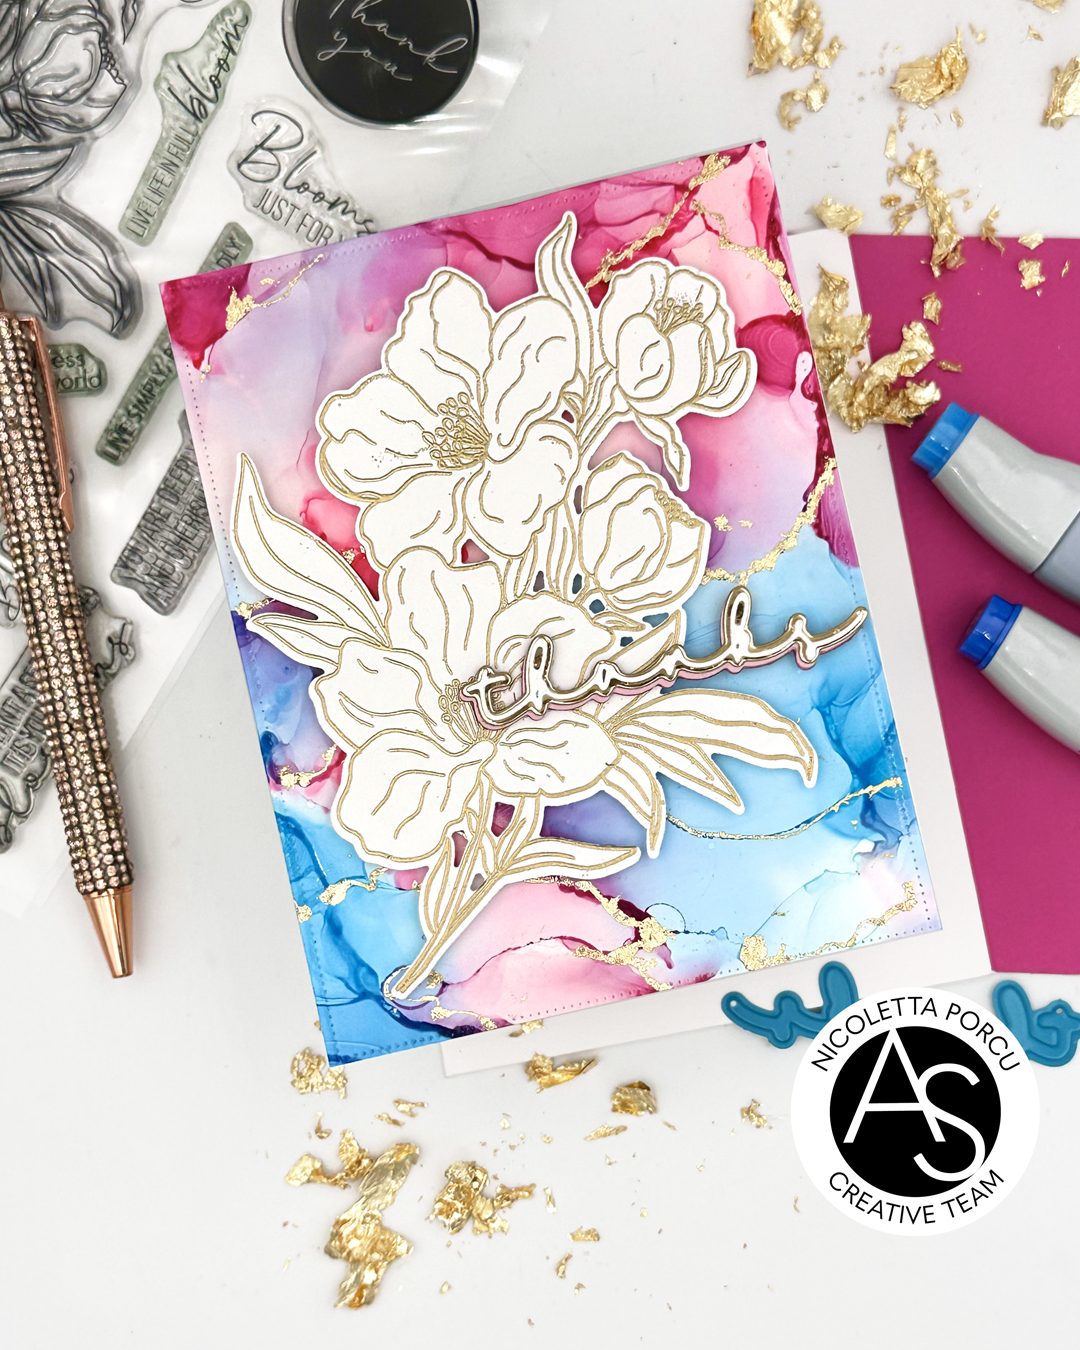
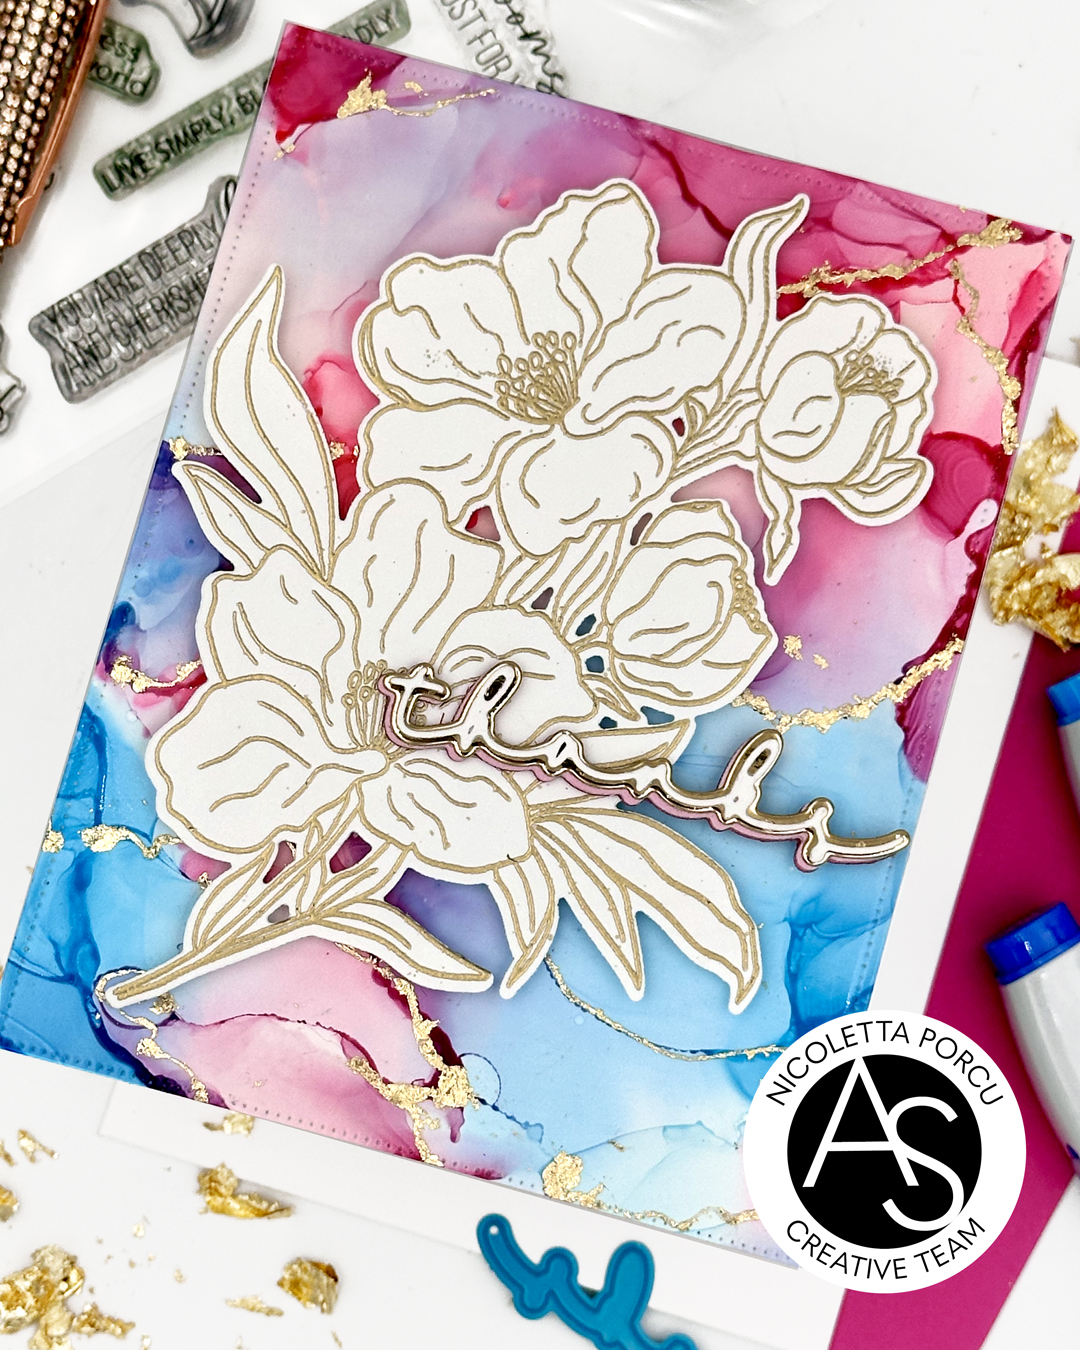
This time a card I had in mind for a while! only flowers with no coloring on a colourful background!
Here it is:

To make my card this time I started by the background...I used alcohol inks , my Copic Various Ink, and blending solution to create it. I added some lines of glue and as it is semi-dried I added gold foil flakes by Heidi Swapp.
I really loved the result so I didn't cover it at the beginning! but I had a card to create so I forced myself and I went on and I glued the background on a white card base.

I continued by stamping the beautiful bouquet from the Grateful For You stamp set, using Versamark ink and embossing it in gold; I die cut the flowers using the coordinate die and I glued them on the card using adhesive foam pads to add dimension.

As last thing I added the "thanks" sentiment I made using the Thanks die set: I die cut the outlined part in gold and pink and the top one in white!
And that's that!
You could fine the stamps and dies I used on the Alex Syberia Designs Shop.
I hope you like it!
I'm pretty happy about it !
Thank you so much for stopping by
Ciao , ciao
martedì 11 febbraio 2025
Wrapping You In Love
I'm here today, with a new card to share with you!
a new floral card made with high contrasts... hope you like it


To make my card I started by die cutting twice all the parts from the Elegant Peony die set. The petals in white cardstock and the leaves in two shades of green. I colored the white ones using Distress Oxide inks and some touch of Prismacolor pencils and as I finished I assembled the two peonies.
At that point I started to make the background.
I die cut a violet cardsotck rectangle using the bigger die from the Good Day Quilted Rectangles die set, and I glued it on white card base,
Next up I die cut in vellum the Floral Splendor Cove die, and I glued it over the violet rectangle. I added over another smaller rectangle I die cut using the Nested Scalloped Rectangles die set.
Over, I added all the flowers and leaves and then I glued the sentiment I obtained using a stamp from the Avian Allure Stamp set, die cut with the coordinate dies.
As a last touch I added some rain drops and some clear rhinestones.
And that's that!
Hope you like my card!
thank you for stopping by!
Ciao Ciao
martedì 4 febbraio 2025
You Warm My Heart
Hi crafty friends,
Today I have a new card to share with you featuring Alex Syberia Designs products.
Since Valentine' s day is coming I wanted created something for the occasion! I was really inspired and I hope you like the result.

To make my card I started by stamping the flowers from the Life is Good stamp set. I used the Memento Toffee Crunch ink on Neenah paper. Next up I colored the flowers using the coordinate stencil , the Life is Good Layering stencil setand then I die cut the bouquet using the coordinate dies.
Next up I stamped and die cut the same bouquet flowers , but this time I embossed them in white on vellum.

A that point I prepared the background: I die cut in white the Alhambra Arabesque cover die. I cut out a stripe of it and I glued it over the left side of the white card base.
Next up I glued across the them the vellum flowers and over the colored flowers using foam tape to add dimension.

I continued by stamping the lovely mouse couple from the Sweet Friend stamp set. I colored it with Copic markers and I die cut it using the Sweet Friend coordinate die set and I glued it over the right side of the flowers.
As a last thing I added the "love you" and the string sentiments and some red little harts from the Sweet Friend stamp set.
And that's it!
hope you like my card!
Thank you for stopping by
Ciao , ciao