Hi crafty friends!
Today I'm sharing with you a new card featuring the new ASD Christmas release!
With this card I'd like to celebrate the Black Friday Week with a Instagram giveaway to give you the chance to win fab prizes sponsored by Alex Syberia Designs.
So I'm waiting for you on my IG account:-) @nicolettaporcu.design
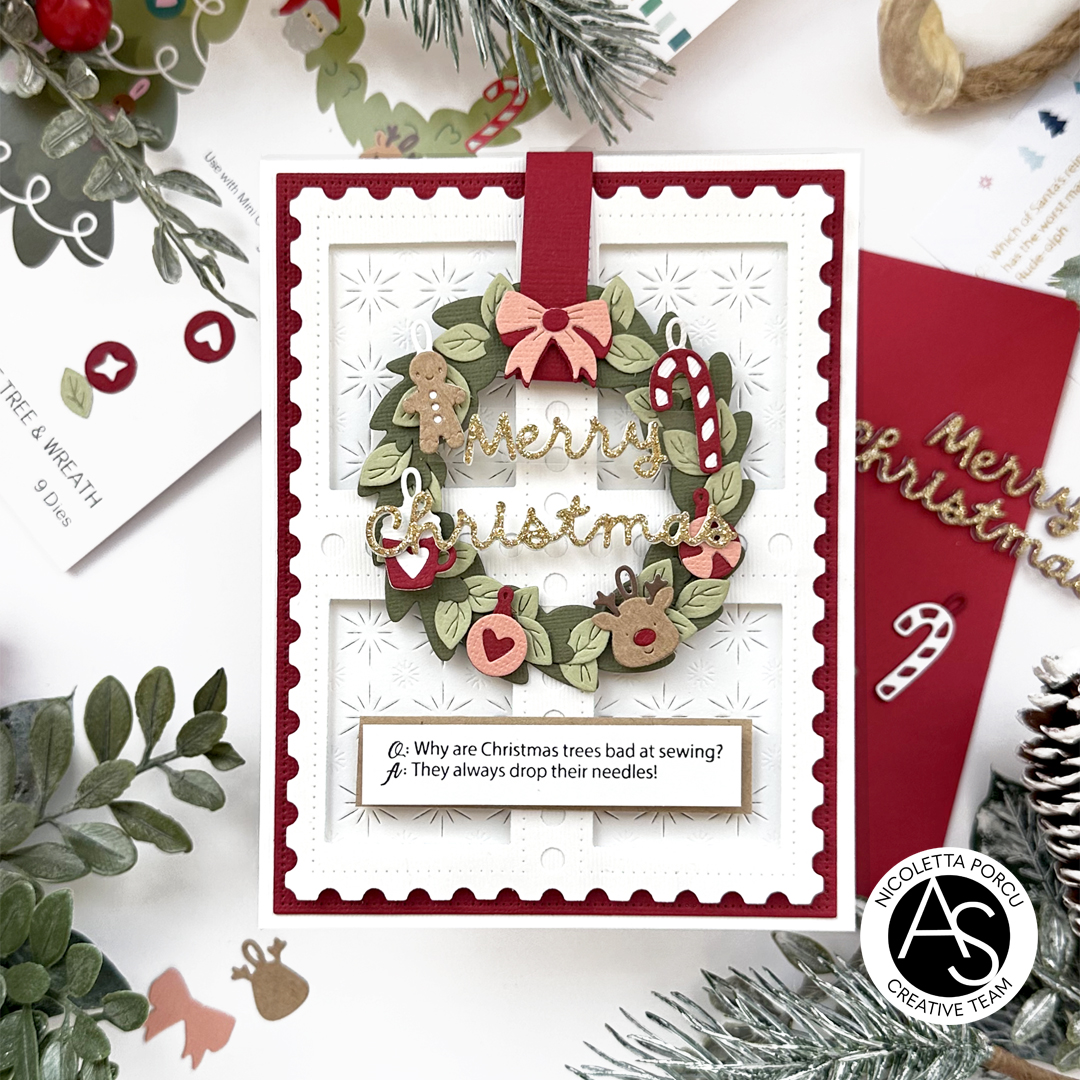
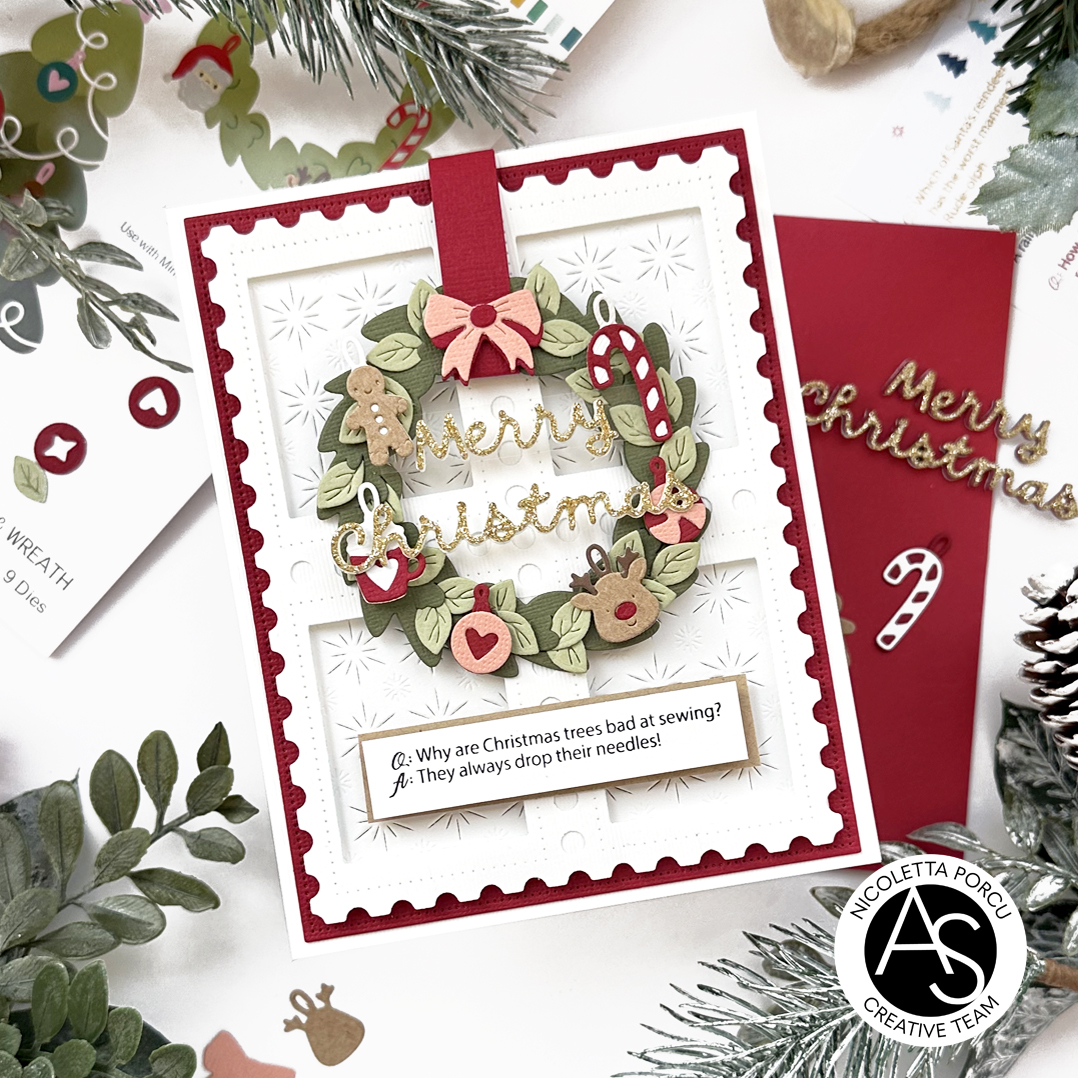
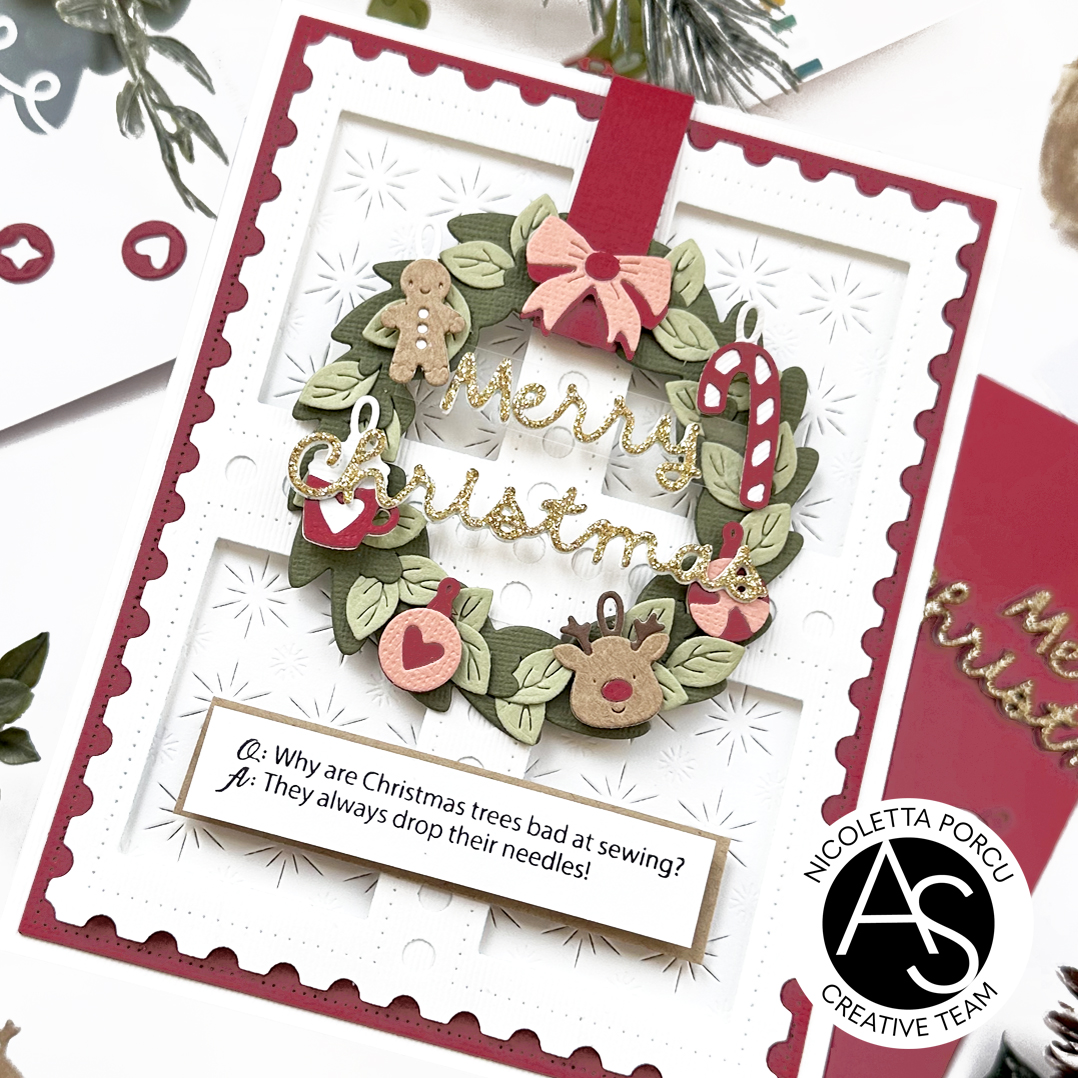
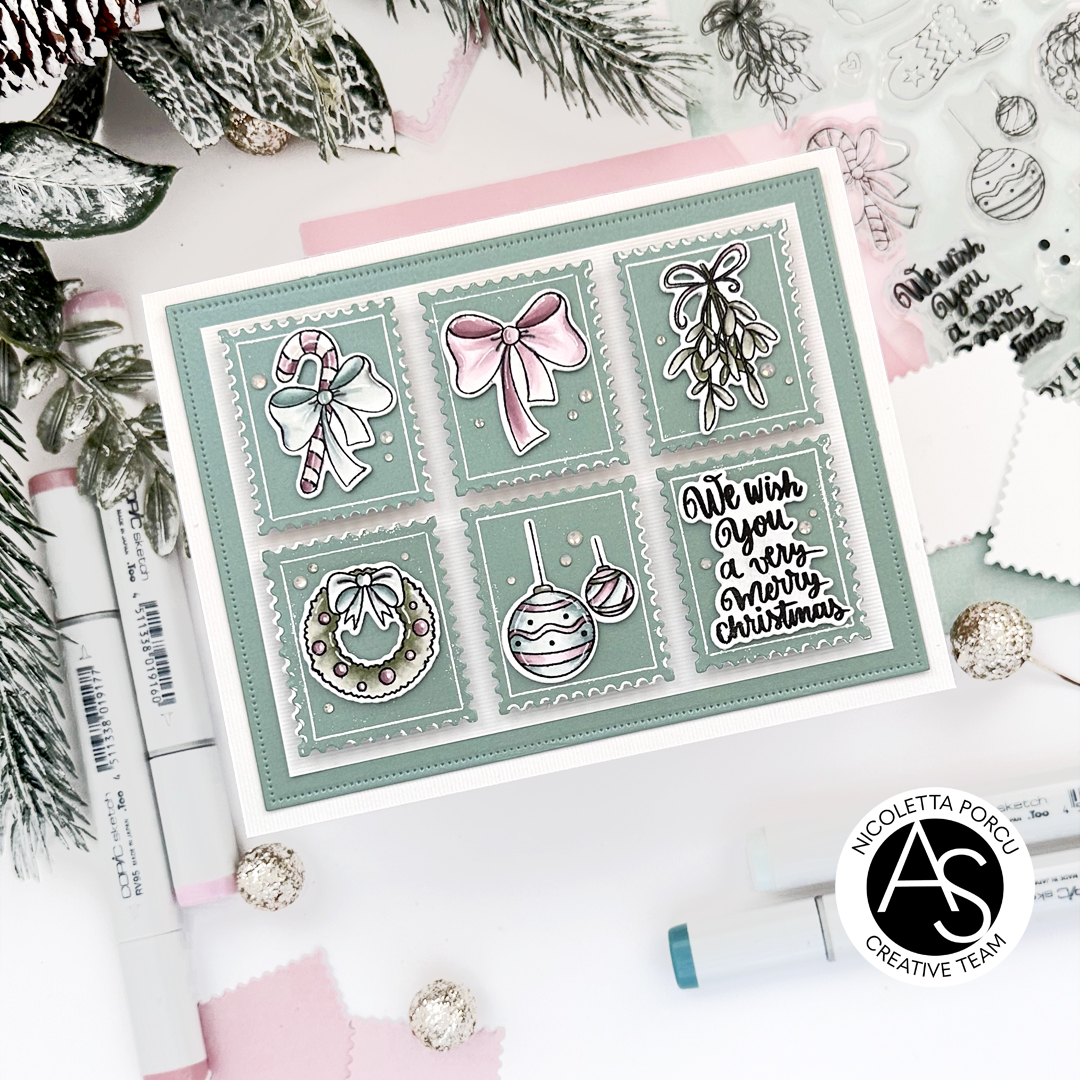
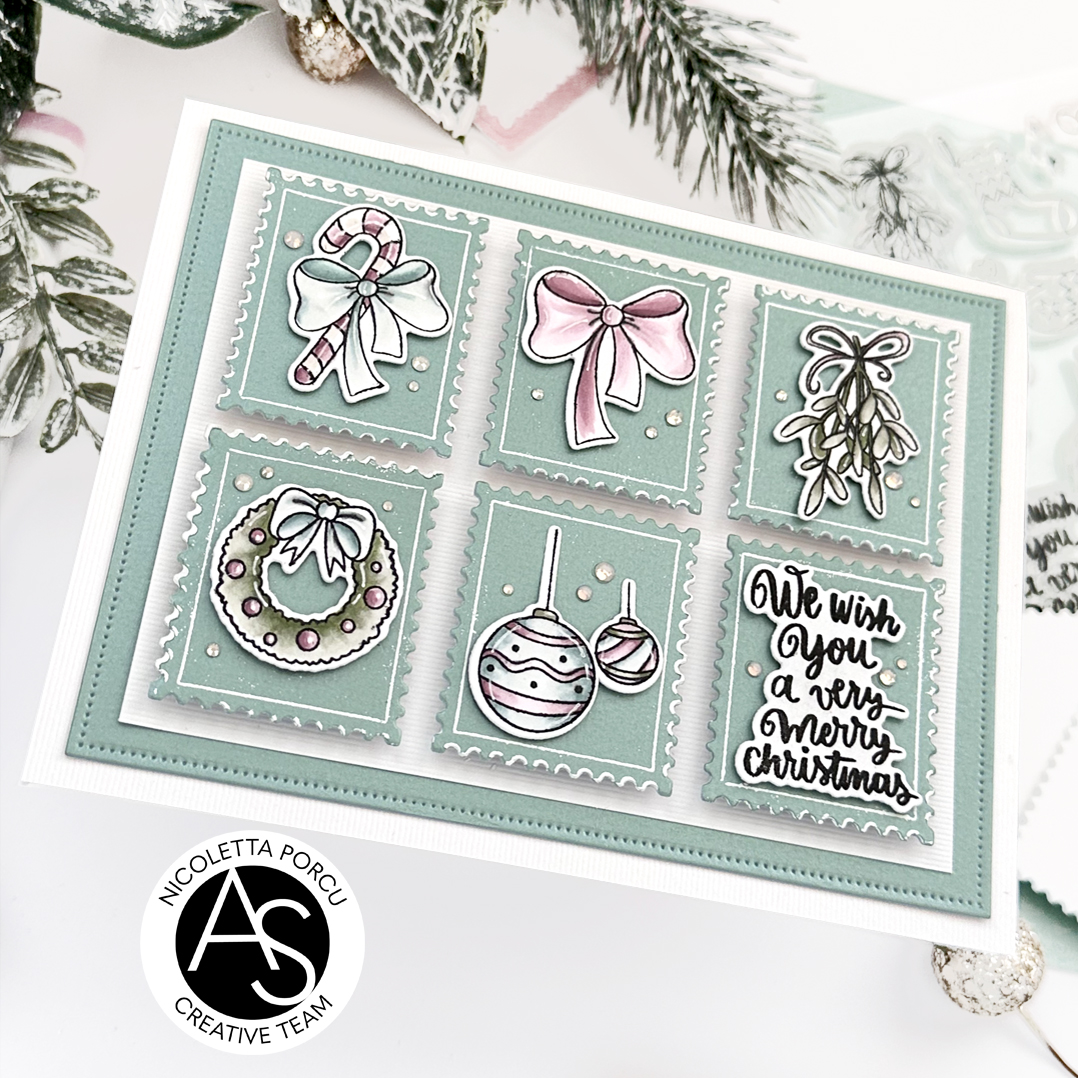
But now let me talk about this card focused on the Mini Ornaments die set and on the Festive Tree & Wreath die set.
Hope you like the result!
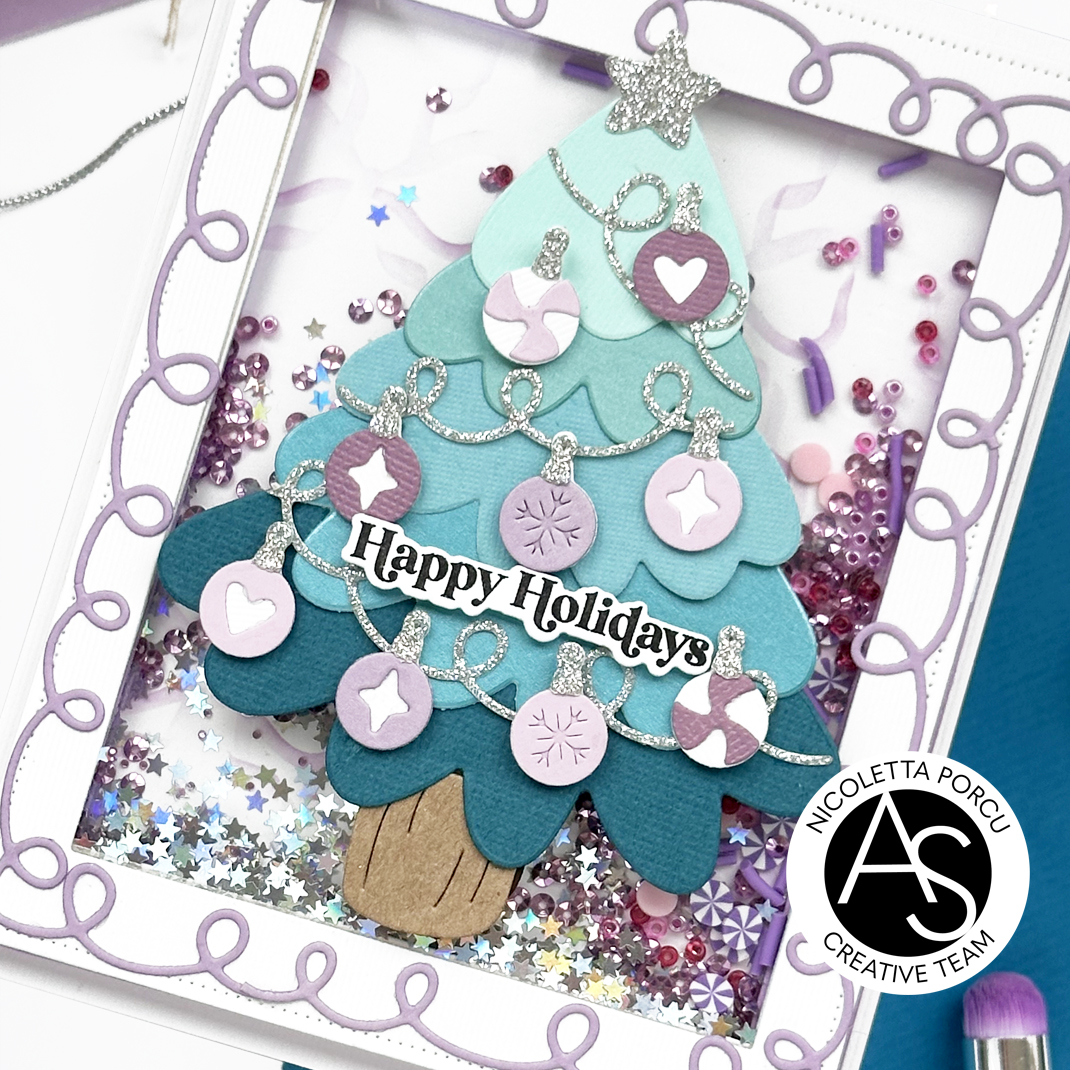
To make my card I started by stencilling the Chic Bow Stencil set on a piece of Neenah paper using the Dusty Concord Distress Oxide Ink. Next up I die cut it into a rectangle using the Nested Scalloped Frames die set.

I put into the frame the shaker embellismnts and I cover it with the stencilled rectangle.

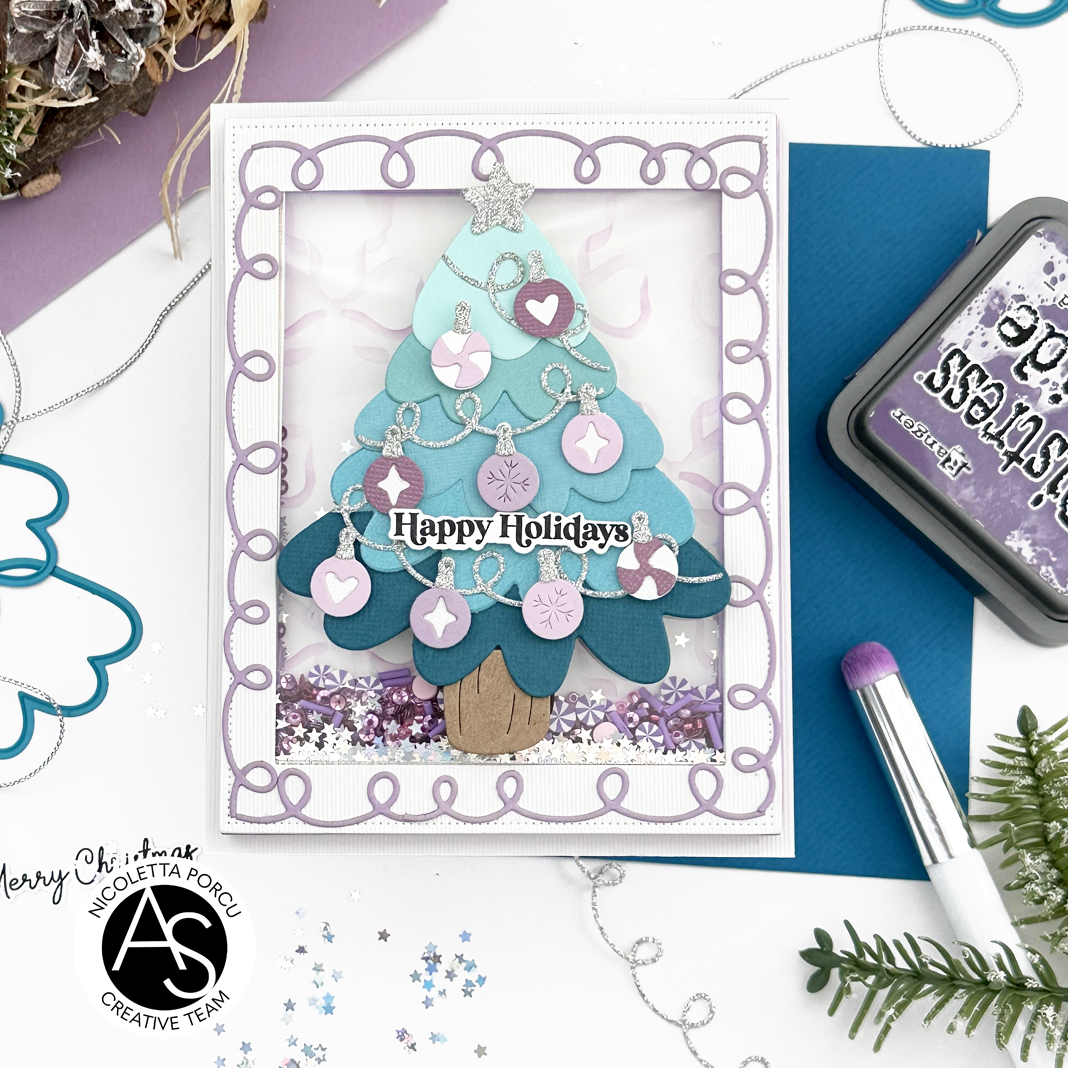
At that point I added the skaker on a white base card and I then I made the Christmas tree using the Festive Tree & Wreath die set, the Mini Ornaments die set, the Golden Turquoise Mix Cardstock 27 pack, the Black & Silver Mix Cardstock 27 pack and others turquoise cardstocks.
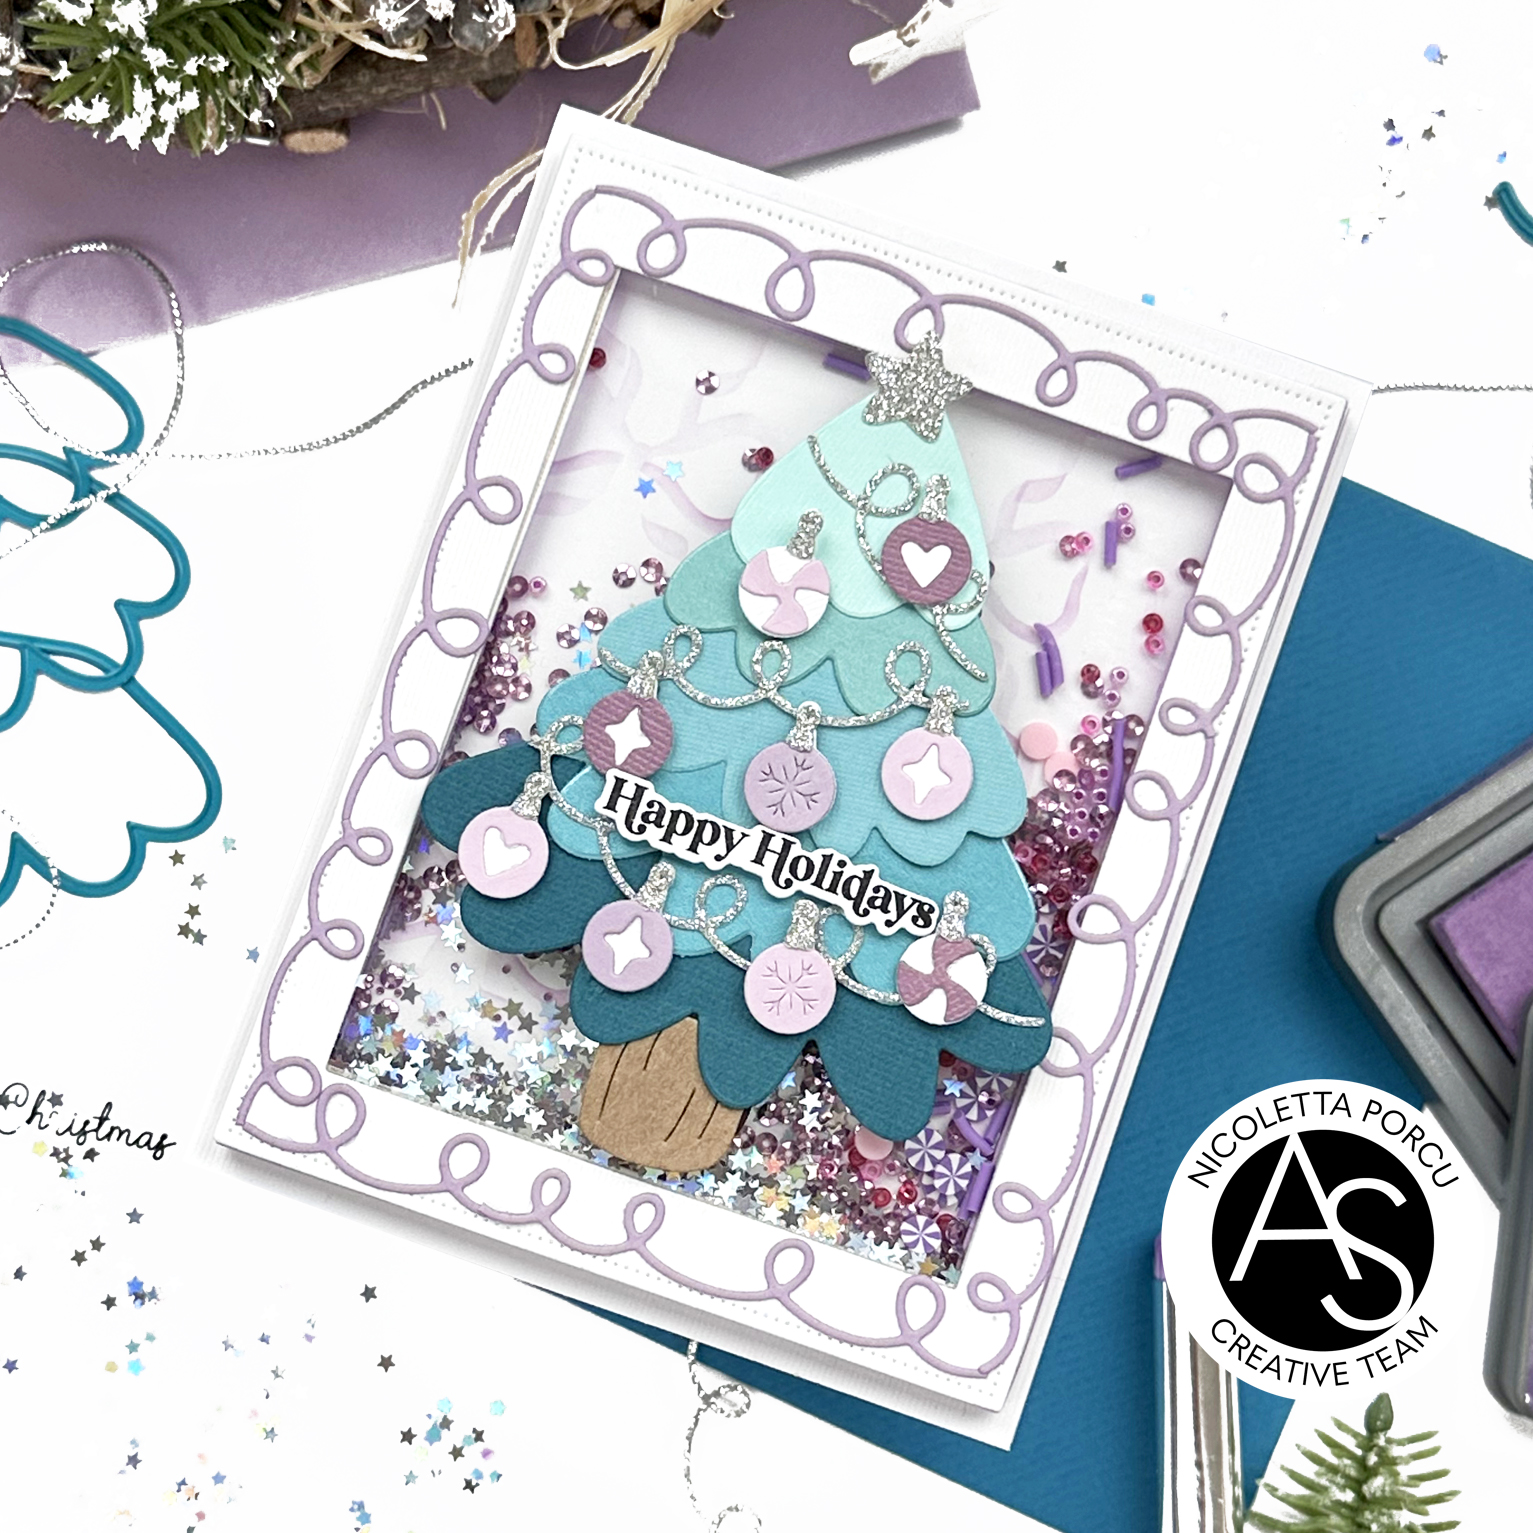
As a last things I added the lilac ribbon die cut all around the frame and the string sentiment in the middle of the Christmas tree; I made it using the Merry Mail stamp set and the coordinate Merry Mail die set.
Below a recap of all products I used:
Nested Scalloped Frames die set
Golden Turquoise Mix Cardstock 27 pack
Black & Silver Mix Cardstock 27 pack
Spellbinders New & Improved Platinum Six Die Cut and Embossing machine
You could find all of them on Alex Syberia Design UK shop and on the US Alex Syberia Design shop for the American friends.