Hi crafty friends!
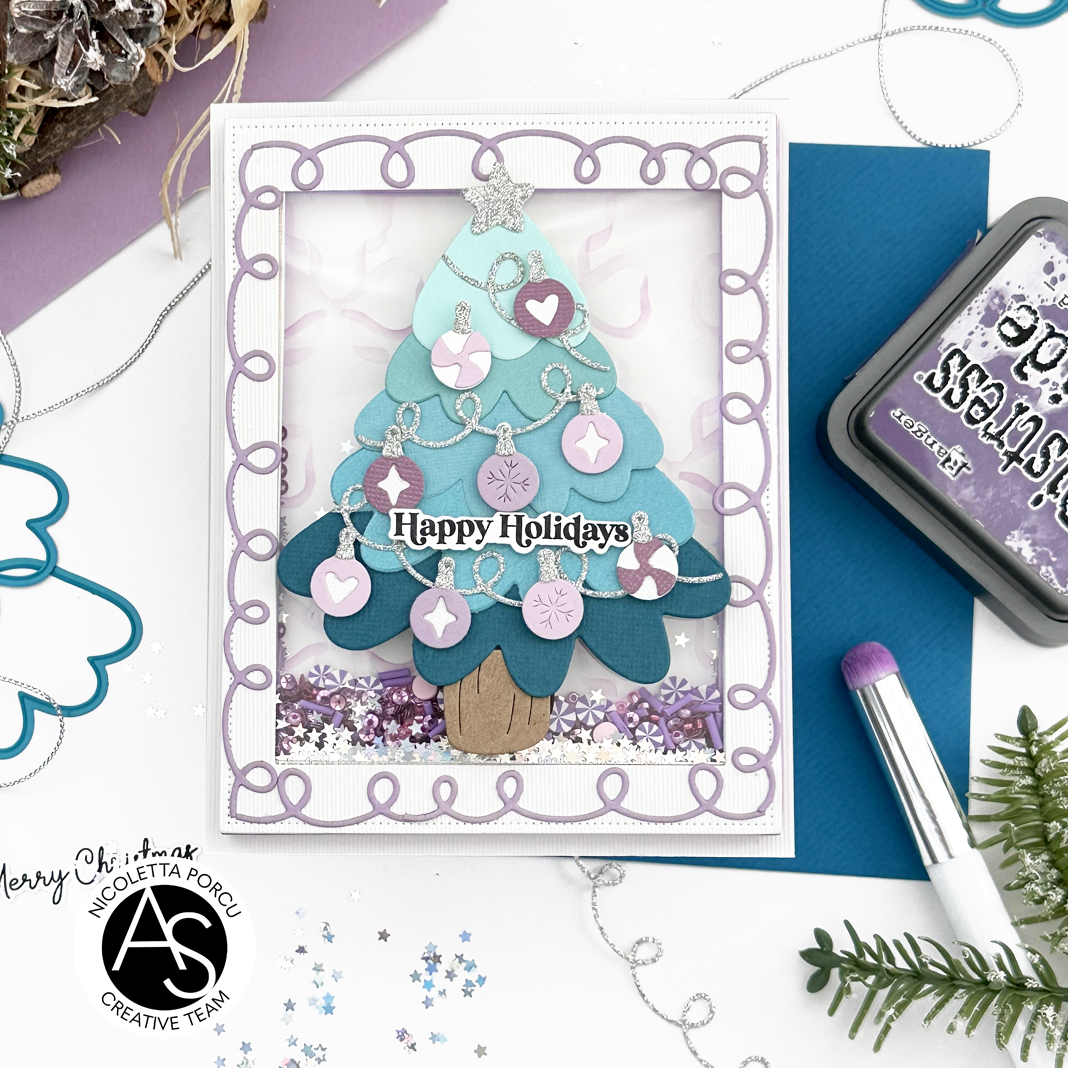
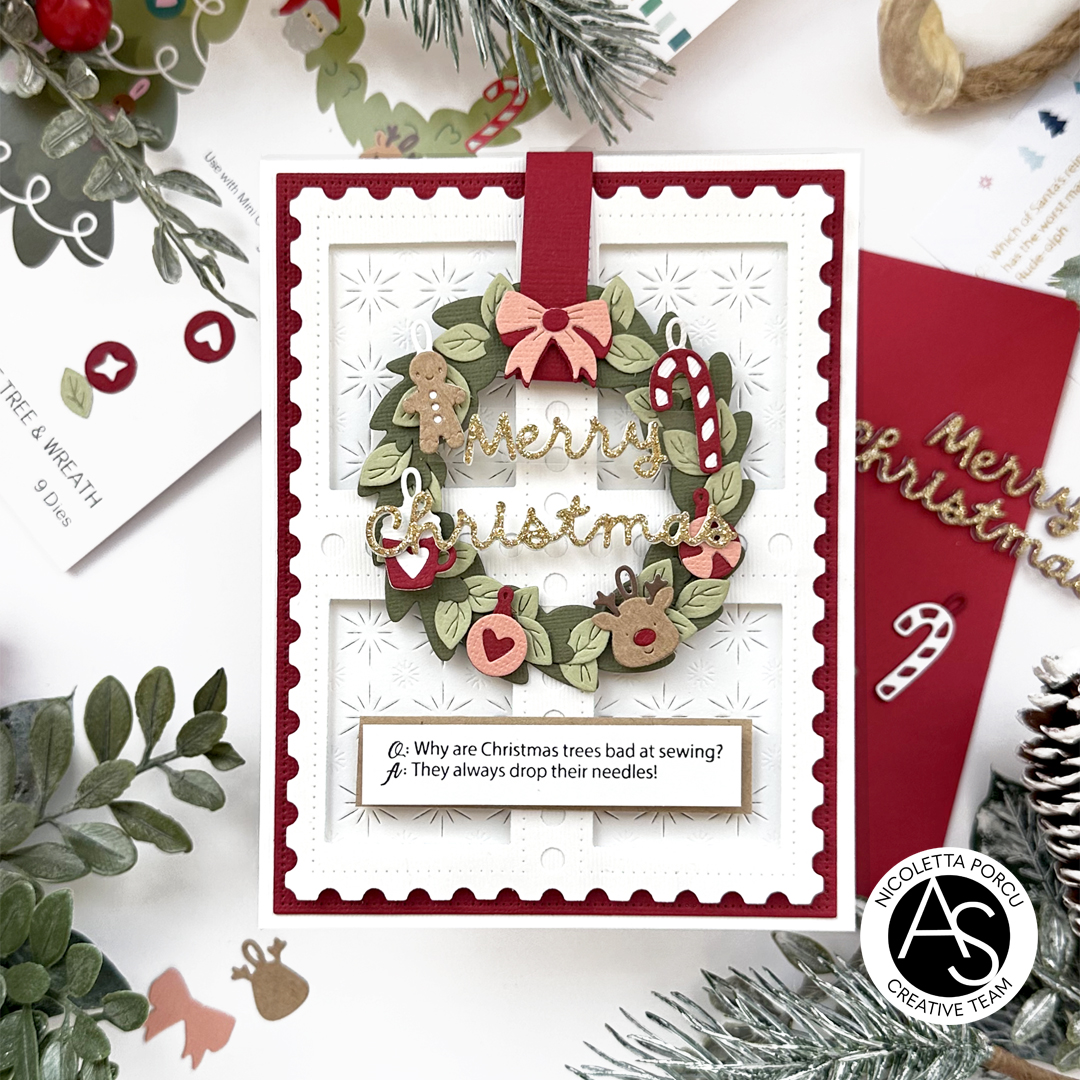
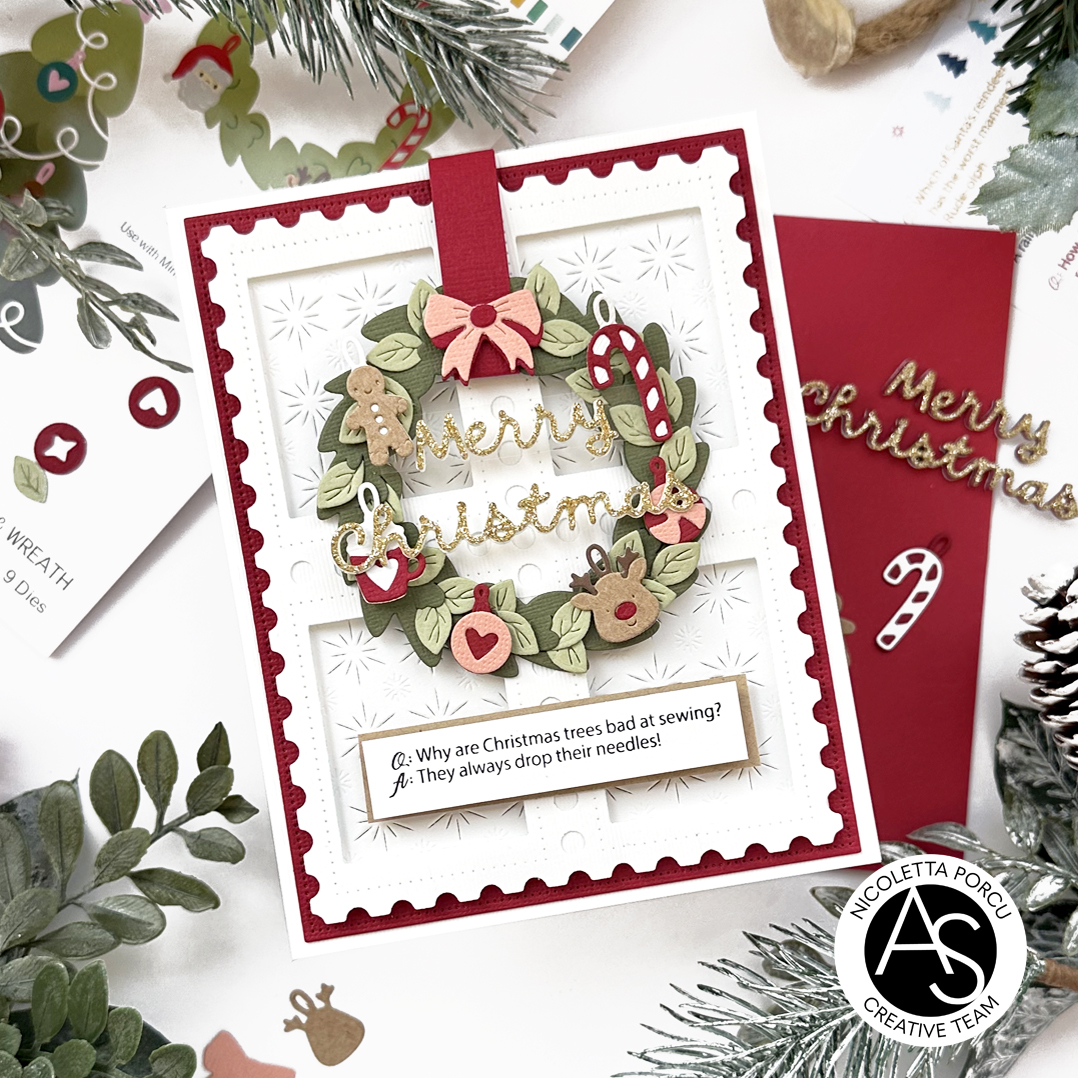
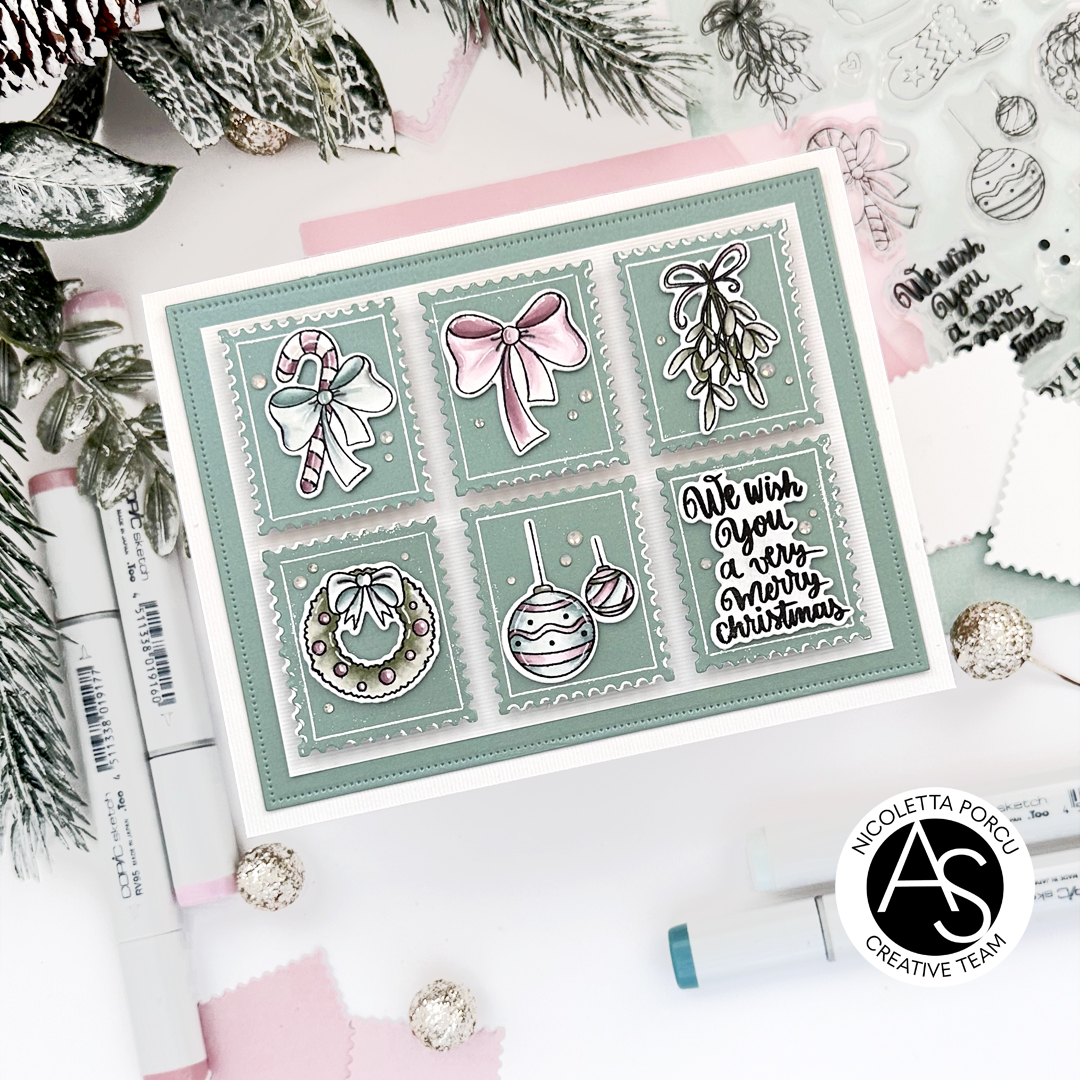
I'm here today sharing with you the card I made using products from the new Hello & Hugs Alex Syberia Designs release.
We are celebrating with a fun Ig hop and if you want the chance to win fab prized pleas visit my Instagram account @nicolettaporcu.design.
Hope you like it!
 To
To
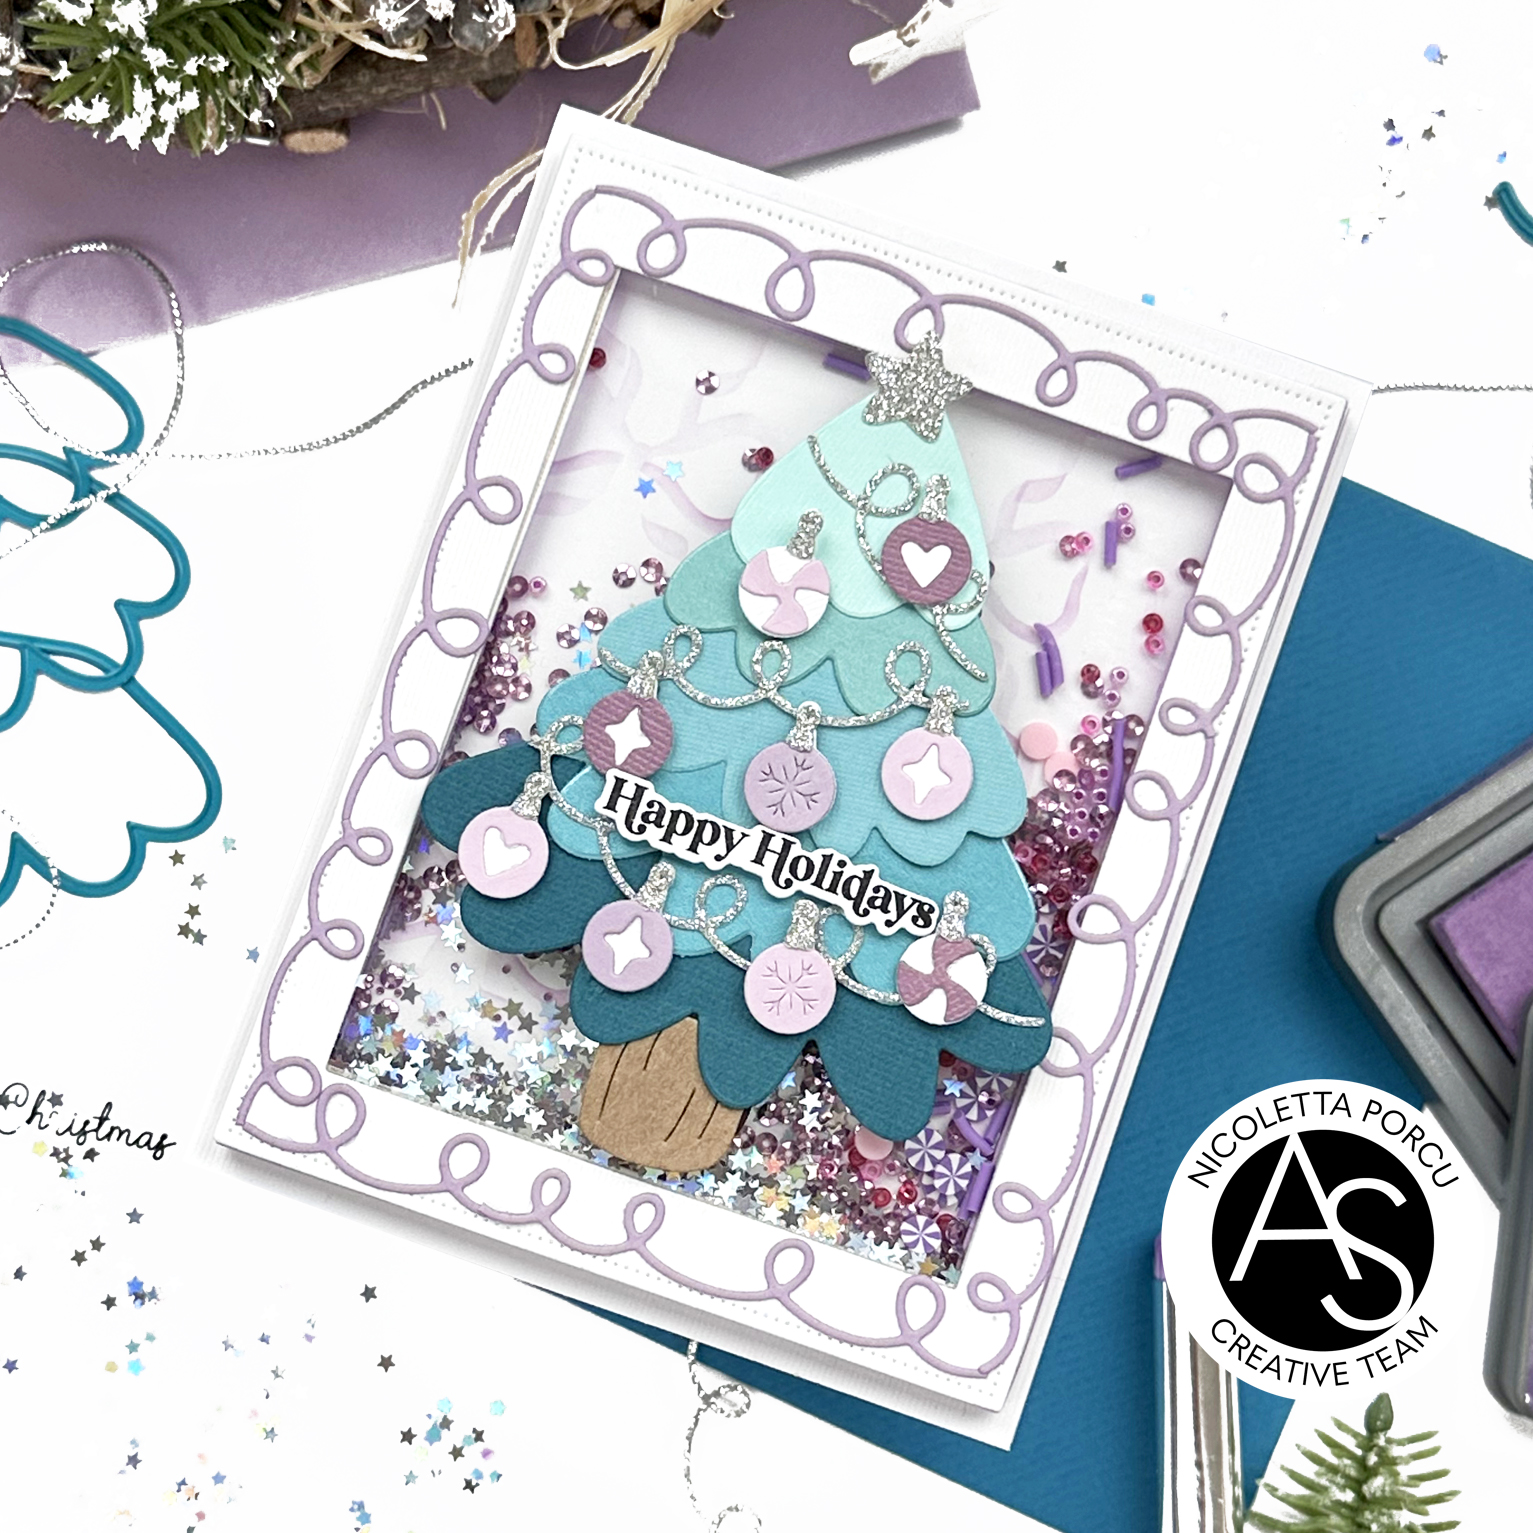
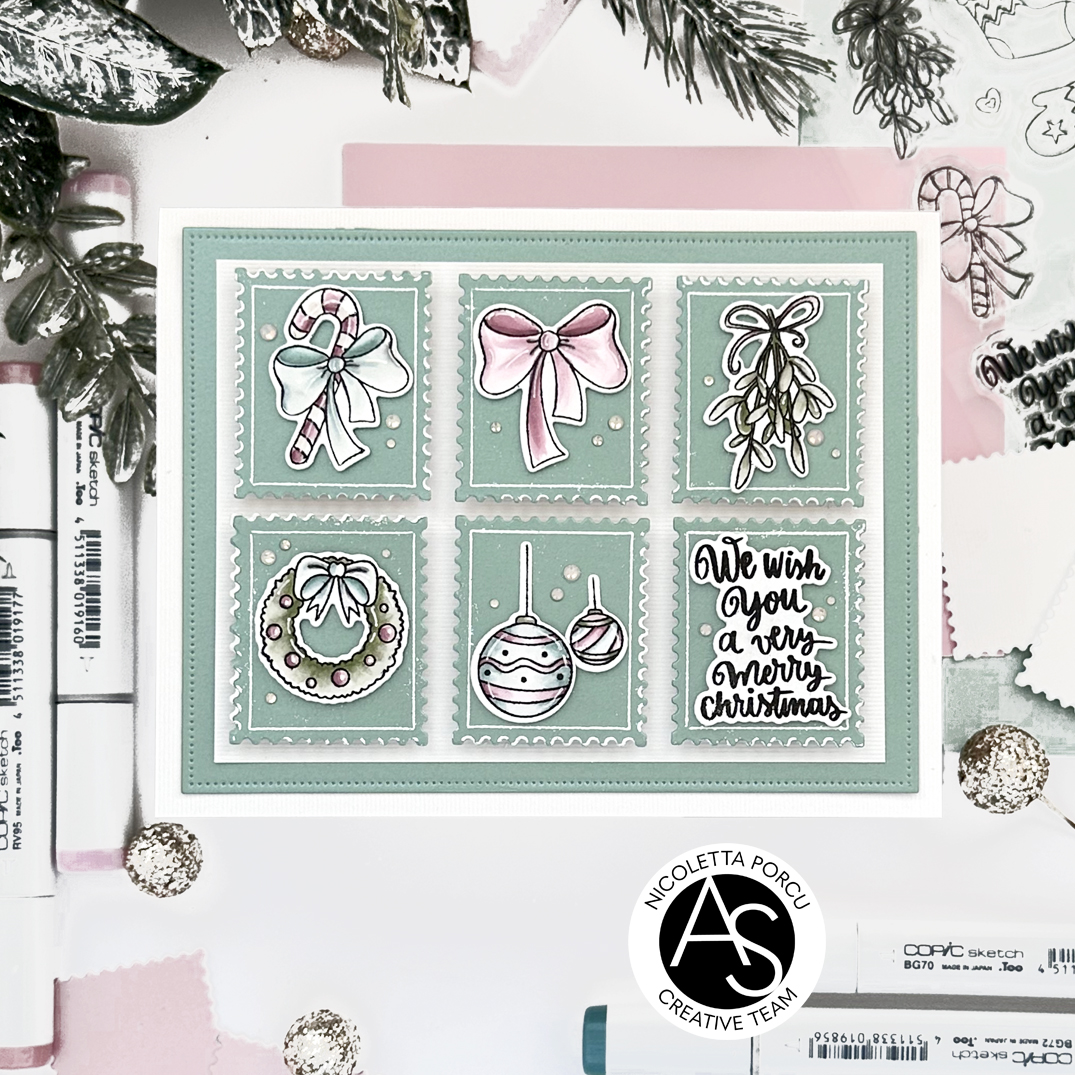
Next up I stamped the flowers from Lovely Day stamp set ; I colored it using my new Old Markers and then I die cut it using the coordinate die
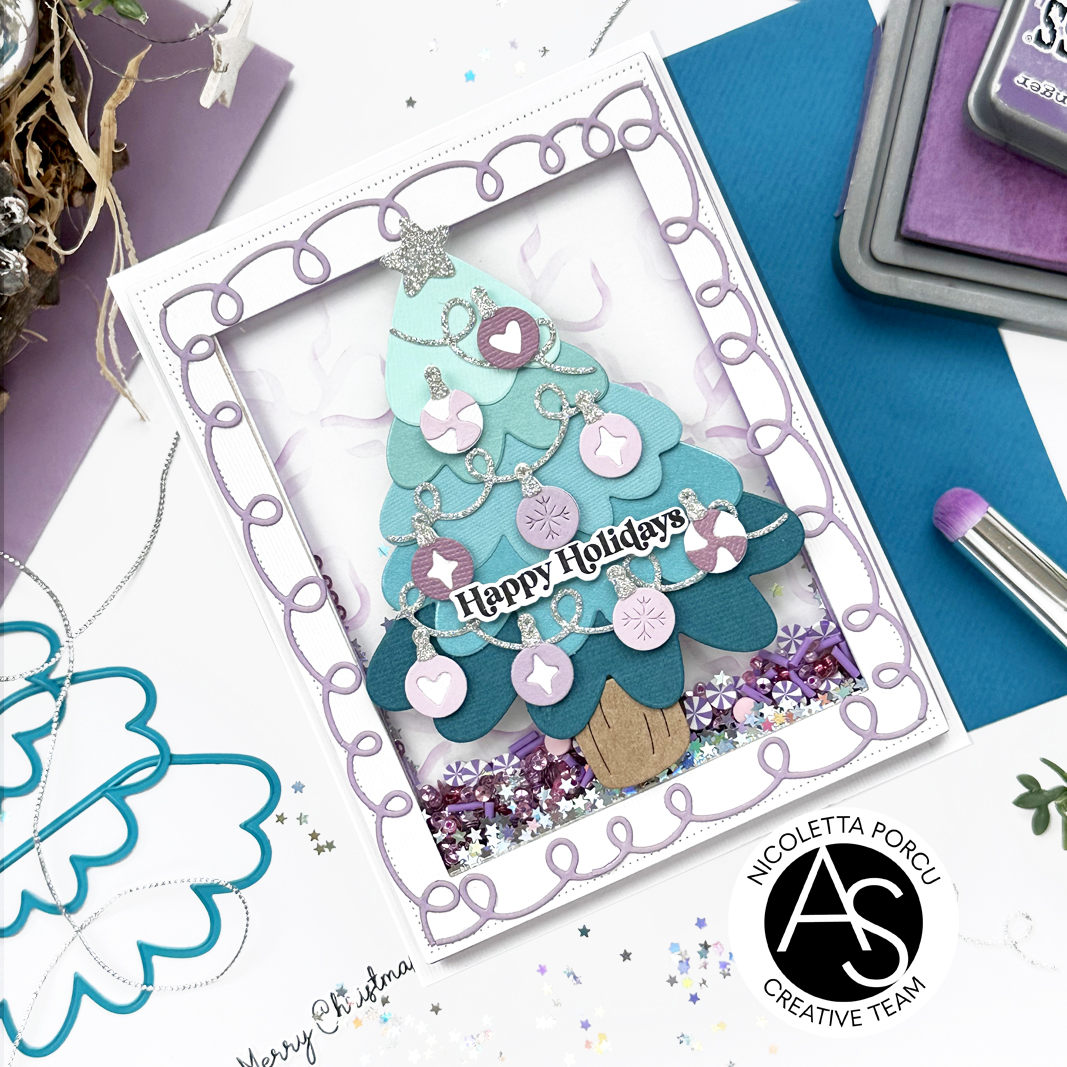
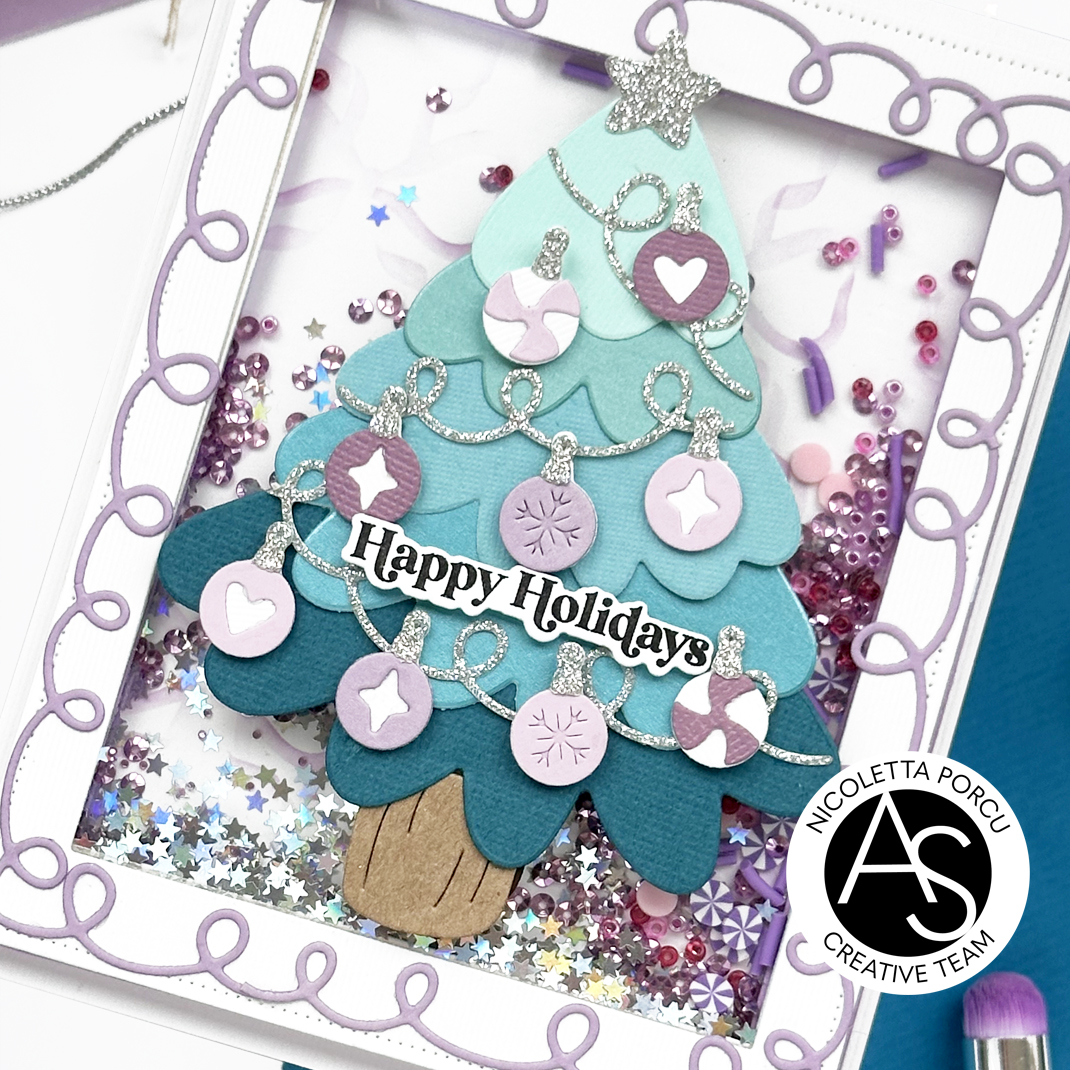
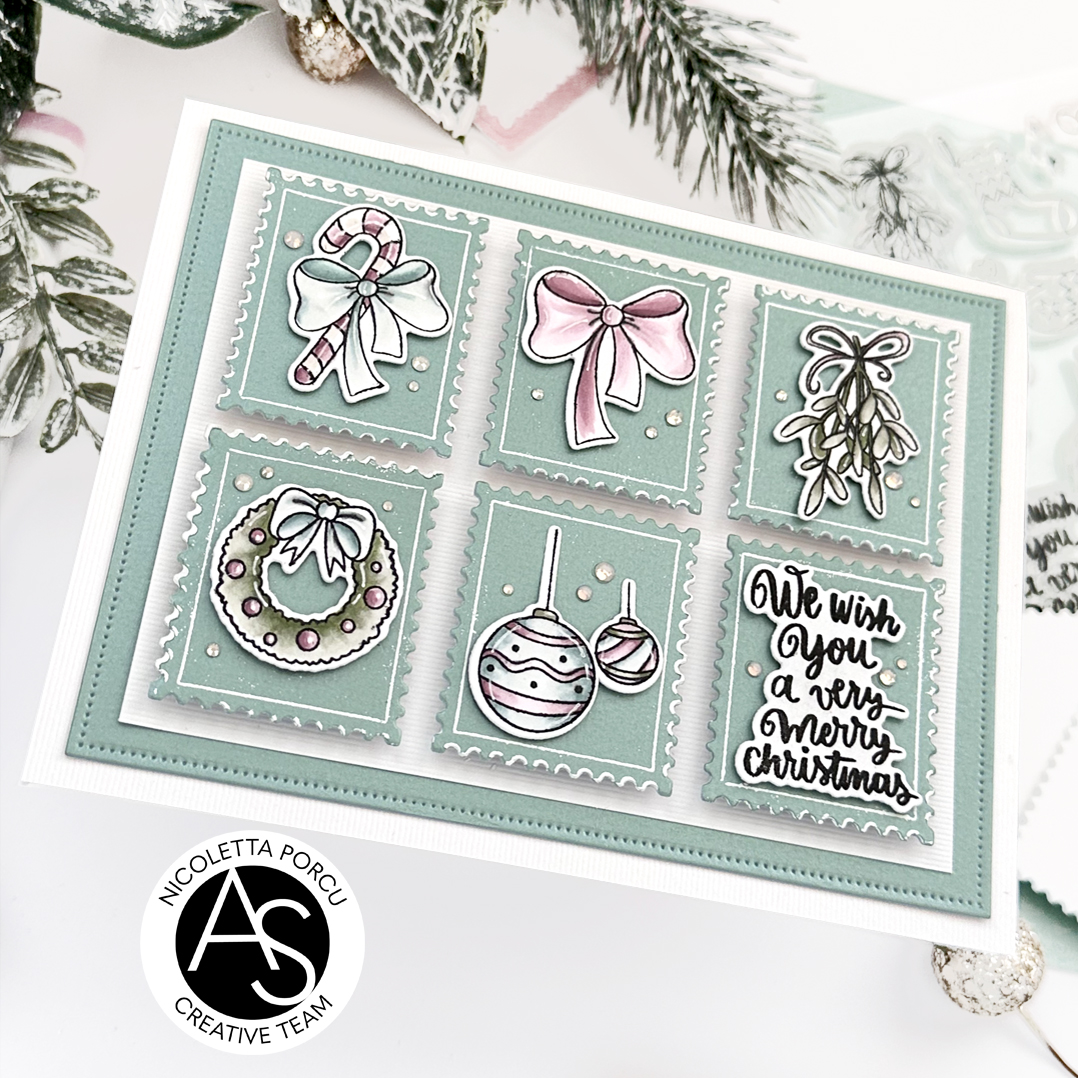
 I glued it in the center of the frame using foam dots to add dimension and then I added the sentiments in the bottom of the flowers.
The Hello one made using the Hello & Hugs Die set and the string one from the Lovely Day stamp and die bundle .
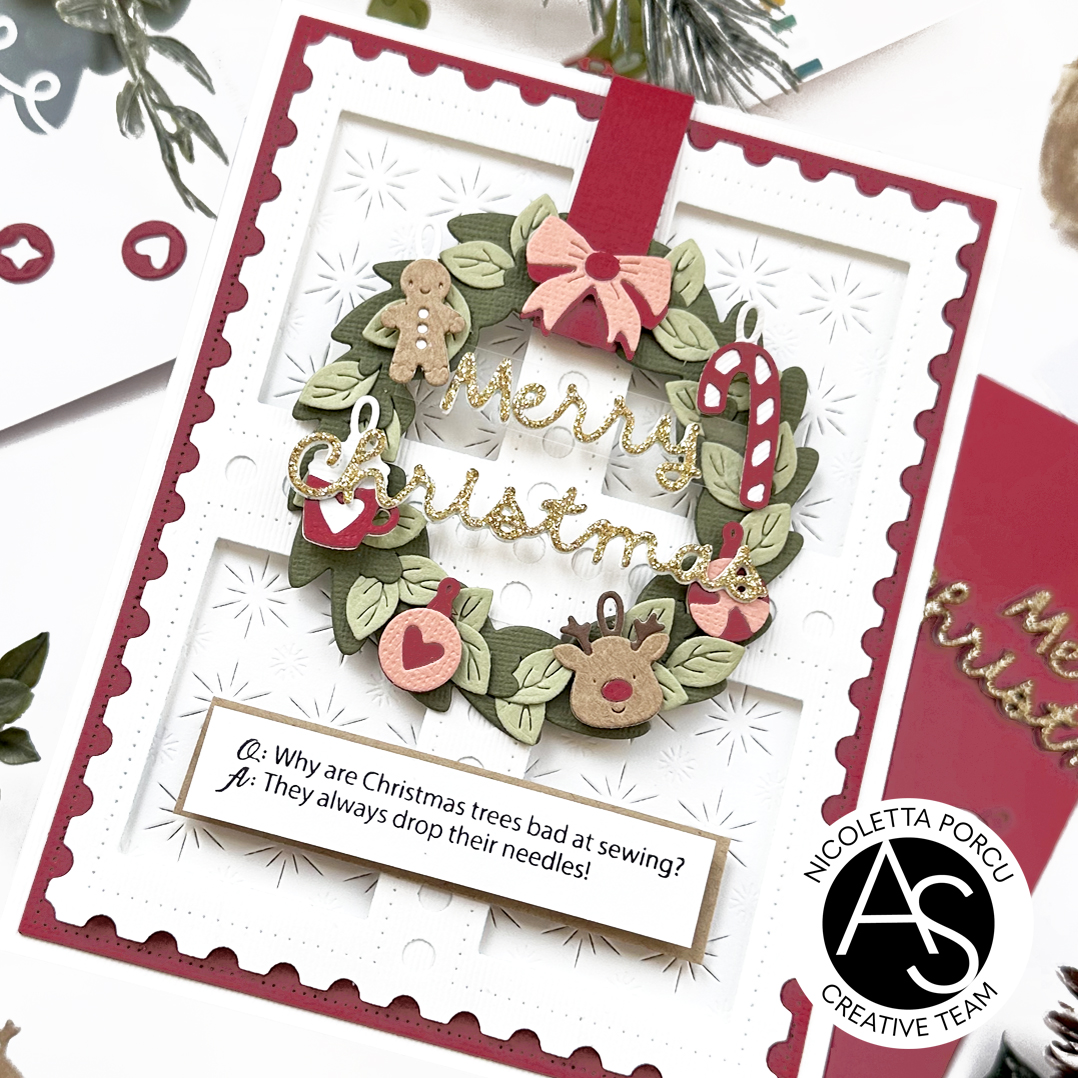
And as a last thing I added some clear rhinestone and that's it.

Below a recap of the products I used:
Delicate Frame die & Friend die set
Love & Hugs Full release Bundle
Lovely Day stamp and die bundle
Spellbinders New & Improved Platinum Six Die Cut and Embossing machine

You could find all of them on Alex Syberia Design UK shop and on the US Alex Syberia Design shop for the American friends.