martedì 24 giugno 2025

Grateful For You Always

Hi crafty friends!

Today I have  to share a new card with you featuring the Alex Syberia Designs products.

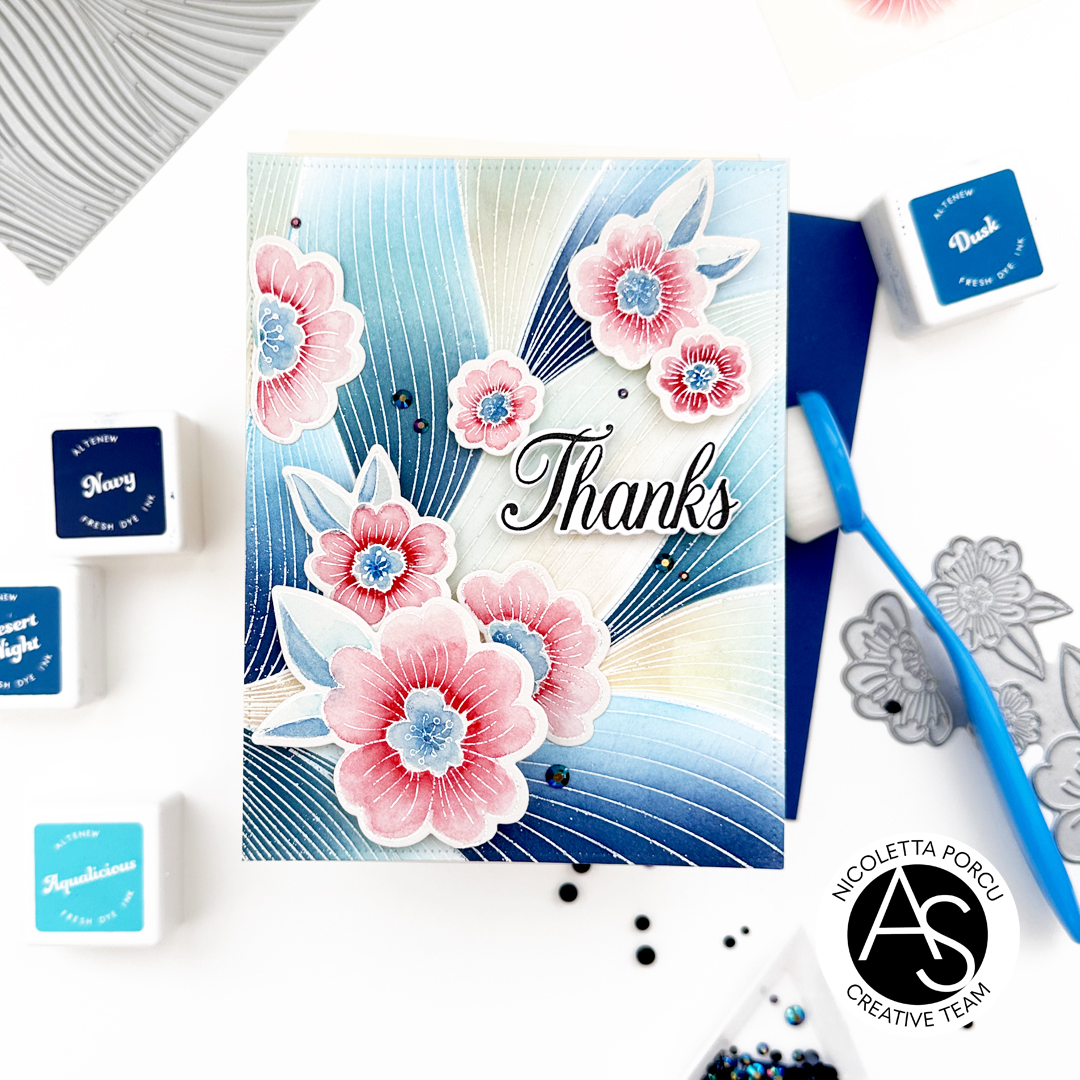
To make my card I started by die cutting  all  the elements I needed!

I  specifically used the Cheerful Meadow Die set for butterflies and flowers and  Andalusia Wildflowers die set for the greenery.


I die cut the butterflies  and flowers in white and I colored them using Copic markers and Distress Oxide inks. I assembled them and next up I die cut the greenery.

I continued by die cutting a salmon pink rectangle using the  Good Day Quilted Rectangle die set and by gluing it over an A2 white base card adding a heavy cardstock rectangle between them to add dimension..

At that point I arranged the greenery and the flowers on the card  and next I glued them on it. To be sure everything is glued on the right position  using the Press'n seal to pick up the die cuts and gluing them.

Next up I added the butterflies using foam tape to add dimension and then the hot foiled sentiment I made using the Classic Sentiments Press Plate and die set.

As a last thing I added some gold gems and that's it!

I remember you  all products are available on the alexsyberiadesigns.com  store for US  and  on the alexsyberiadesigns.co.uk   for rest of the world. stores.

Thank you for stopping by!

Ciao Ciao

martedì 17 giugno 2025

Japanese Blossoms

Hi crafty friends!

Today. here I am,  to share a new card with you!

To make my card I started by  using  the Abstract Background Press Plate to emboss in white the image on a piece of Neenah paper and create my background. Then using the coordinate Abstract Background Stencil set I added color to the  background using various blue-green and dark Bkue of  Dye Fresh Inks by Altenew,

I die cut the background into an A2 rectangle using the largest die of the Nested Scalloped Frames die set and I glued it over a white A2 base card,


Next up I stamped the blossom from the Blossoms & Sentiments BetterPress Plate & Die Set , on a watercolour paper,  I watercolour them and  die cut them using the coordinate dies and I nicely arrange and adhered them on the card using foam tape .

I then stamped the Thanks sentiment from the Tulips in Bloom stamp set ,  I die cut it using the coordinate dies. and I added to the card using foam tape to add dimension.

Lastly I added some rhinestones and that's it!

I remember you  all products are available on the alexsyberiadesigns.com  store for US  and  on the alexsyberiadesigns.co.uk   for rest of the world. stores.

Thank you for stopping by!

Ciao Ciao


martedì 10 giugno 2025

Spring Tulips To Celebrate

Hi crafty friends,

I'm back today with a new card to share with you,

For this card I chose to featuring the Spring Tulips Layering Stencil set from the Spring release mixing them with some products from the previous releases, Hope you like it!

To make my card I started by die cutting the a floral background using the Floral Splendor Cover Die and gluing it over a red blended rectangle I die cut using the Nested Scalloped Frames die set and then over a white base card.

I continued by stencilling the Spring Tulips using Distress inks and Distress Oxide ink. As all layer was completed I refined the tulips using Prismacolor pencils and some white gel pen lines. I die cut them  by hand and I glued the image over the card.


As a last thing I added the "Celebrate" sentiment that's part of the Classic Sentiment Press Plate & die set.


And that's it for today too!

Thank you for stopping by and reading me!

Ciao Ciao


martedì 3 giugno 2025

So Glad We'Re Friends

Hi crafty friends!

I'm here today sharing with you a colourful card featuringthe Spring in Kyoto collection by Spellbinders designed by Alex Syberia Designs. ! Hope you like it

To make my card I started by  using  the Parasol Better Press plate on a Neenah paper and hot foiling it in gold using the New and Improved Glimmer Hot Foil System by Spellbinders.

Next up I colored the hot foiled design using the coordinate  stencil set included in  the Spring in Kyoto BetterPress & Stencil Bundle, and  the Altenew Fresh Dye Inks.


I continued by gluing the Parasols image on a white base card and as a last thing I added the sentiment.


The XOXO word is from the LOVE & XOXO die set; I die cut in 5 layers, 4 in white and the top one in metallic gold. I assembled them and I glued the letters over the card.  The string sentiment is from the Tulips In Bloom stamp set and coordinate dies.

And that's it for today too!

Hope you it!

Thank you for stopping by

Ciao ciao

linktwin

Related Posts with Thumbnails

ShareThis