giovedì 25 luglio 2024

Merry Christma to you

Hi crafty friends!

Here I am to share with you a new inpiration card for the theme "Christmas in July!

Despite the very hot weather here I get the Christmas atmosphere  to create this very clean and simple card! Actually it's never to early to start  thinking about Christmas, don't you think?


Now let me share some info about the making process.

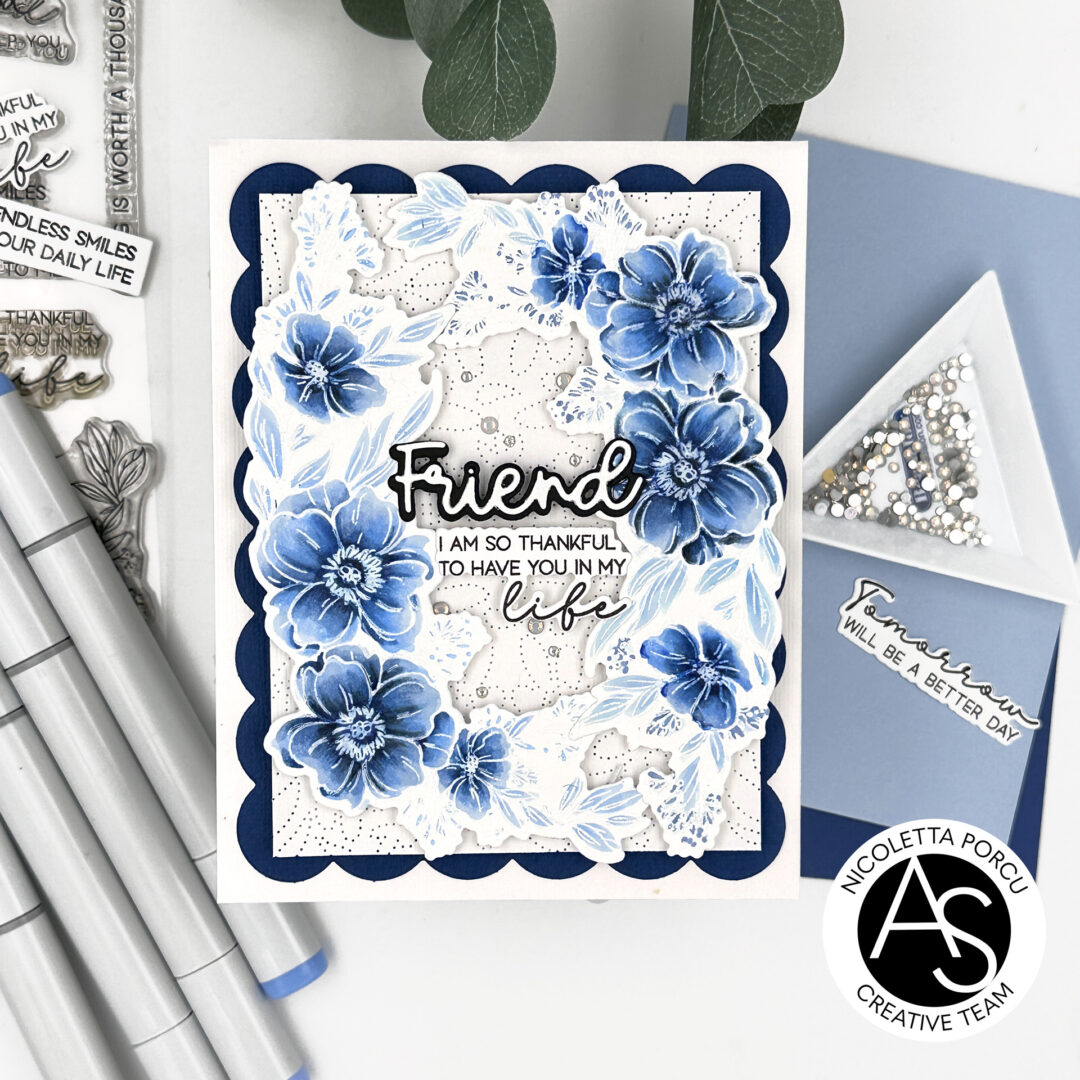
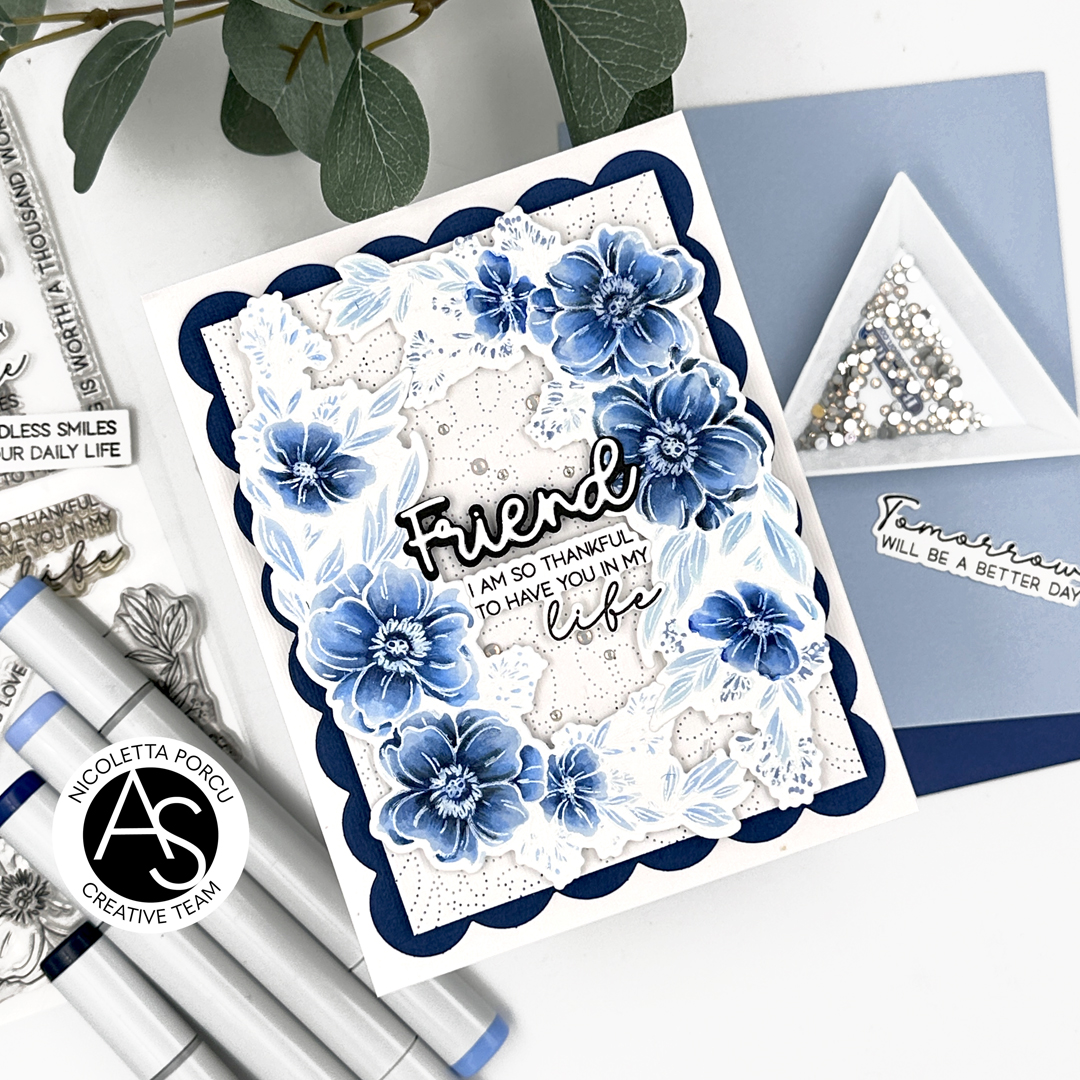
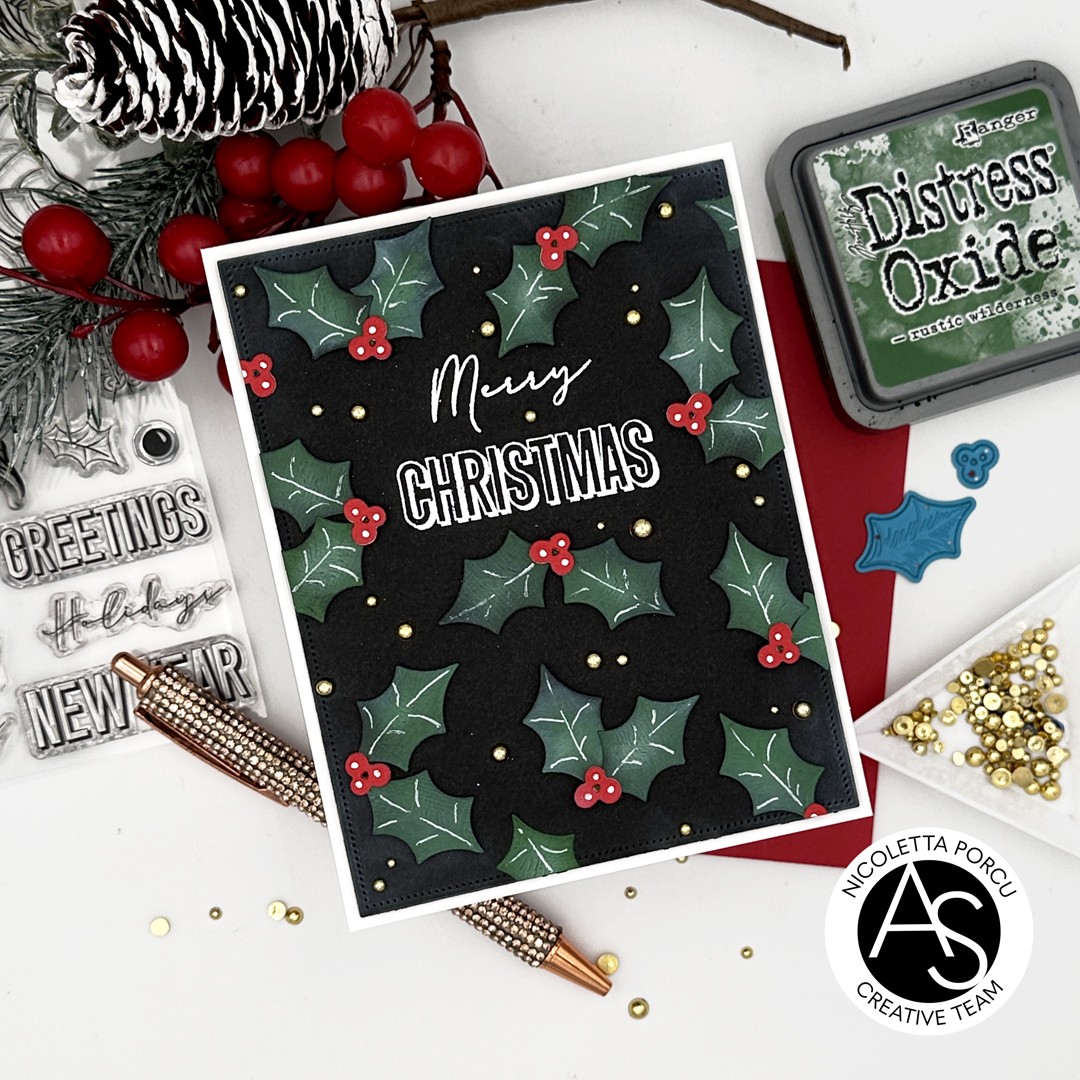
I started by die cutting the black background panel using the Nested Scalloped Frames die set  and stamping and embossing in white the "Merry Christmas" sentiment from the Festive Poinsettia stamp set ,  on it!

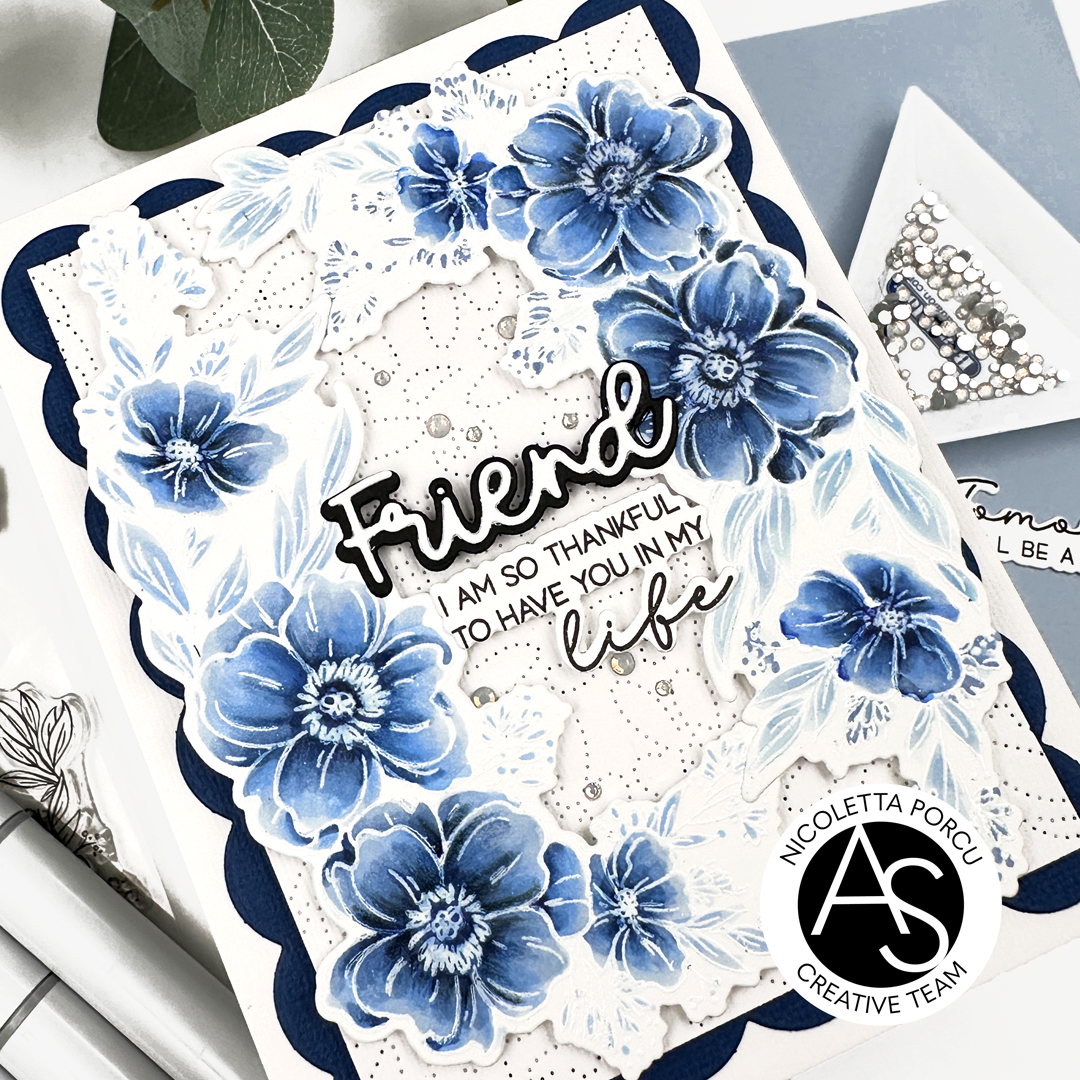
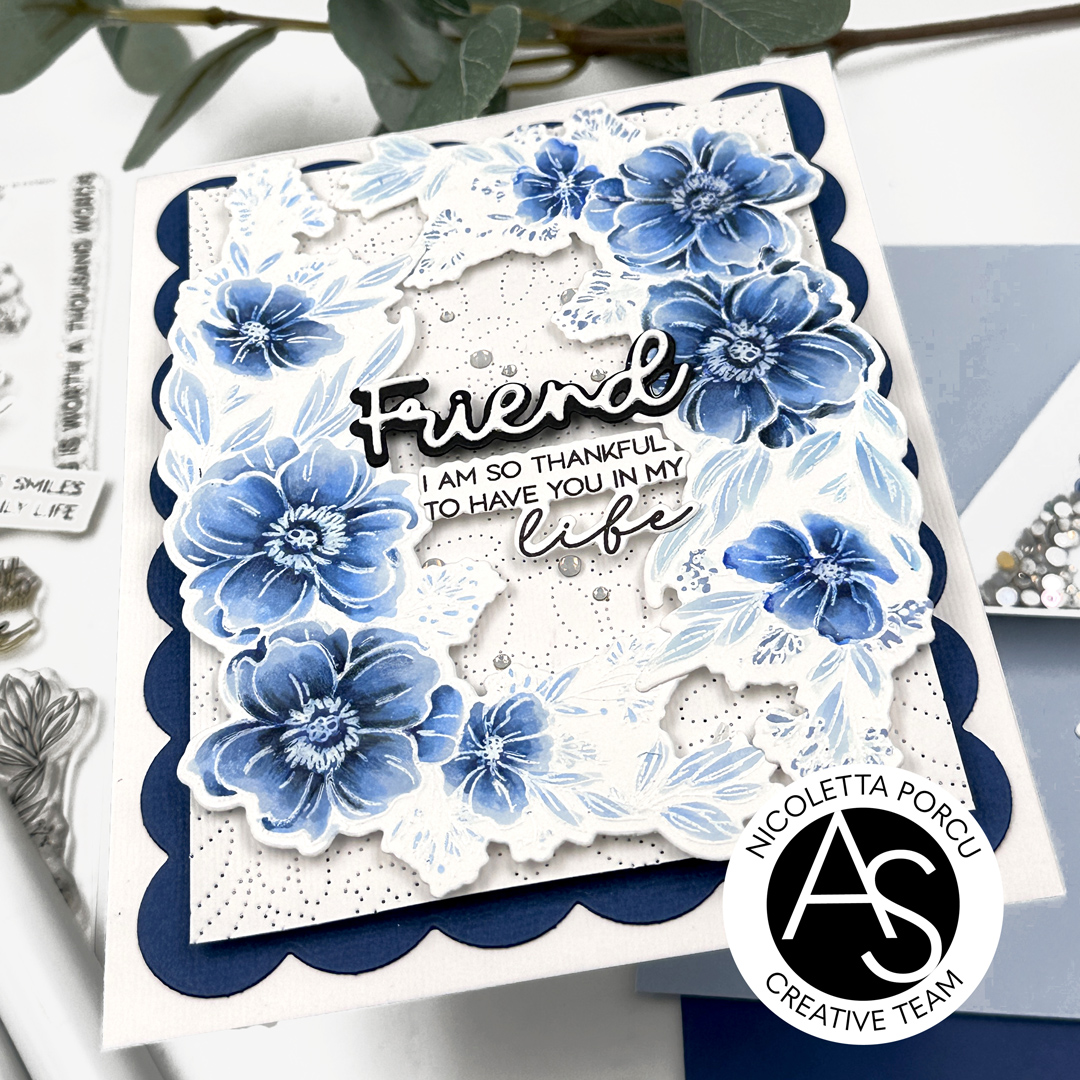
Next up I die cut the Holly leaves and berries using dies from the Jingle Bell Joy die set, and  the Winter Foliage die set,I blended the leaves using a white ink on the centre of every leave and green and black Distress Oxide ink in the edges; Then I added some white line in every leaves using a white gel pen.

I continued by gluing all the leaves ant berries on the black panel using thin foam pads to add a little bit of dimension and I cut out the protruding  parts with scissor.

At this point I glued the panel on a white card base and as a last touch I added many glold rhinestones.


And that's that !

Hope you like it!

Thank you for stopping by!

Ciao Ciao

venerdì 12 luglio 2024

Brilliant Merry Christmas

Hi crafty friends !
Here today sharing with you the inspiration card I made for  Alex Siberia Designs  Instagram hop  with the “Christmas in July” theme!

You could win fabulous prizes so don’t miss this chance and join with us visiting our Instagram accounts @nicolettaporcu.design  and @alexsyberiadesigns !
Here my card!


I chose to use non conventional holiday colors as I love to use pink for my Christmas paper crafts. Hope you like it too.

To make my card I started by hot foiling in gold the Brilliant Burst Hot Foil Cover die on a light pink cardstock.

I really love the soft pink and cold contrast!  I glued that background panel on a white card base.


Next up I used the Large Merry Christmas die to die cut  the large sentiment in metallic gold cardstock  outlined in white; I glued it on the card and as a last thing I added the string sentiment from discontinued Angel Bells set.


That’s that ! A very clean , simple and fast card!  Hope you  could appreciate it !
I can’t wait to se all of you joining  us at our Ig hop!
Thank you for stopping by!

Ciao ciao


mercoledì 3 luglio 2024

Blue Flowers for a friend

Hi crafty friends!

I'm  back today to share with you another floral card  featuring Alex Syberia Designs products ! this time I chose a  blue monochromatic style  for the Copic coloring ! I'm quite happy how it  turned out and hope you like it too.

Let me say something about the making process. To start I die cut a scalloped blu rectangle using the Nested Scalloped Frames die set and I glued it over a white card base. 


Next up I used the Charming Flora Cover die on a white cardstock And I glued it over the blu scalloped background using adhesive foam tape to add dimension.

I continued by stamping and embossing in white the lovely flowers from the Bouquet of Blessing stamp set. I colored them using blue Copic markers and then I used prismacolor pencil to put the refinishing touches.

I die cut them using the Bouquet of Blessings coordinate dies and I glued on the card using foam pads.

The last thing was the sentiment; I used the Friend die set, to obtain a white sentiment outlined in black, and then I added the sentence which is a part of the Bouquet of Blessing  stamp set.

As a last touches I added some clear rhinestones.

And that's that.

Thank you for stopping by and reading me! Hope this card could inspire you!

See you soon!

Ciao Ciao!

linktwin

Related Posts with Thumbnails

ShareThis