venerdì 21 giugno 2024

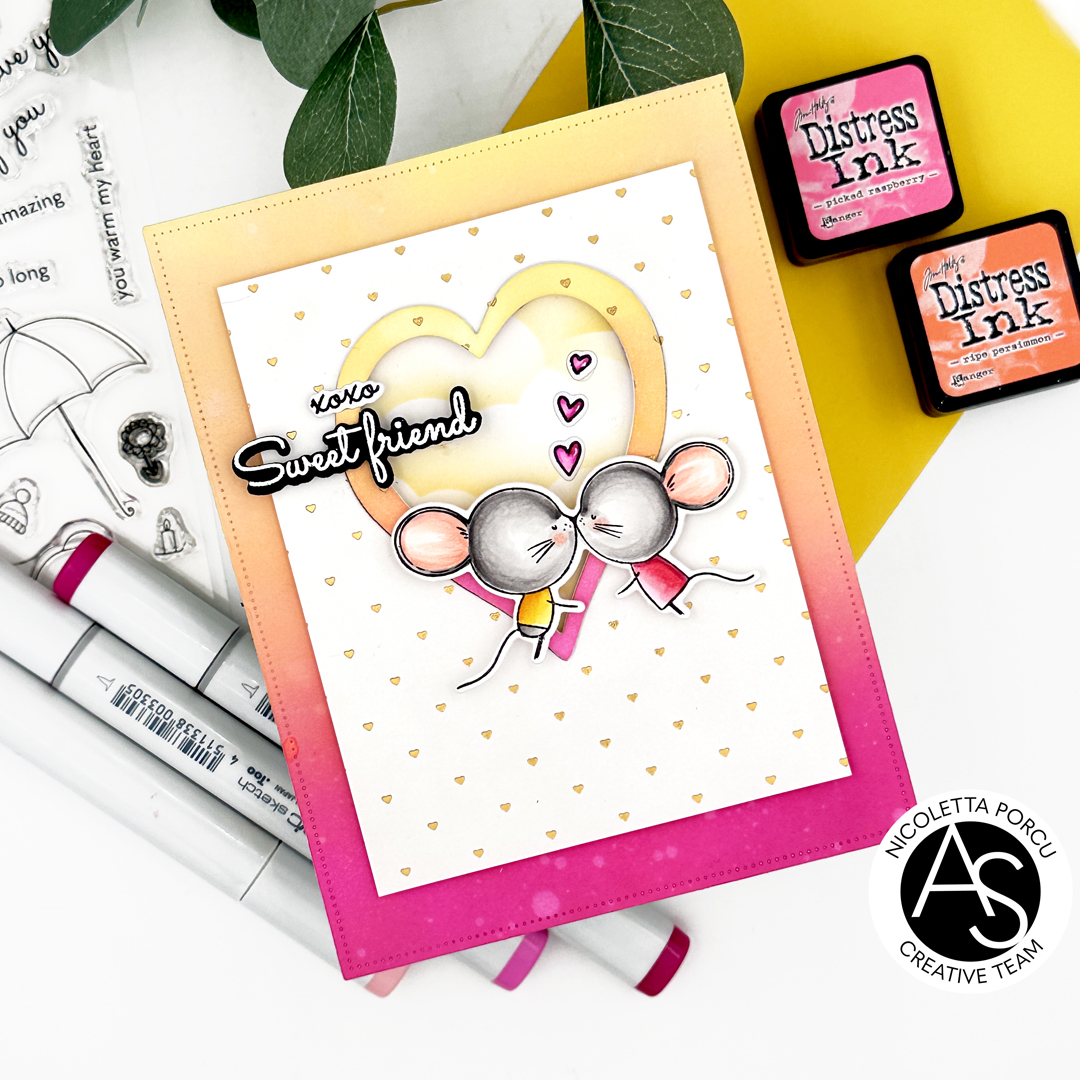
Sweet Friend

Hi crafty friends!
I'm here with a new card featuring some new Alex Syberia Designs products.
Hope you like it!
To make the card I started by preparing the base and background card.
As a first thing I die cut a white rectangle using the Nested Scalloped Frames die set  and I blended it using some Distress inks: Picked Raspberry, Dried Marigold , Ripe Parsimmon and Scattered Straw. After that I spayed some water on the paper!
The result is a very colourful background! I glued it on white card base and then I hot foiled in gold the Tiny Hearts Hot foil plate, I die cut a rectangle and I used the Quirky Hearts die set to cut out a rectangle.
I glued it on the colorful background using foam pads to add dimension and I glued in the heart space a  stencilled yellow clouds paper.
Next up I die cut many  heart shapes using the largest heart die from the Quirky Hearts die set,  I glued them all together putting on the top the one I  previously die cut  from the hot foiled rectangle and blended in the same colors I used for the background; with it I framed my cloudy heart.


At that moment all I needed to do was add the top elements to complete the card.
 
I stamped the lovely mices and the tiny trio harts from the Sweet Friend stamp set, I colored them with Copic markers , die cut them using the coordinate die , and glued them on the card.

 
As a last thing I added the little sentiments  who are a part of the Sweet Friend stamp set and that's that.
What do you think about? Aren't these mice so so cute?
I really love them!
 
Thank you for stopping by!
Ciao ciao

giovedì 13 giugno 2024

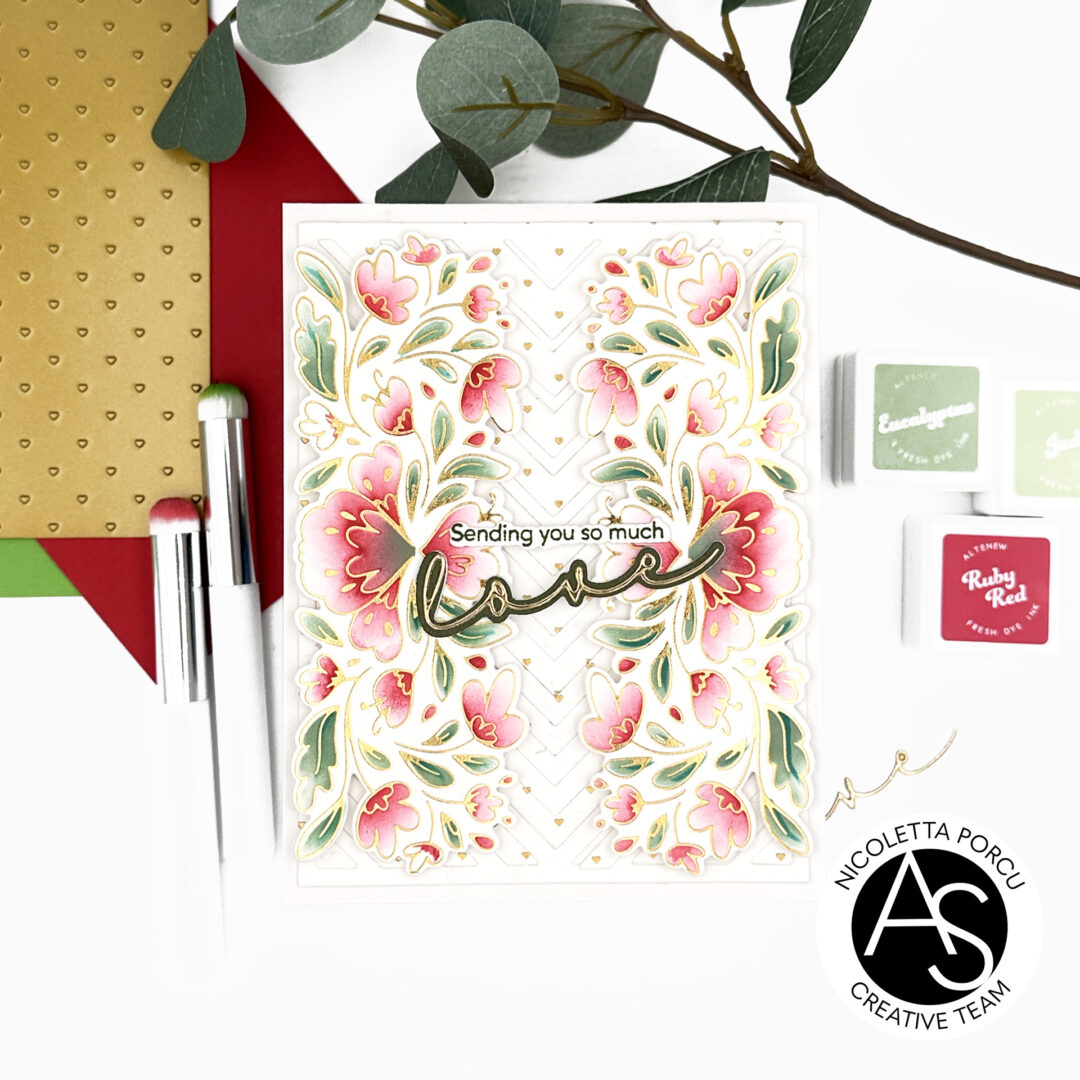
Sending you so much love

Hi crafty friends!

Nicoletta here today sharing my latest card featuring the new collection by Alex Syberia Designs.

I really can't say what is my favourite product but guys!! the Beautiful Day set is absolutely amazing!

To make my card I started creating the background: I hot foiled in gold the Tiny Hearts hot foil plate on a white cardstock ,  then I die cut it using the Chevron chic Cover die and I glued the positive  and negative die cuts onto a white base card.

Next up I hot foiled  in gold the Beautiful Day Hot Foil Plate onto a White Neenah Paper , I stencilled them using the Beautiful Day Stencil set and I die cut them using the coordinate die.


At that point I glued the two floral die cuts on the background using foam tape to add dimension and as a last thing I added the sentiment : the string one is a stamp from the Beautiful Day stamp set die cut with the coordinate die and the love word is another  die cut.

That's that for today !

Hope you like my inspiration!

Thank you for stopping by!

Ciao Ciao

mercoledì 5 giugno 2024

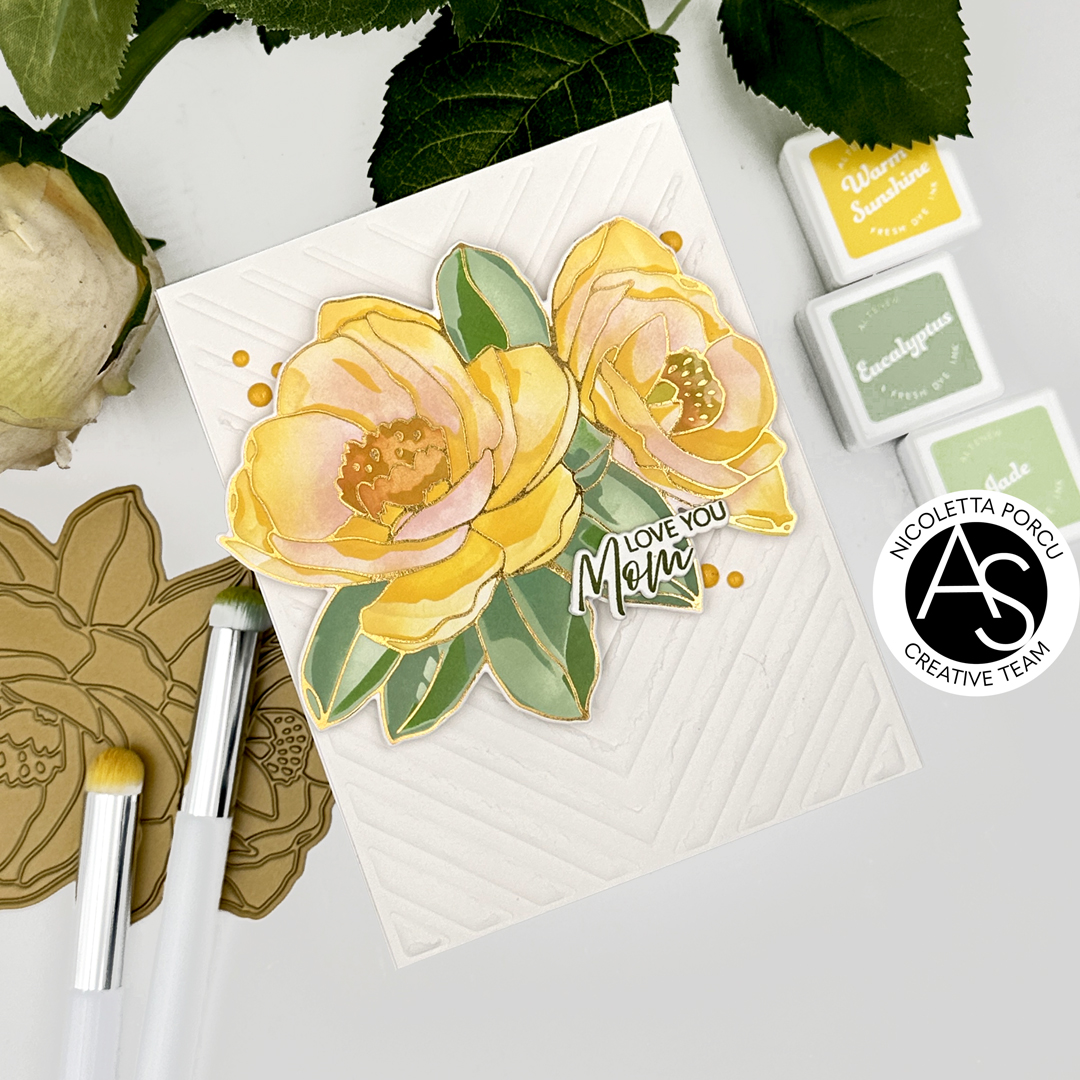
Love you Mom

Hi crafty friends!

here today with a new inpiration to share with you! I'd t a clean and simple card I made using some products of the newest ASD release!

To make this card I started creating my background, I used the Chevron Chic Cover die as an embossing folder on a white paper.

To avoid the paper scratched I sprayed water on the paper before the embossing process.  I cut out a rectangle from the embossed paper and I glued it on  white card base,


Then I hot foil  in gold the Heartfelt Blooms Horfoil Plate and I stencilled it using the Heartfelt Blooms Stencil set.

I used many  shades of yellow  and pink inks   for petals and   green shades  for leaves.

At that point I die cut the flowers using the Heartfelt Blooms die set and I added the flowers on the embossed background using foam pads to add dimension.

To make the little sentiment I used the quote from the Heartfelt Blooms stamps set; I stamped it  in green and die cutting it using the coordinate die 

I glued the little sentiment on the  right bottom of the booms and as a last touch I added some yellow enamel dots.


And that's that for today!

thanks for stopping by !


linktwin

Related Posts with Thumbnails

ShareThis