
I'm having so much fun using not Christmas products to create festive cards and this time I played with the Carnival Party stencil and die set. Hope you like the results!

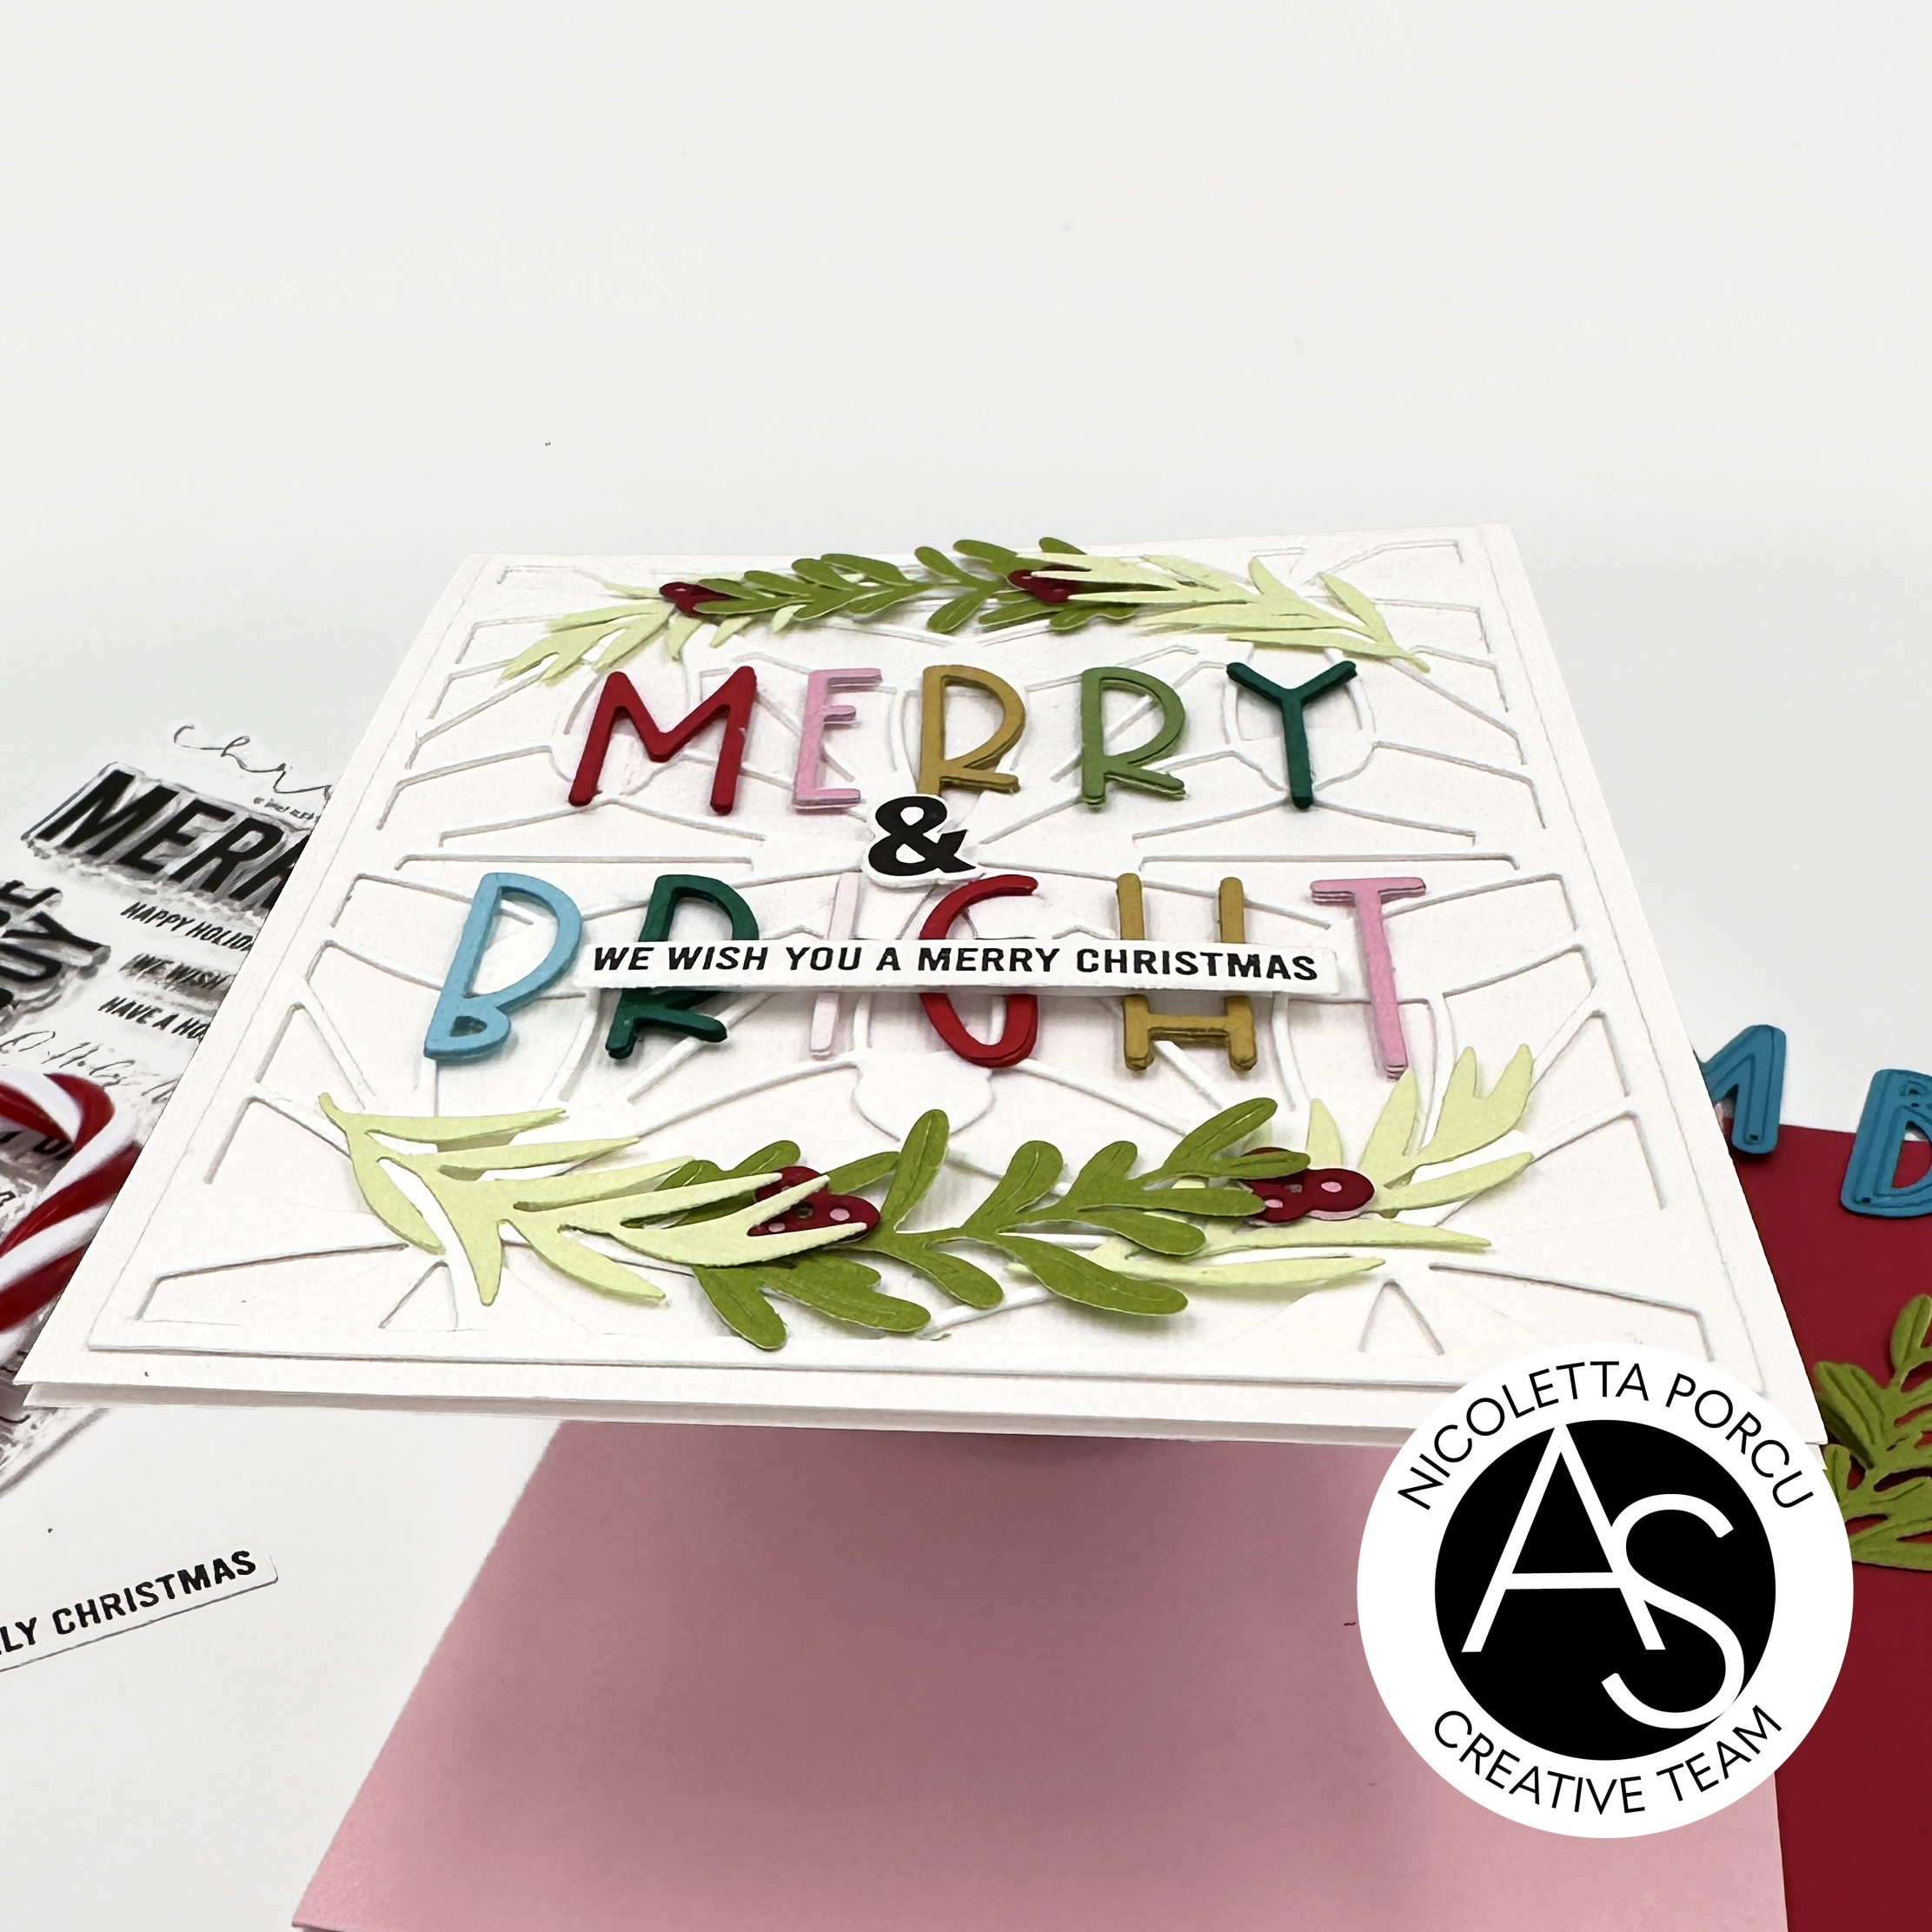
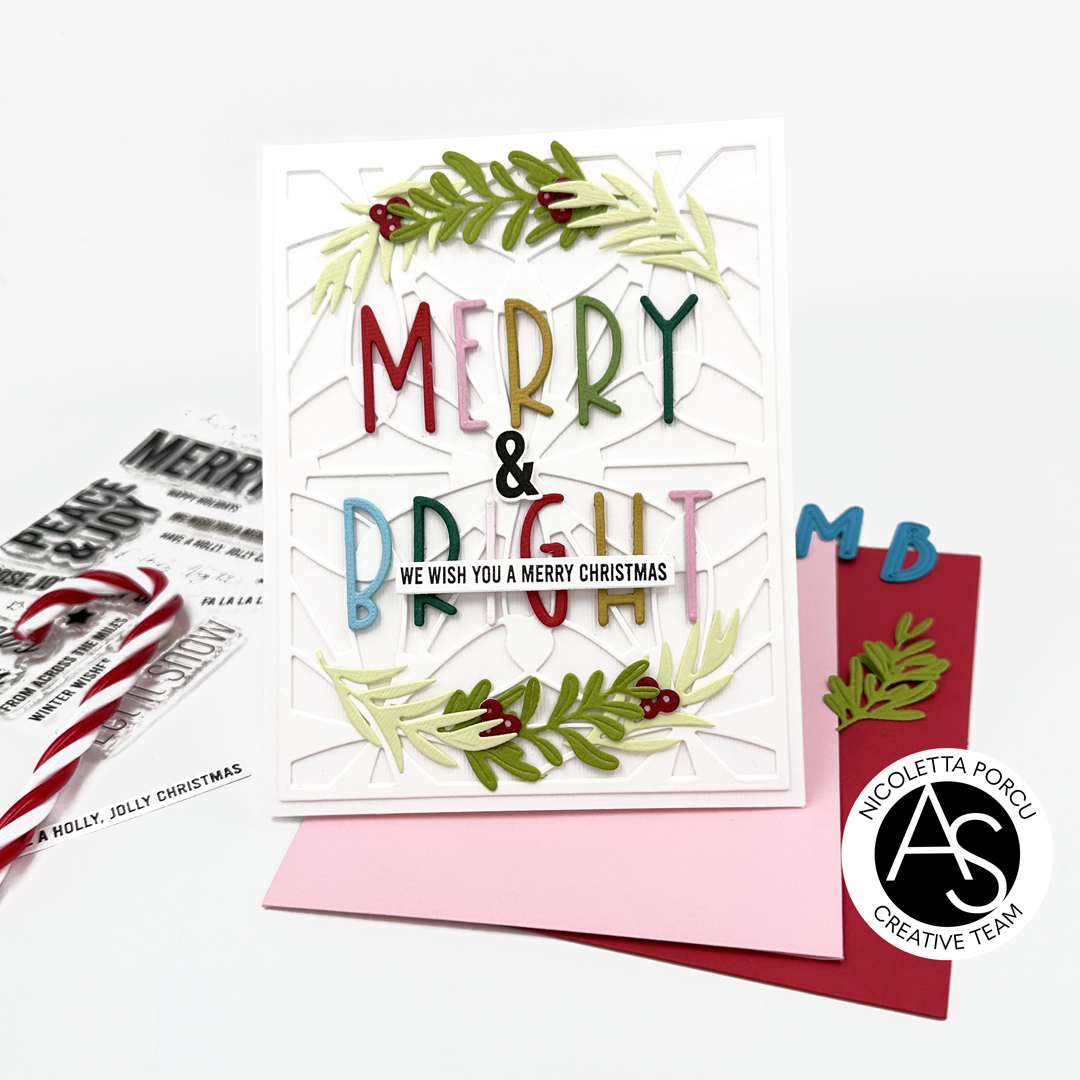
To make my card I started by stencilling the Carnival Party stencil and die set on a Neenah Paper using Coral Red and Velvet fresh inks By Altenew. I continued stencilling some green and sand confetti using the Confetti stencil set.

Next up I die cut the stencilled paper using the Good Day Quilted Rectangles die set and I glued it over a white base card using foam tape to add dimension.
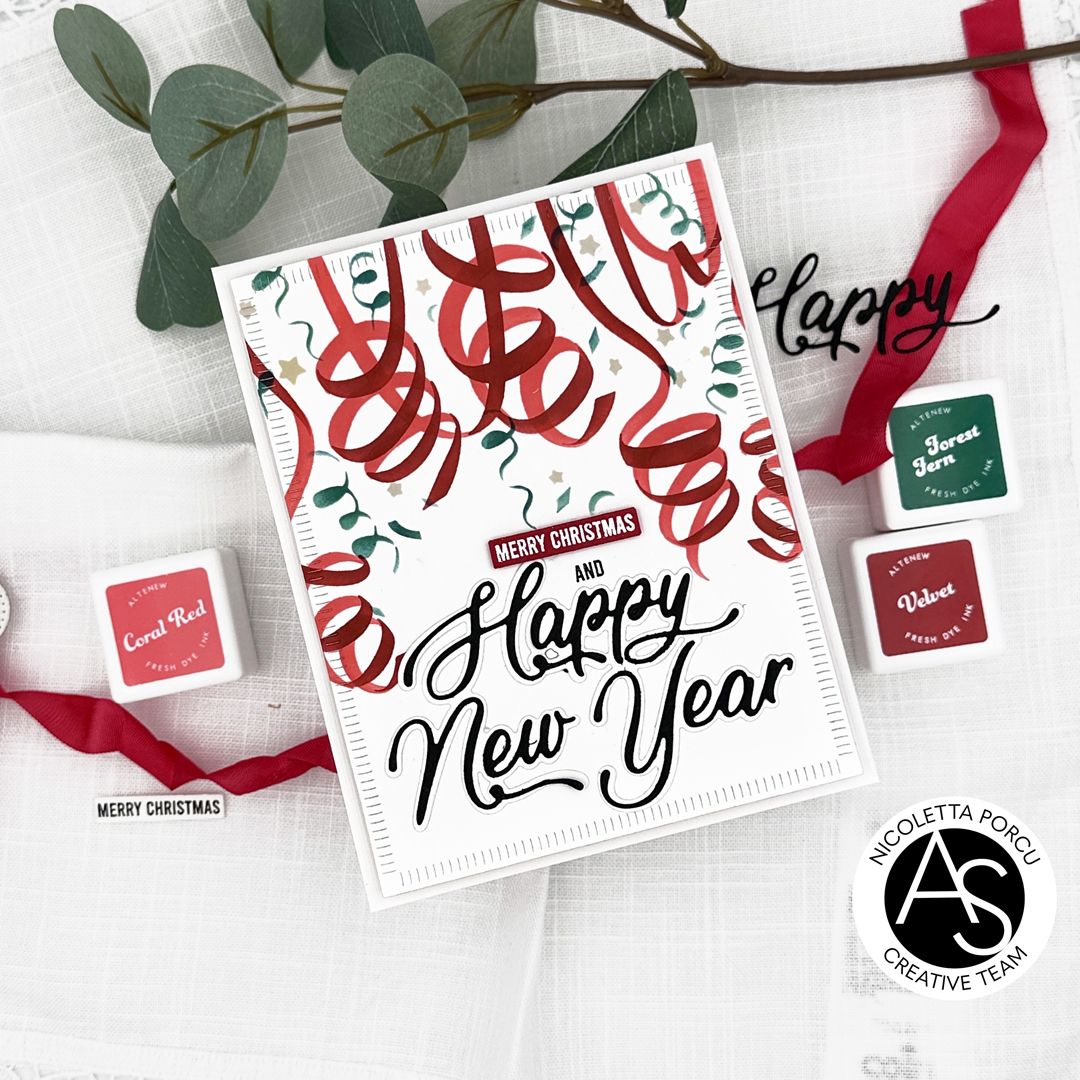
At that point I only add the sentiment to finish my card: I used the Happy New year die set, and the Christmas sentiments stamp set and the coordinate dies for the red Merry Christmas string .
And that's that!
Hope you I give you some inspirations!
Thank you for stopping by.
Ciao Ciao


.png)


.png)


